安裝NFS
[root@linux-node1 ~]# yum install rpcbind nfs-utils
[root@linux-node1 ~]# mkdir -p /data/nfs
把這個目錄共享出去
[root@linux-node1 ~]# vim /etc/exports
[root@linux-node1 ~]# cat /etc/exports
/data/nfs *(rw,no_root_squash)
[root@linux-node1 ~]# /etc/init.d/rpcbind restart
停止 rpcbind: [確定]
正在啓動 rpcbind: [確定]
[root@linux-node1 ~]# /etc/init.d/nfs start
啓動 NFS 服務: [確定]
關掉 NFS 配額: [確定]
啓動 NFS mountd: [確定]
啓動 NFS 守護進程: [確定]
配置cinder使用NFS,就像咱們前面的配置neutron使用Linuxbri
[root@linux-node1 ~]# vim /etc/cinder/cinder.conf
# File with the list of available nfs shares (string value)
nfs_shares_config=/etc/cinder/nfs_shares
# Base dir containing mount points for nfs shares. (string
# value)
nfs_mount_point_base=$state_path/mnt
# Driver to use for volume creation (string value)
#volume_driver=cinder.volume.drivers.lvm.LVMISCSIDriver
volume_driver=cinder.volume.drivers.nfs.NfsDriver
[root@linux-node1 ~]# vim /etc/cinder/nfs_shares
[root@linux-node1 ~]# cat /etc/cinder/nfs_shares
192.168.33.11:/data/nfs
[root@linux-node1 init.d]# cp openstack-cinder-* /etc/init.d/
[root@linux-node1 init.d]# chmod +x /etc/init.d/openstack-cinder-*
[root@linux-node1 init.d]# chkconfig --add openstack-cinder-
openstack-cinder-api openstack-cinder-scheduler openstack-cinder-volume
[root@linux-node1 init.d]# chkconfig --add openstack-cinder-volume
[root@linux-node1 init.d]# chkconfig openstack-cinder-volume on
[root@linux-node1 init.d]# chkconfig --add openstack-cinder-api
[root@linux-node1 init.d]# chkconfig --add openstack-cinder-scheduler
[root@linux-node1 init.d]# chkconfig openstack-cinder-scheduler on
[root@linux-node1 init.d]# chkconfig openstack-cinder-api on
[root@linux-node1 init.d]# cd ~
[root@linux-node1 ~]# /etc/init.d/openstack-cinder-api start
正在啓動 openstack-cinder-api: [確定]
[root@linux-node1 ~]# /etc/init.d/openstack-cinder-scheduler start
正在啓動 openstack-cinder-scheduler: [確定]
[root@linux-node1 ~]# /etc/init.d/openstack-cinder-volume start
正在啓動 openstack-cinder-volume: [確定]
[root@linux-node1 ~]# cinder list
+----+--------+--------------+------+-------------+----------+-------------+
| ID | Status | Display Name | Size | Volume Type | Bootable | Attached to |
+----+--------+--------------+------+-------------+----------+-------------+
+----+--------+--------------+------+-------------+----------+-------------+
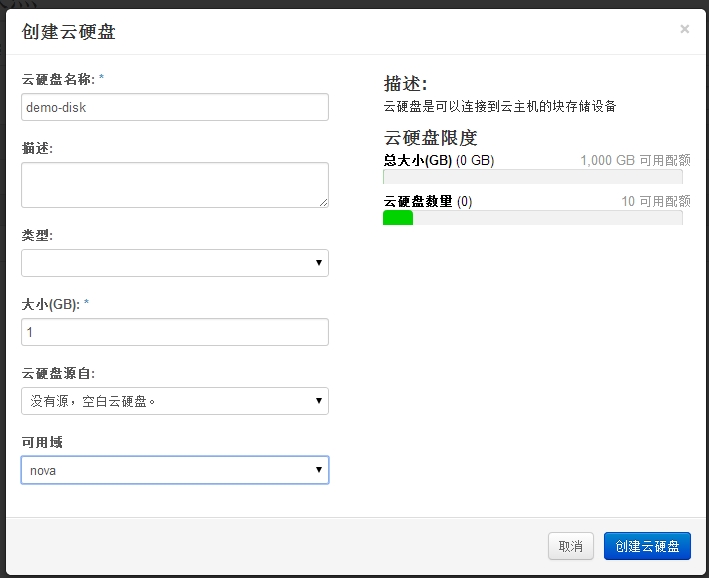
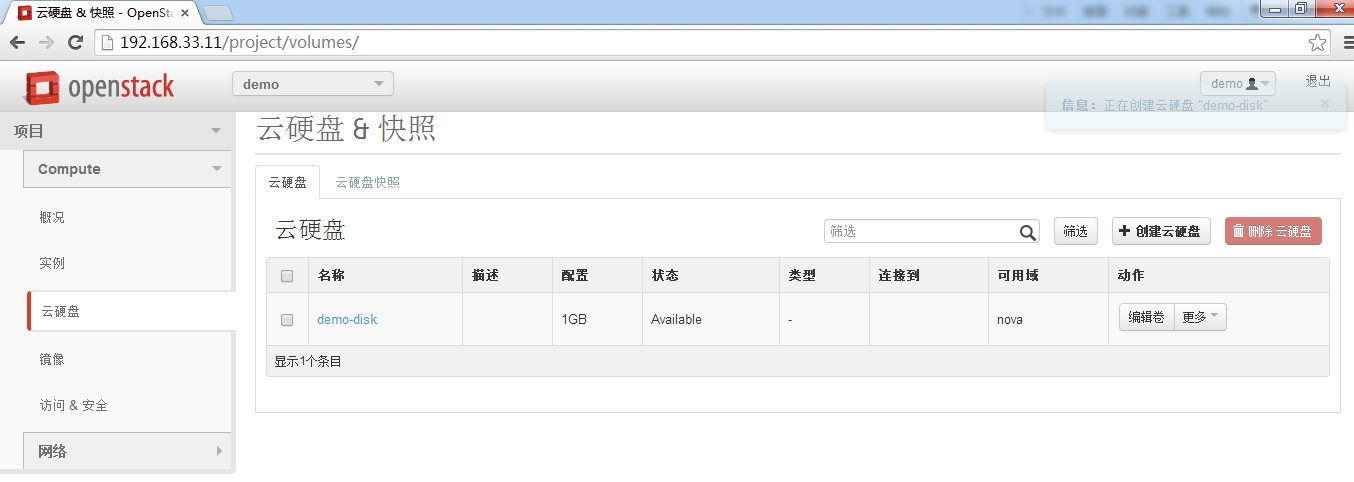
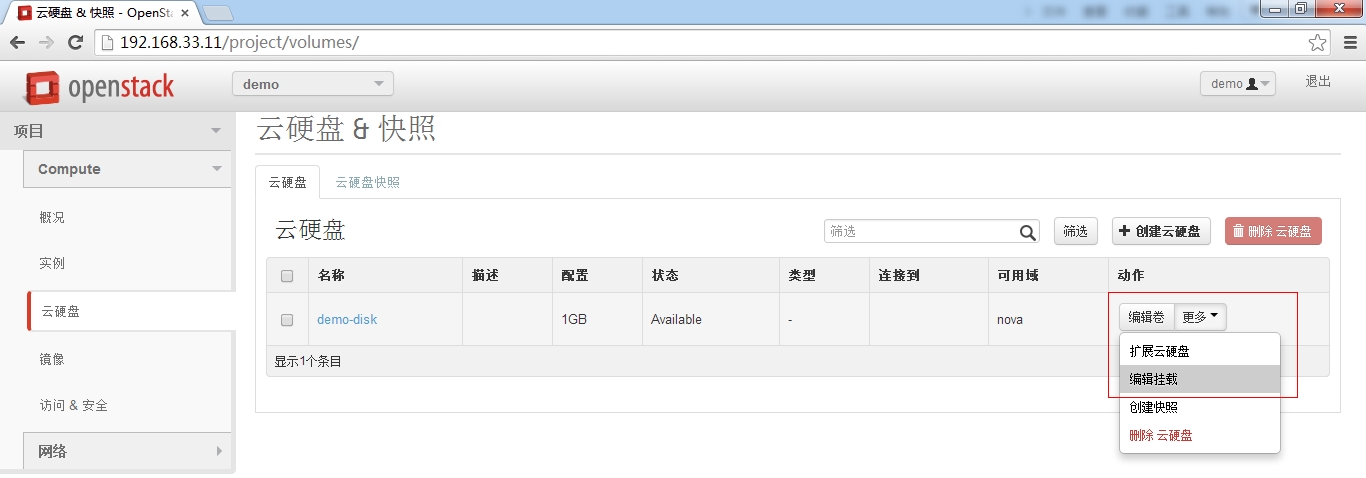
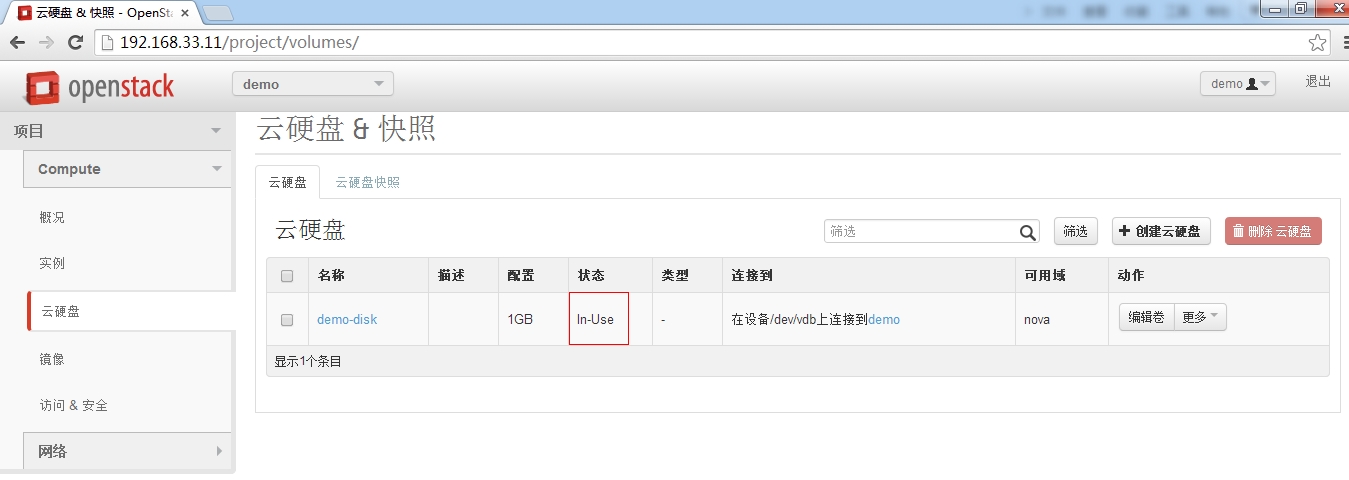
創建雲硬盤
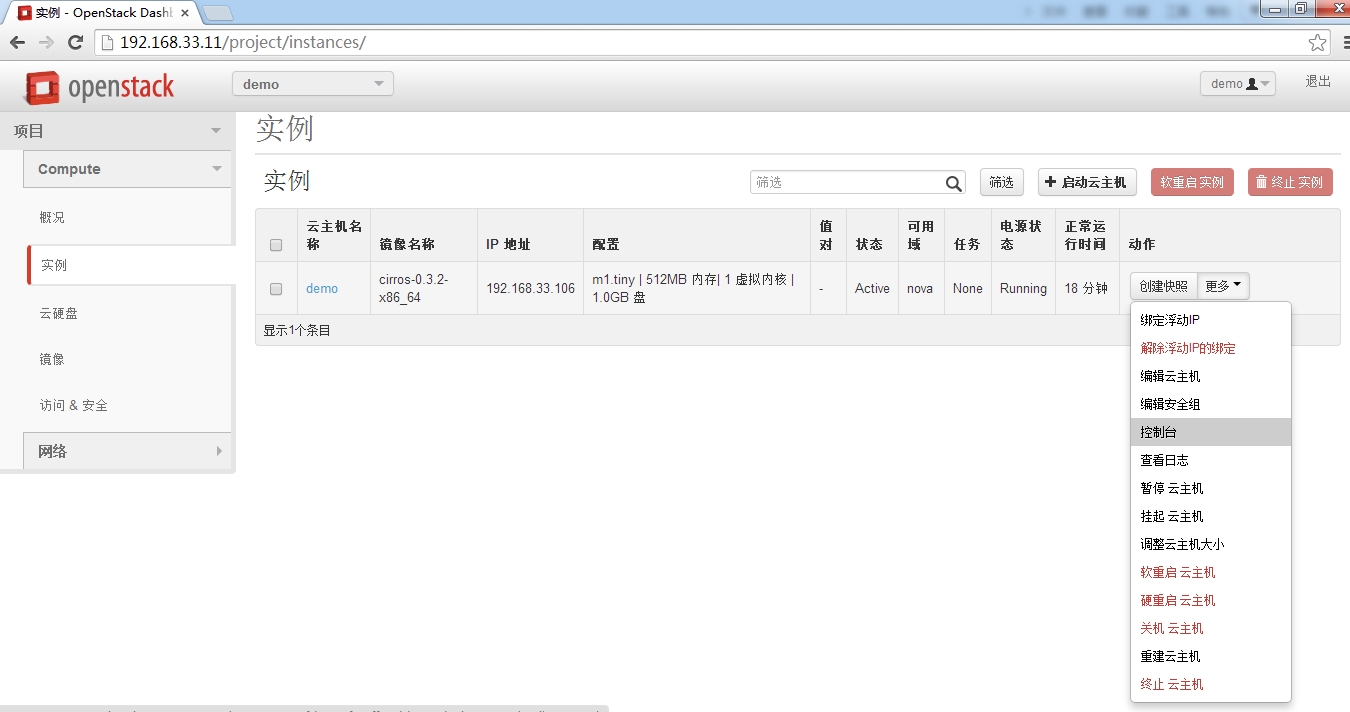
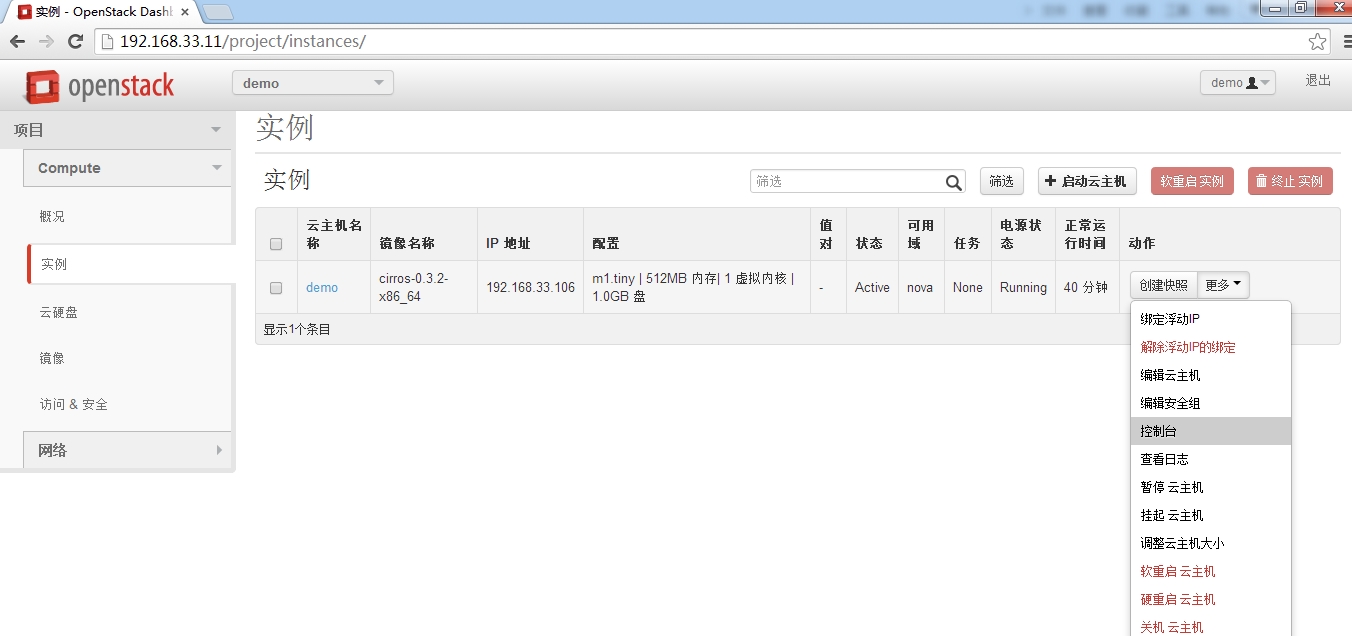
進入虛擬機
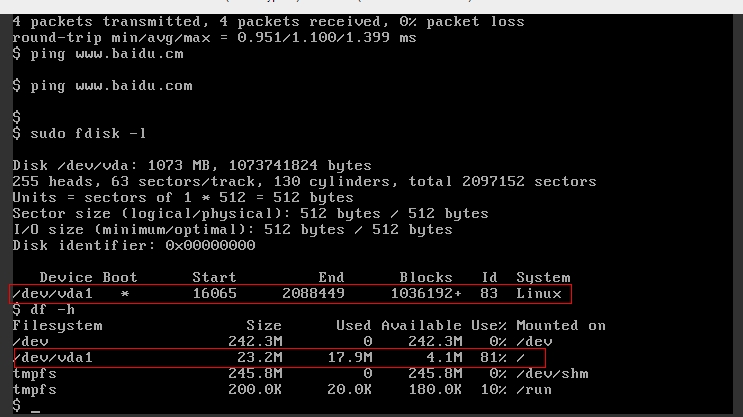
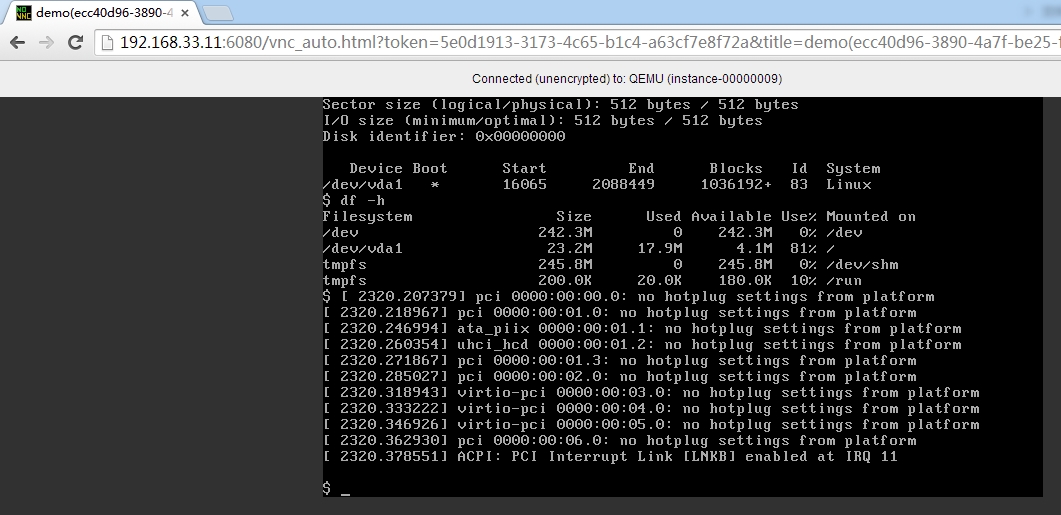
現在只有一塊盤如下
磁盤的存放路徑就是/var/lib/nova/instances/裏面。
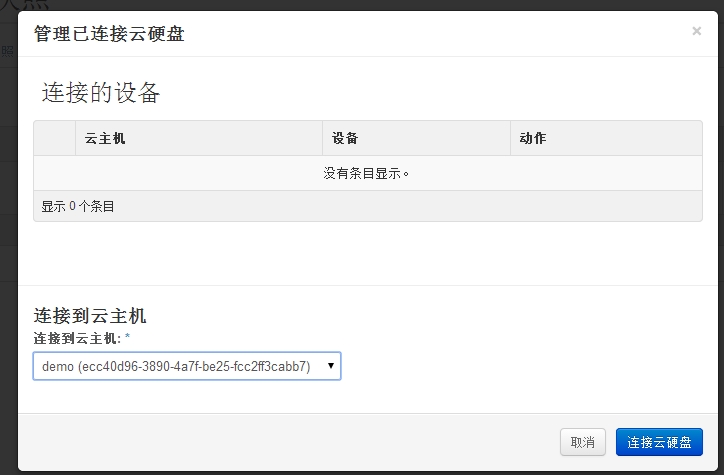
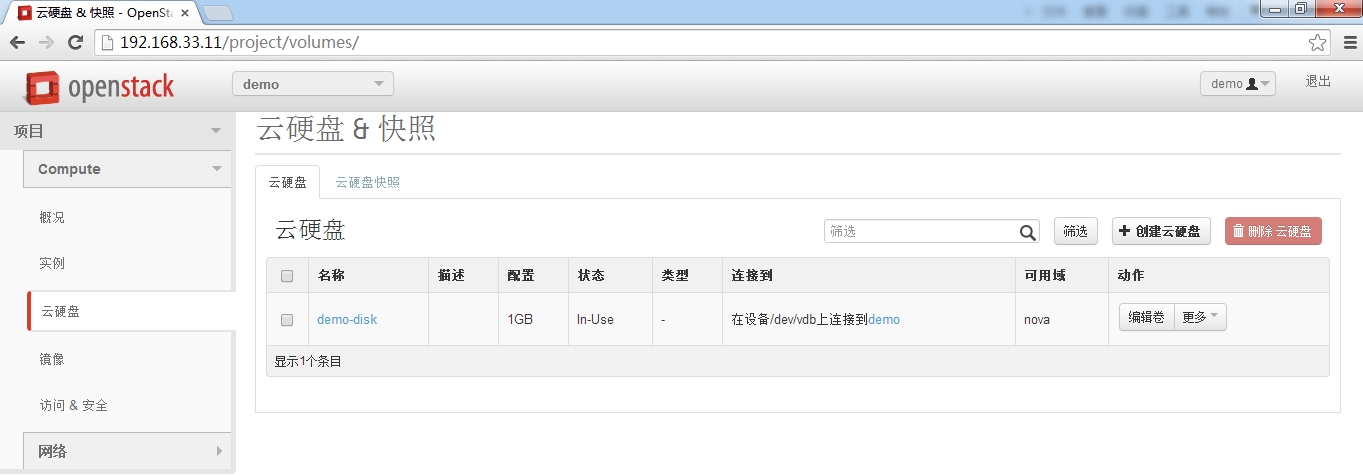
下面我們來創建雲硬盤
咱們從虛擬機裏面看見剛纔連接的雲硬盤的時候,會有相關信息如下:
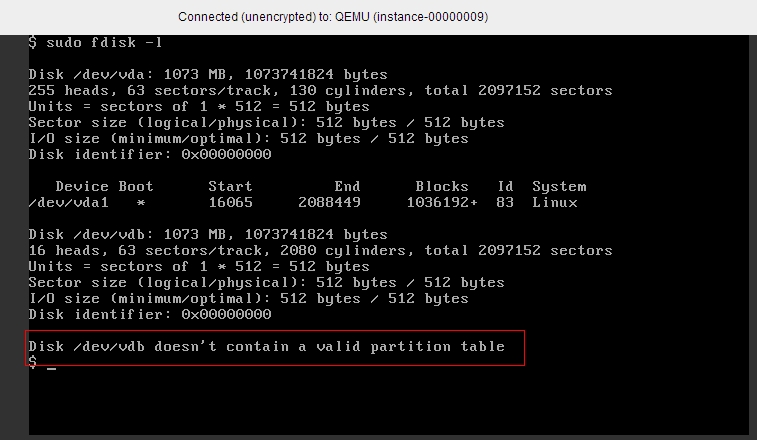
現在裏面有了一塊新硬盤如下
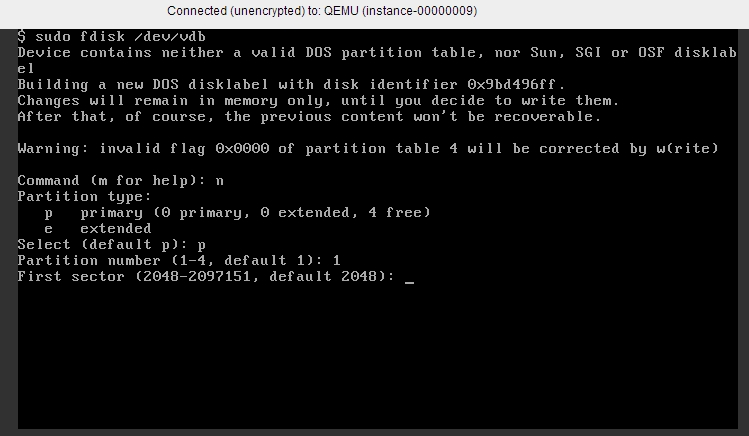
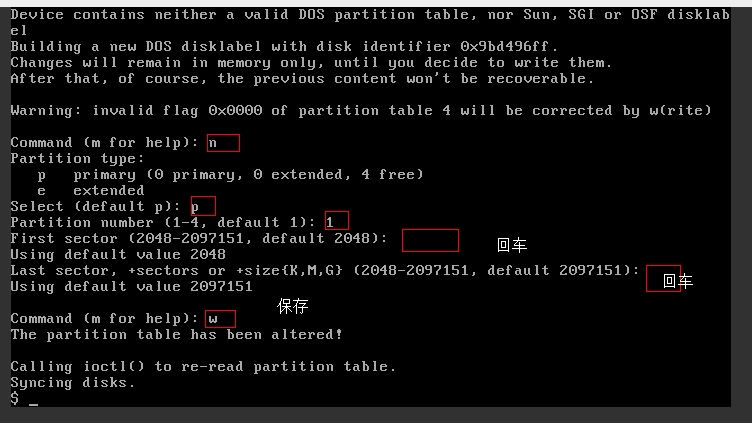
接下來,我們要對這塊硬盤進行格式化
sudo fdisk /dev/vdb
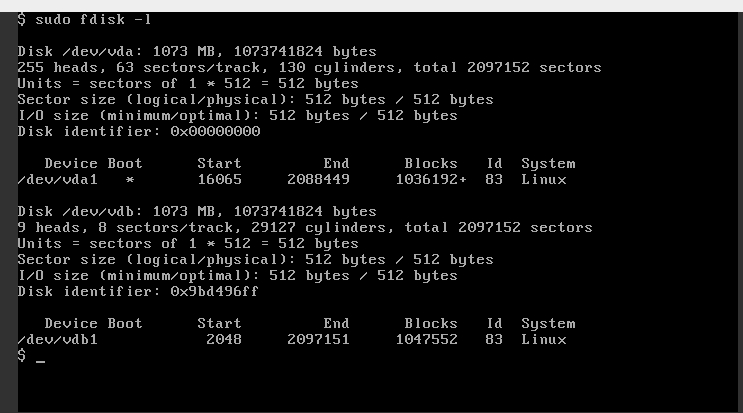
查看一下
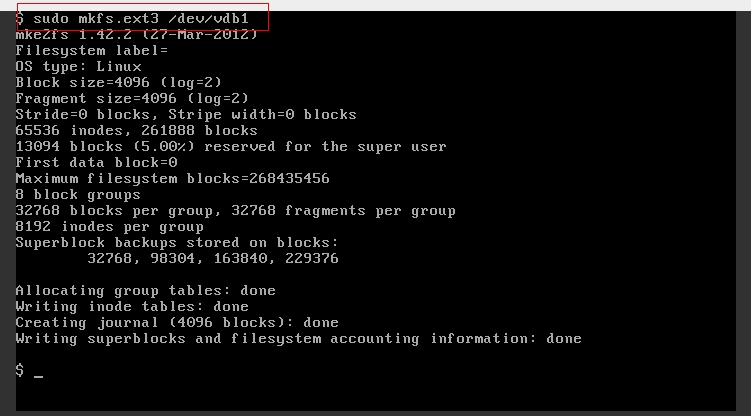
創建文件系統
創建掛載點
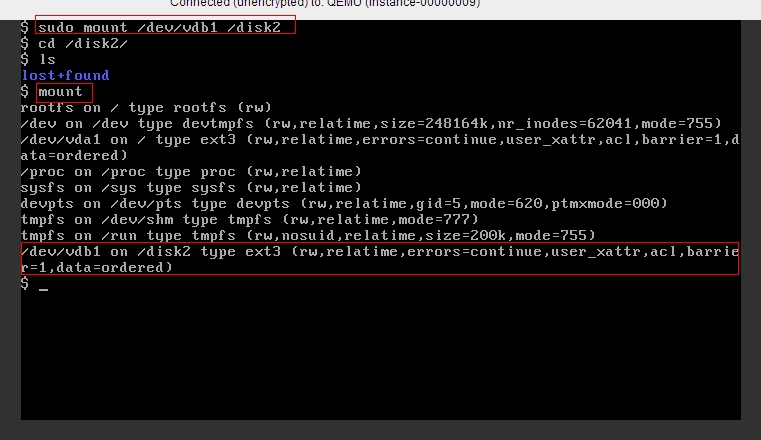
掛載
sudo mount /dev/vdb1 /disk2
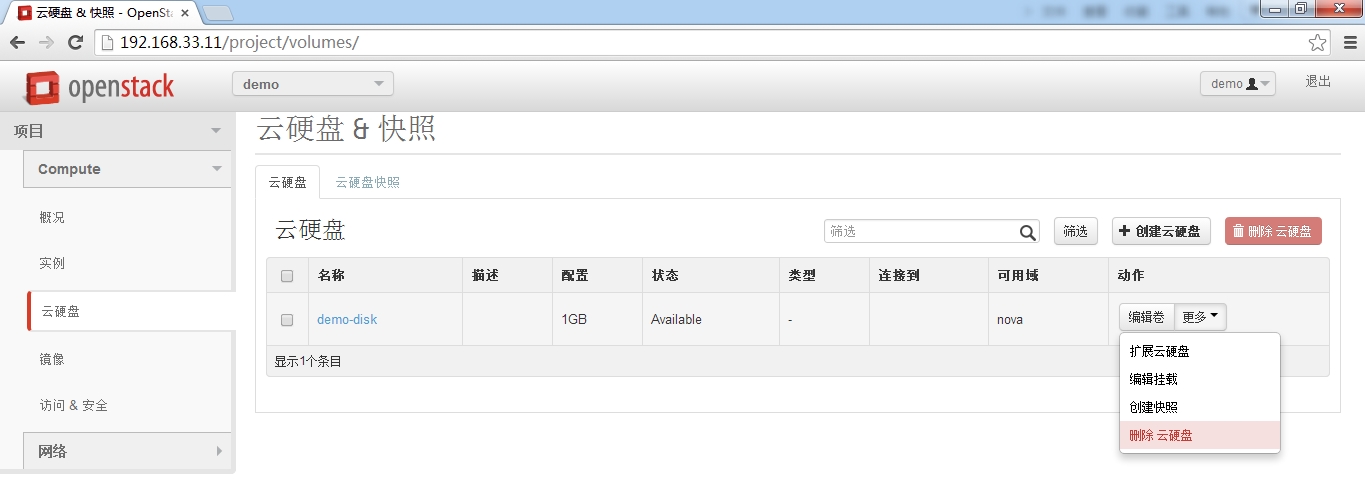
千萬要注意,創建的雲硬盤千萬不要在掛載到虛擬機的時候,強制刪除,因爲這樣話,虛擬機會報錯,陷入死循環。
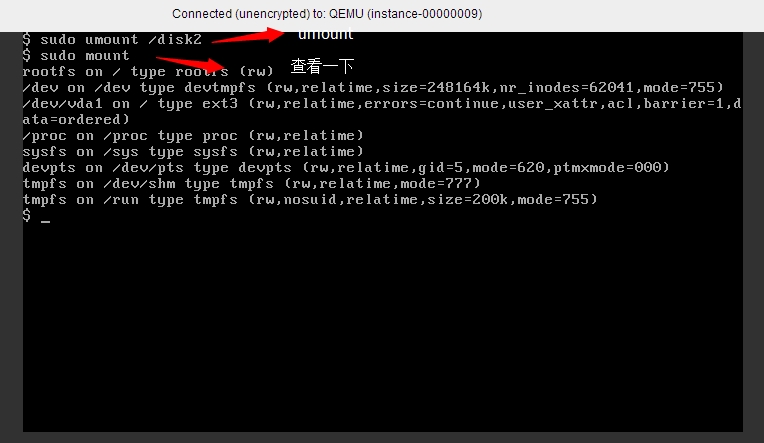
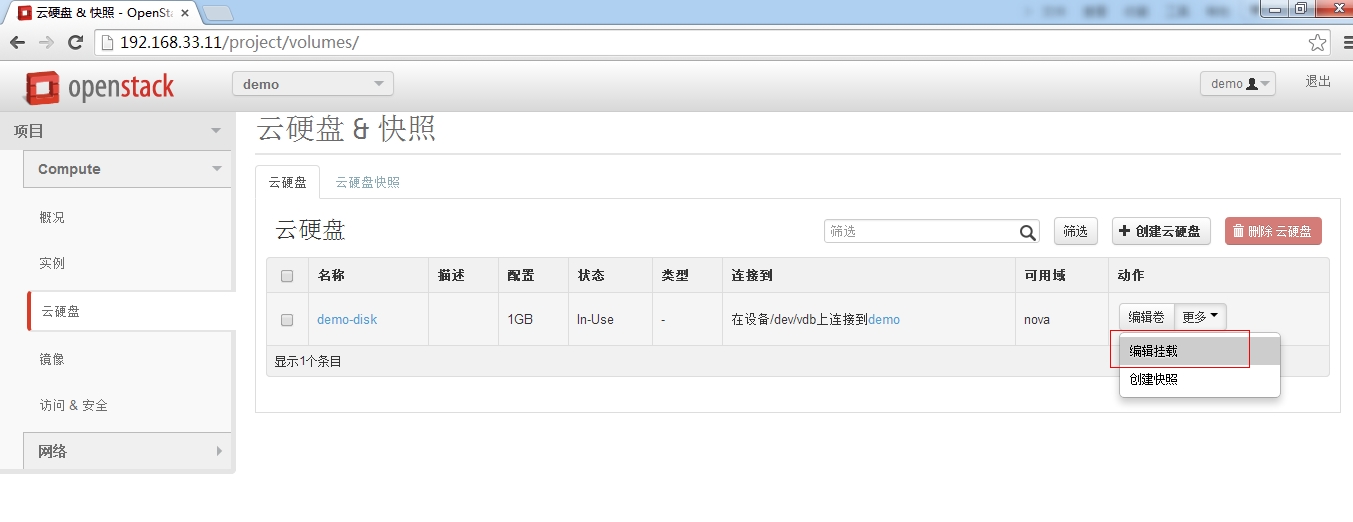
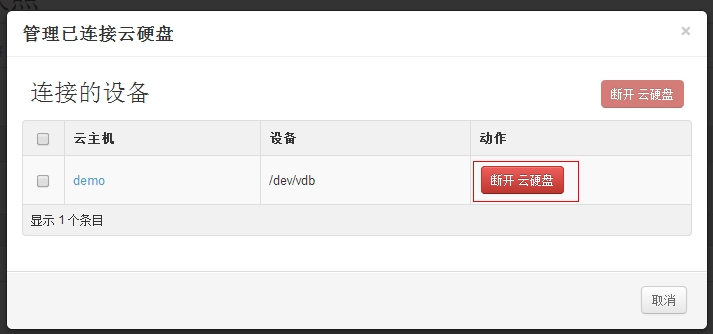
卸載雲硬盤
首先umount


