


1. 使用xshell將nginx源碼包上傳到server

2. 安裝依賴的軟件包工具 zlib-devel pcre-devel gcc gcc-c++
yum -y install zlib-devel pcere-devel gcc gcc-c++
驗證一下:

3. 指定nginx的運行用戶 (創建nginx用戶不使其登錄系統、-M不創建宿主目錄)
[root@Cent65 ~]# useradd -s /sbin/nologin -M nginx
4. 編譯安裝nginx
[root@Cent65 ~]# tar zxf nginx-1.11.2.tar.gz -C /usr/src/
[root@Cent65 ~]# cd /usr/src/nginx-1.11.2/

[root@Cent65 nginx-1.11.2]# ./configure --prefix=/usr/local/nginx --user=nginx --group=nginx

[root@Cent65 nginx-1.11.2]# make -j 4 && make install
編譯安裝成功

現在service不受控制,需要
5、編寫nginx 服務啓動腳本
vim nginx


代碼複製如下:
# chkconfig: 2345 99 20
#description: nginx-server
nginx=/usr/local/nginx/sbin/nginx
case $1 in
start)
netstat -anptu | grep nginx
if [ $? -eq 0 ]
then
echo "nginx-server is already running"
else
echo "nginx-server begin start"
$nginx
fi
;;
stop)
$nginx -s stop
if [ $? -eq 0 ]
then
echo "nginx-server is stoped"
else
echo "nginx-server stop fail,try again"
fi
;;
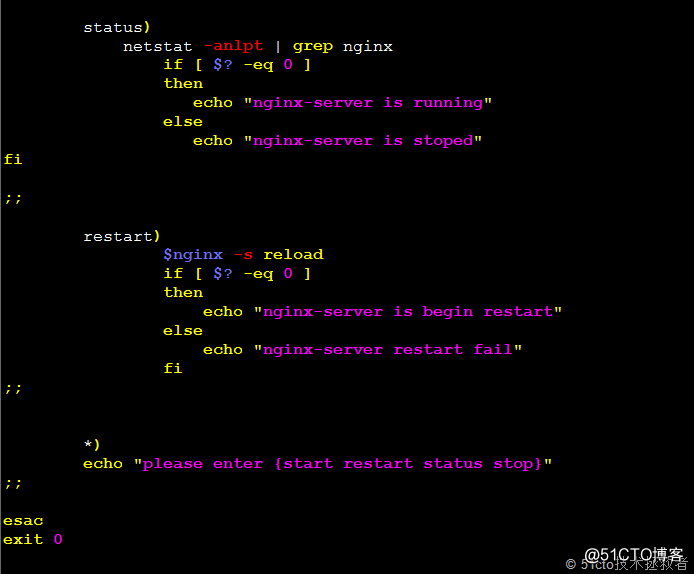
status)
netstat -anlpt | grep nginx
if [ $? -eq 0 ]
then
echo "nginx-server is running"
else
echo "nginx-server is stoped"
fi
;;
restart)
$nginx -s reload
if [ $? -eq 0 ]
then
echo "nginx-server is begin restart"
else
echo "nginx-server restart fail"
fi
;;
*)
echo "please enter {start restart status stop}"
;;
6、將腳本文件拷貝到/etc/init.d/目錄下

測試:
