SQL Server 2017 : Preparation
Install SQL Server 2017 to build Database Server.
Refer to the Microsoft Site about details of SQL Server 2017.
⇒ https://www.microsoft.com/en-us/sql-server/sql-server-2017
To use SQL Server 2017, read license terms well.
⇒ https://www.microsoft.com/ja-jp/sql-server/sql-server-2017-pricing
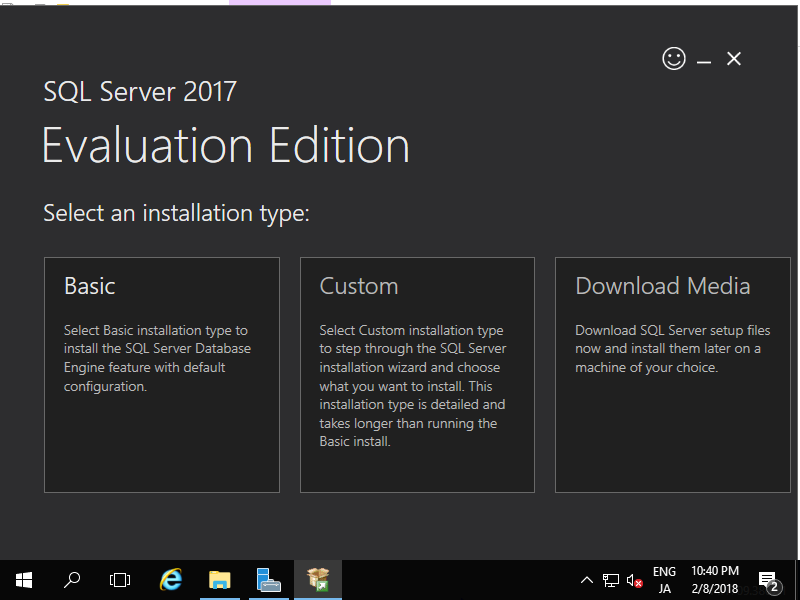
| [1] | Download an Edition of SQL Server Installer which you'd like to use. ⇒ https://www.microsoft.com/ja-jp/sql-server/sql-server-downloads After running EXE file you did download, following screen is shown. On this example, select [Download Media] to download ISO file of SQL Server 2017. |
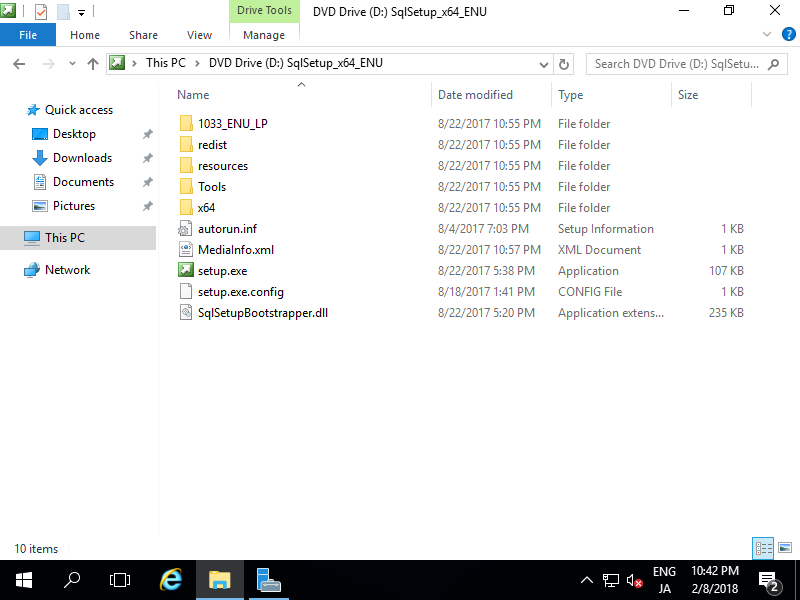
| [2] | After downloading ISO file, mount it, then you can see files in ISO. Run [setup.exe] to manage installation and others. |
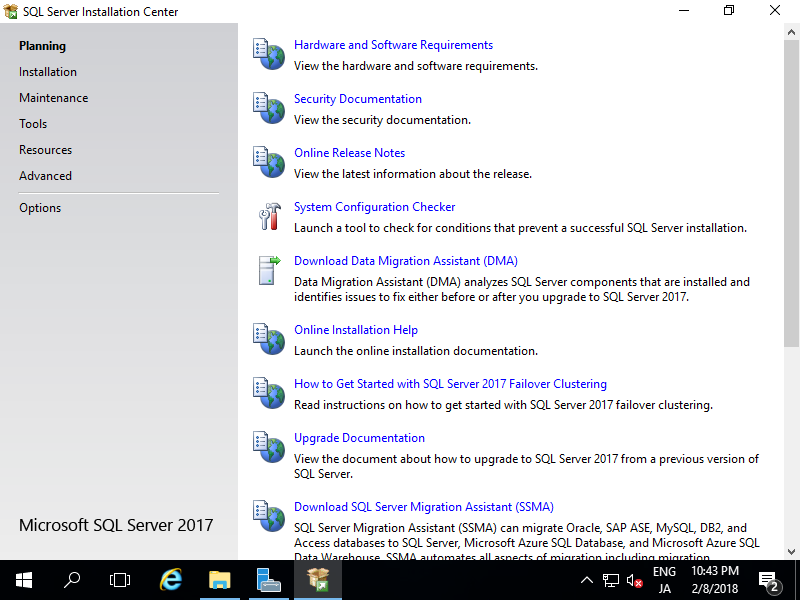
| [3] | After running [setup.exe], following screen is shown, Run [System Configuration Checker] to check your System. |
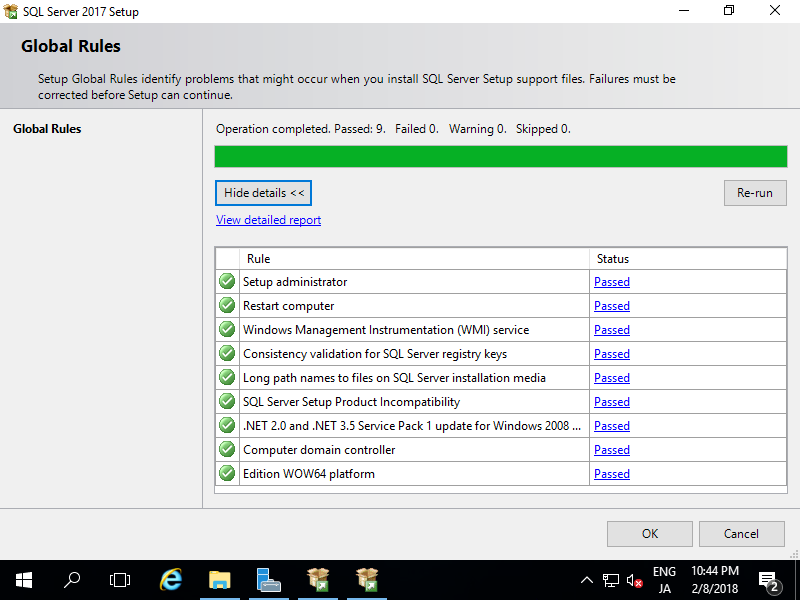
| [4] | This is the result of [System Configuration Checker] on this environment. |
SQL Server 2017 : Install
Install SQL Server 2017 with stand-alone installation.
Download SQL Server 2017 ISO file first, refer to [MSSQL2017 Preparation].
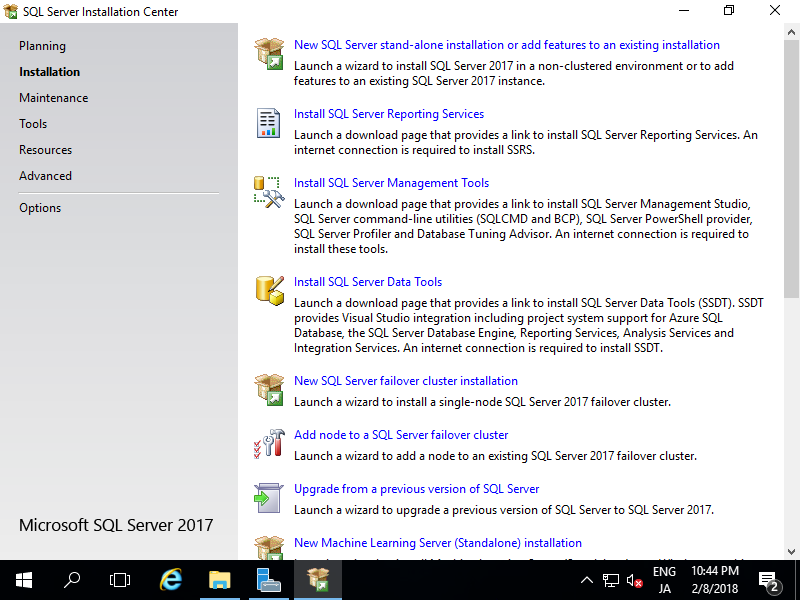
| [1] | Run [setup.exe] and click [Installation] on the left pane and click [New SQL Server stand-alone installation ***] on the right pane. |
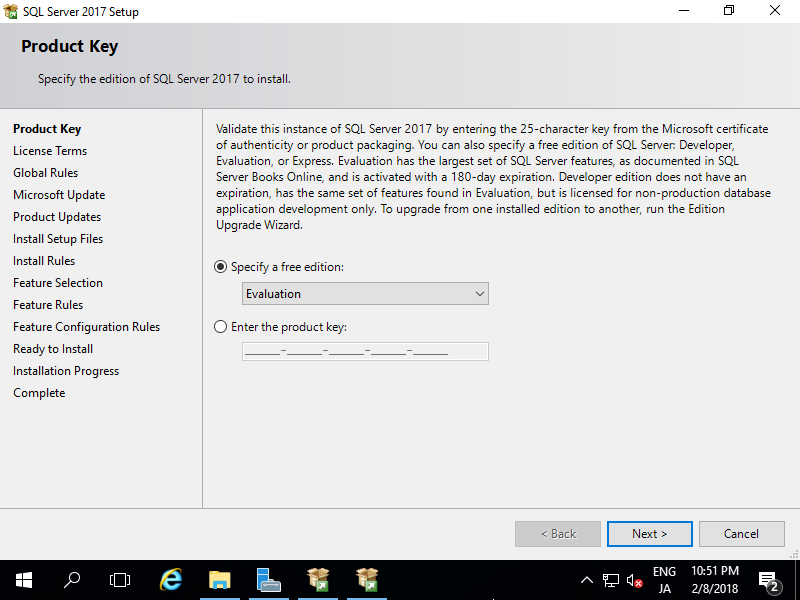
| [2] | Select an Edition of SQL Server you'd like to install. |
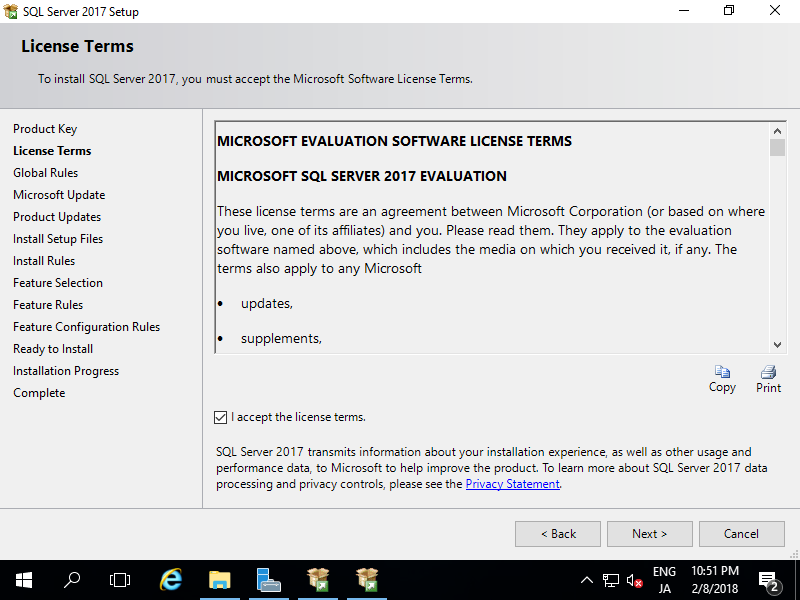
| [3] | Read License terms well and check a box [I accept the license terms] to agree with it. |
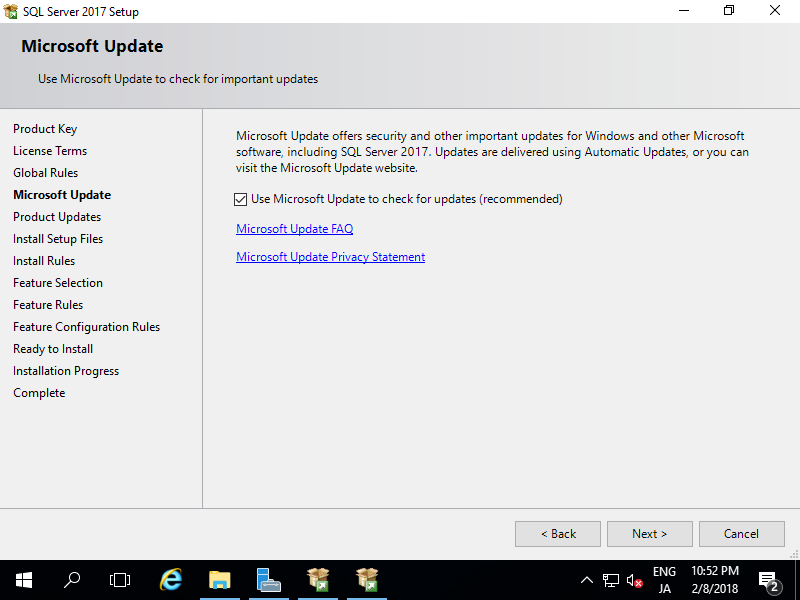
| [4] | Select to check important update or not. |
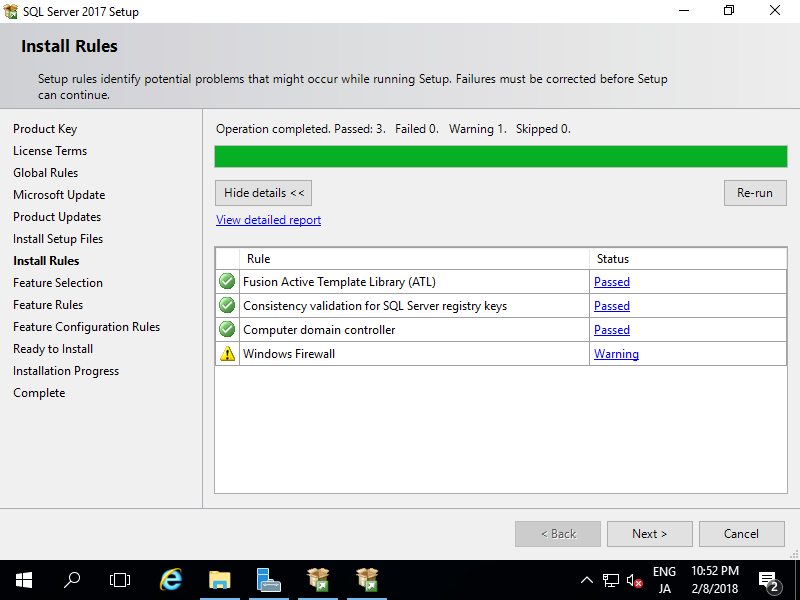
| [5] | Setup rules indetify potential ploblems. Check the result and improve if ploblems are detected. For the warning of Windows firewall, it's possbile to configure later for SQL Server, so it's OK to proceed. |
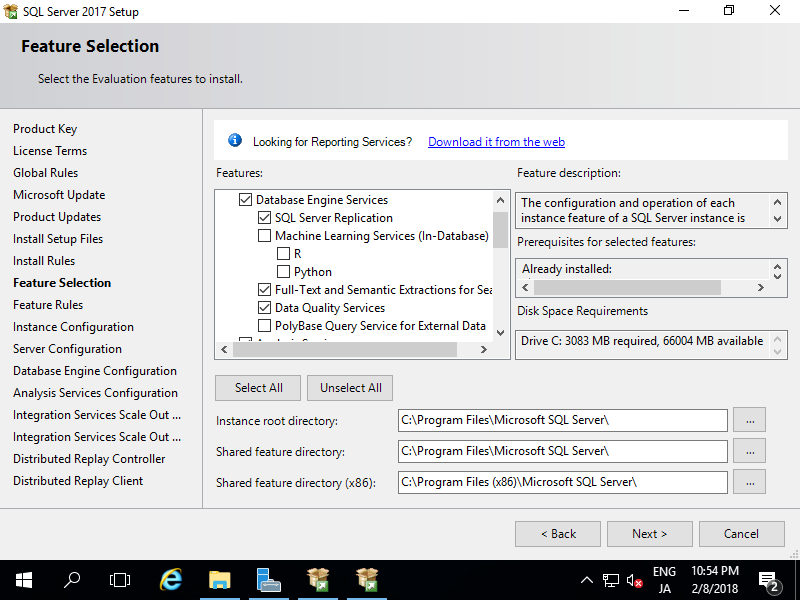
| [6] | This is the section of selecting features you'd like to install. If you install all, click [Select All] button. For selecting All, Oracle Java 7 is needed for [PolyBase Query Service for External Data]. |
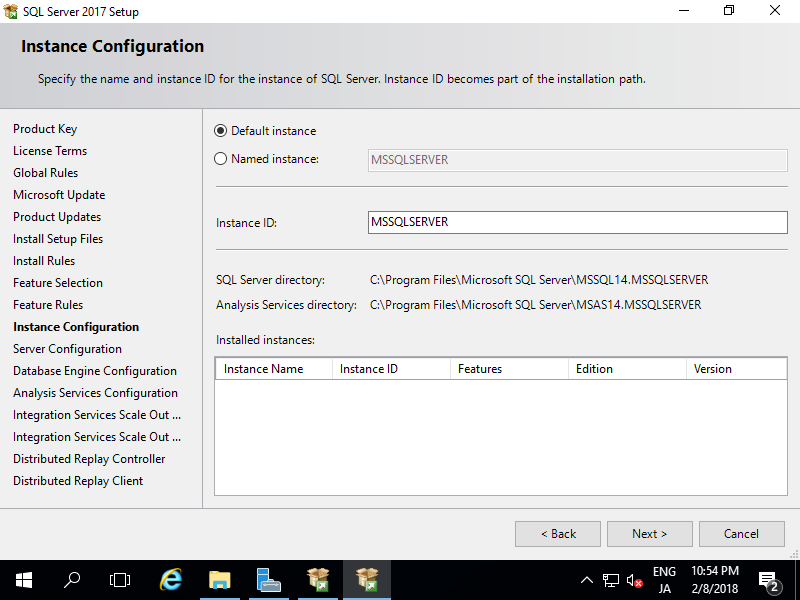
| [7] | This is the section of Instance Configuration. Select [Default Instance] or [Named Instance]. (Keep default on this example) |
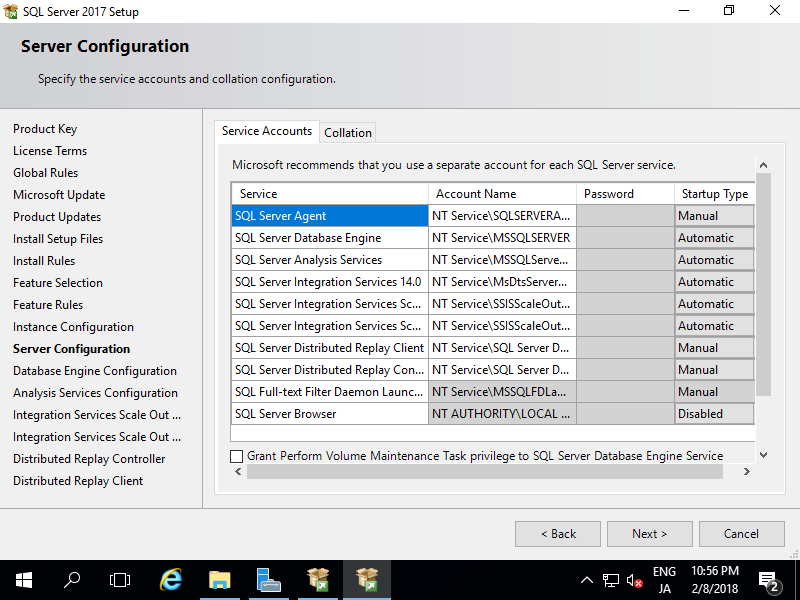
| [8] | This is the section of Service Accounts Configuration. Change them for your requirements. (Keep default on this example) If it's OK all, move to [Collation] tab. |
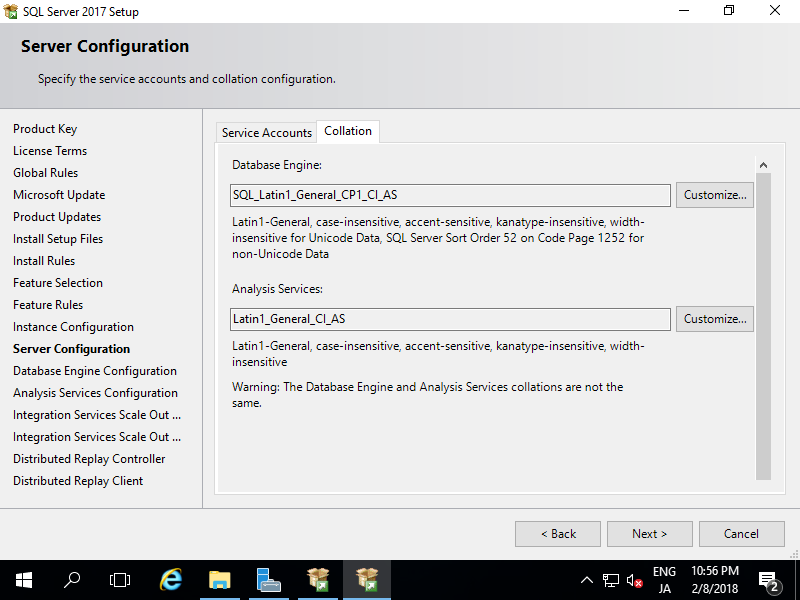
| [9] | This is the section of Collation Settings. Change them for your requirements. (Keep default on this example) |
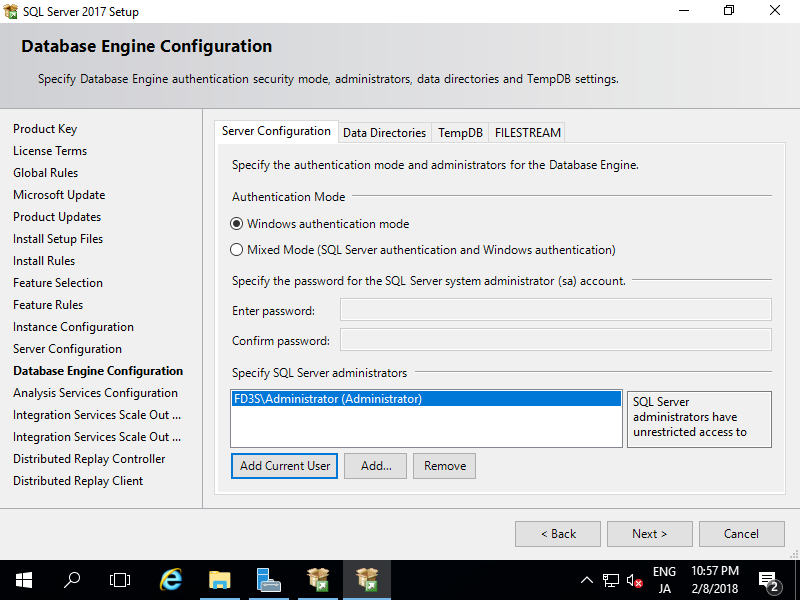
| [10] | This is the section of Database Configuration. Select Authentication Mode and specify SQL Server administration account. If it's OK all, move to [Data Directories] tab. |
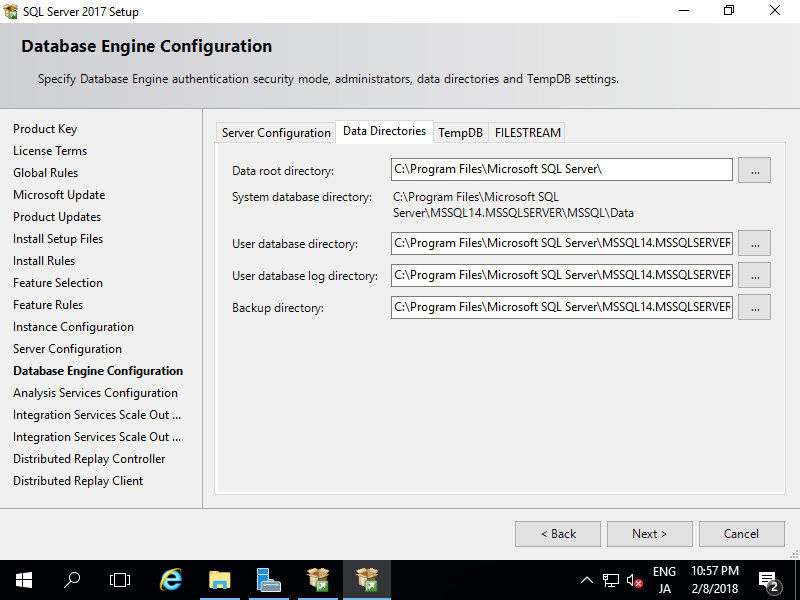
| [11] | This is the section of Data Directories Settings. Change them for your requirements. (Keep default on this example) If it's OK all, move to [TempDB] tab. |
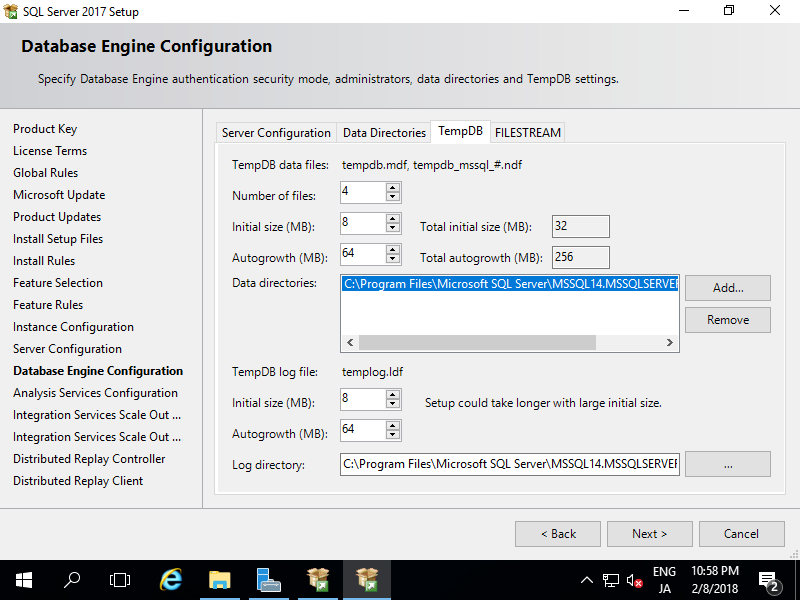
| [12] | This is the section of TempDB Settings. Change them for your requirements. (Keep default on this example) If it's OK all, move to [FILESTREAM] tab. |
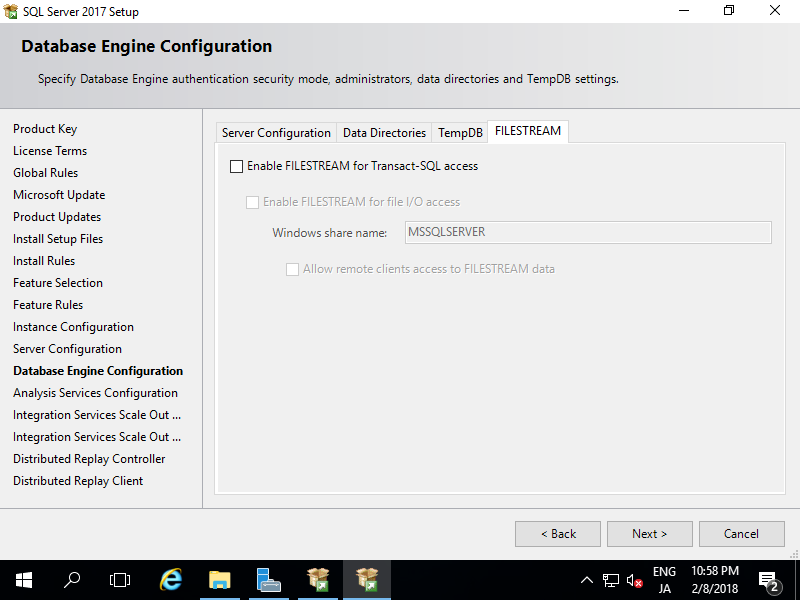
| [13] | This is the section of FILESTREAM Settings. Change them for your requirements. (Keep default on this example) If it's OK all, Proceed next. |
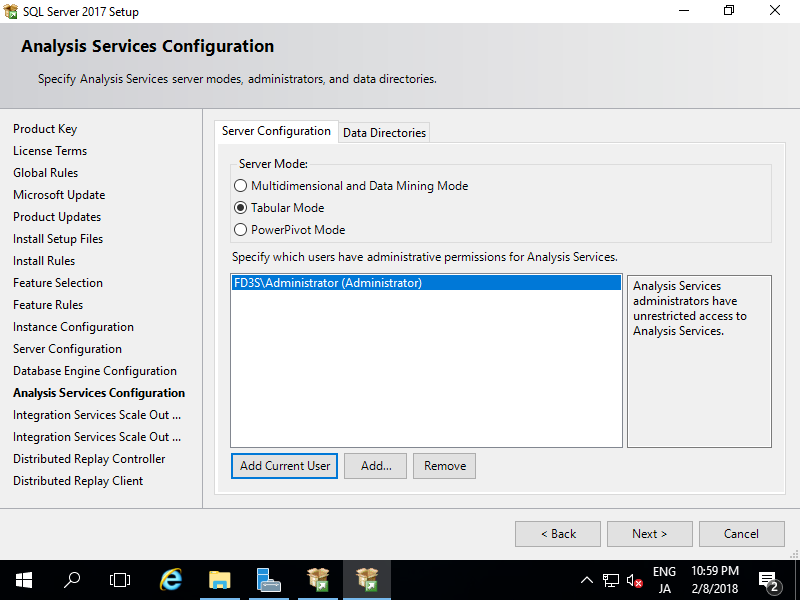
| [14] | This is the section of Analysys Services Configurations. Specify Administration Account of Analysys Services. |
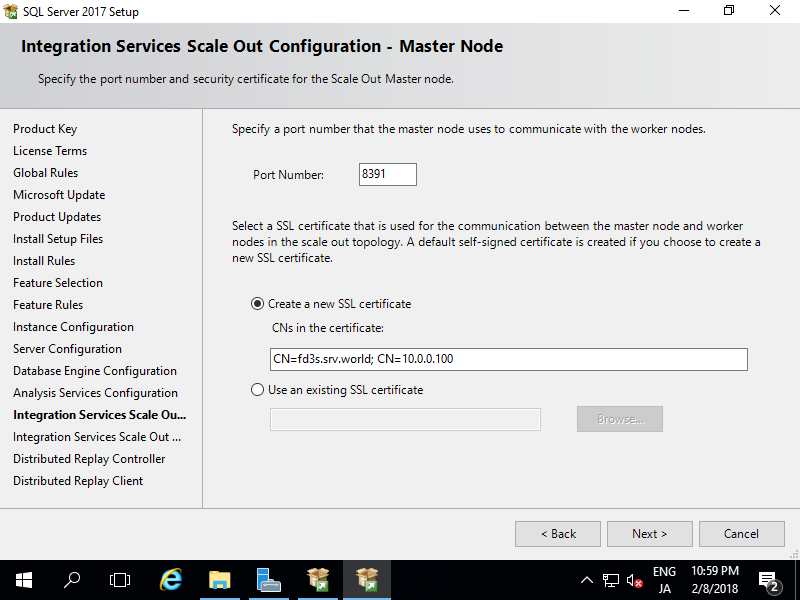
| [15] | This is the section of Integration Services Scale out (Master Node) Configurations. Change them for your requirements. (Keep default on this example) If it's OK all, Proceed next. |
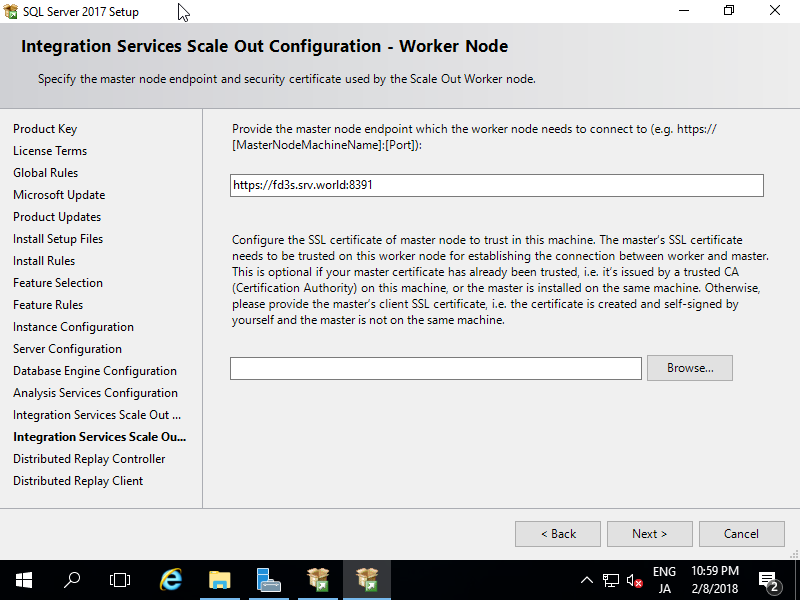
| [16] | This is the section of Integration Services Scale out (Worker Node) Configurations. Change them for your requirements. (Keep default on this example) If it's OK all, Proceed next. |
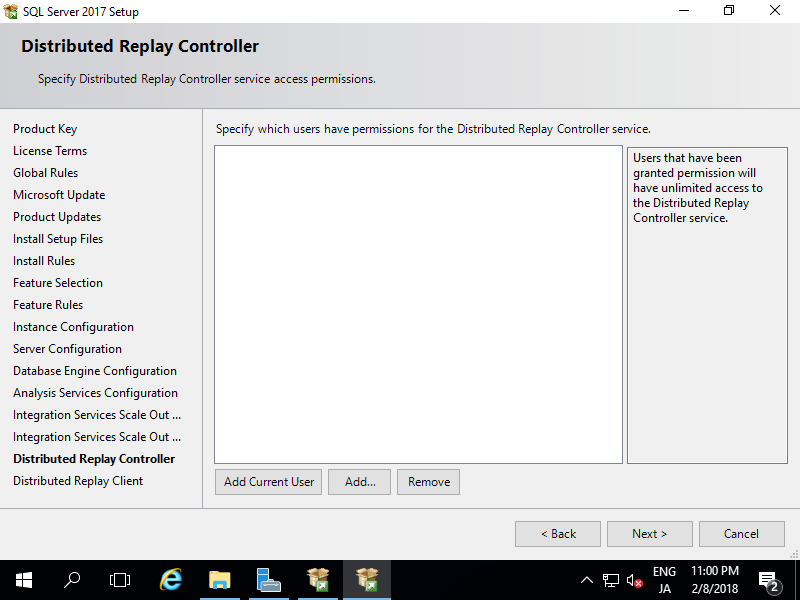
| [17] | This is the section of Distributed Relay Controller Configurations. Change them for your requirements. (Keep default on this example) If it's OK all, Proceed next. |
| [18] | This is the section of Distributed Relay Client Configurations. Change them for your requirements. (Keep default on this example) If it's OK all, Proceed next. |
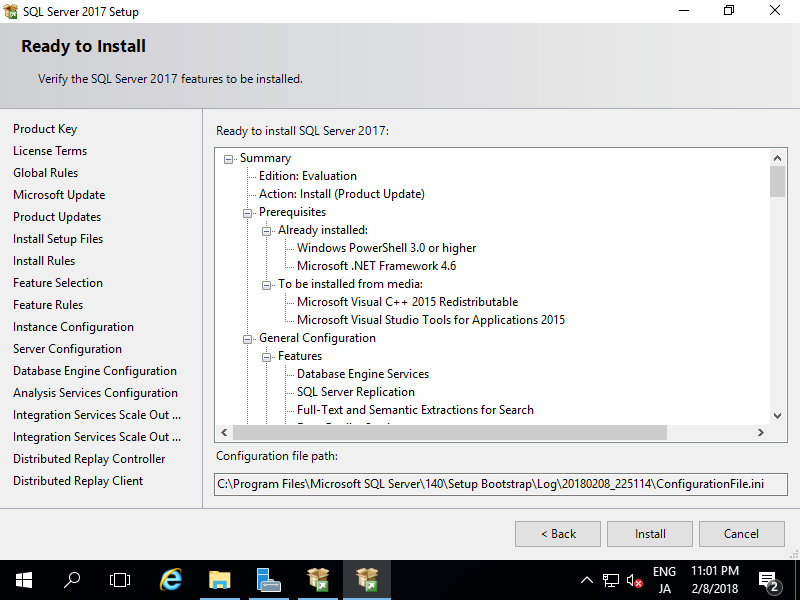
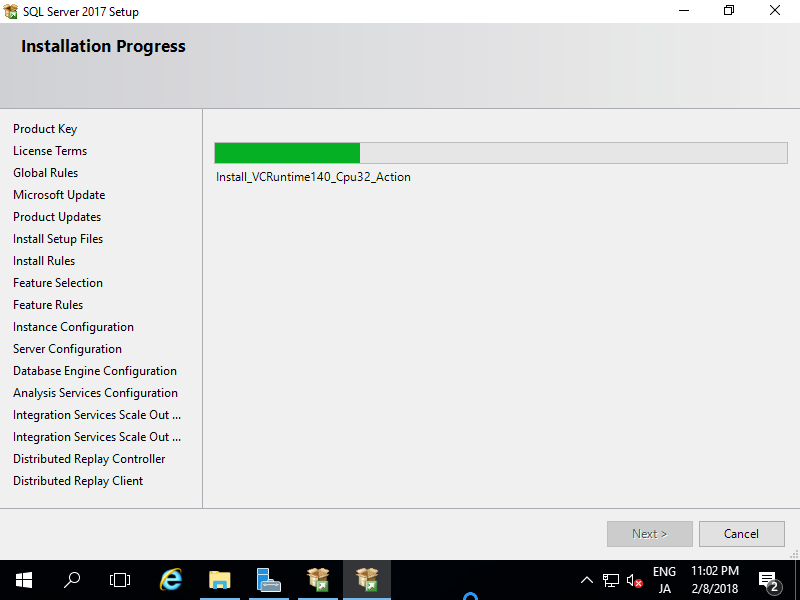
| [19] | Verify selection of features and it it's OK, Click [Install] button. |
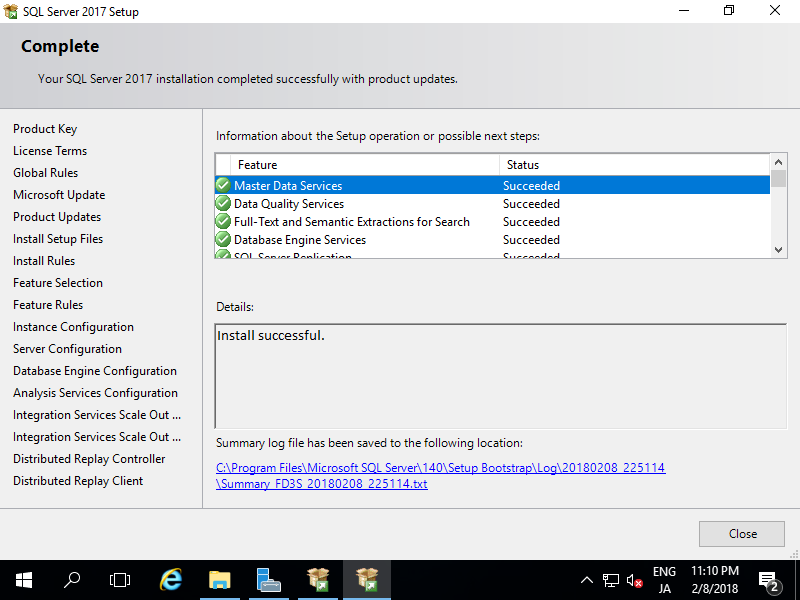
| [21] | After finishing Installation, Click [Close] button to complete. |
SQL Server 2017 : Connect to Database Engine
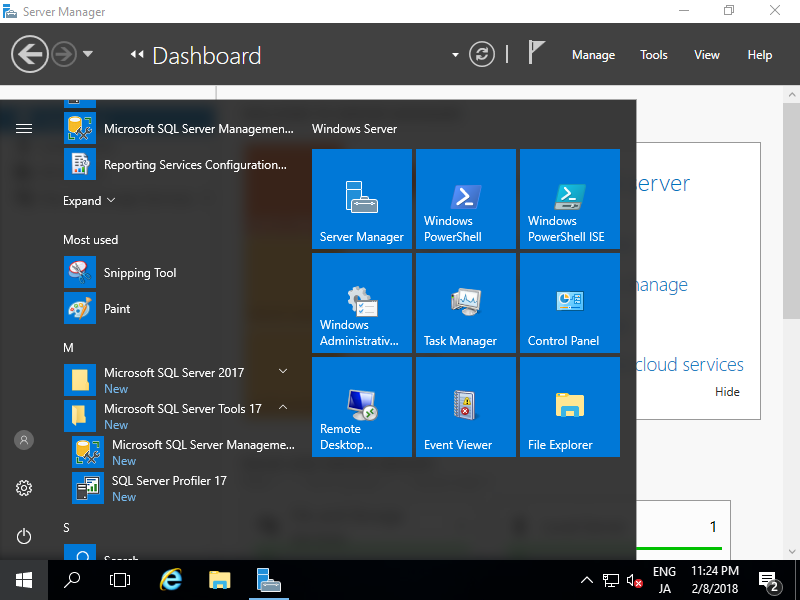
Install SQL Server Management Studio (SSMS) to connect to Database Engine. It's OK to install it both on Windows Server OS and Client OS.
[1]Download SSMS from the download site (SSMS is the free tool)
After downloading, run Installser to install it.
⇒ https://docs.microsoft.com/ja-jp/sql/ssms/download-sql-server-management-studio-ssms
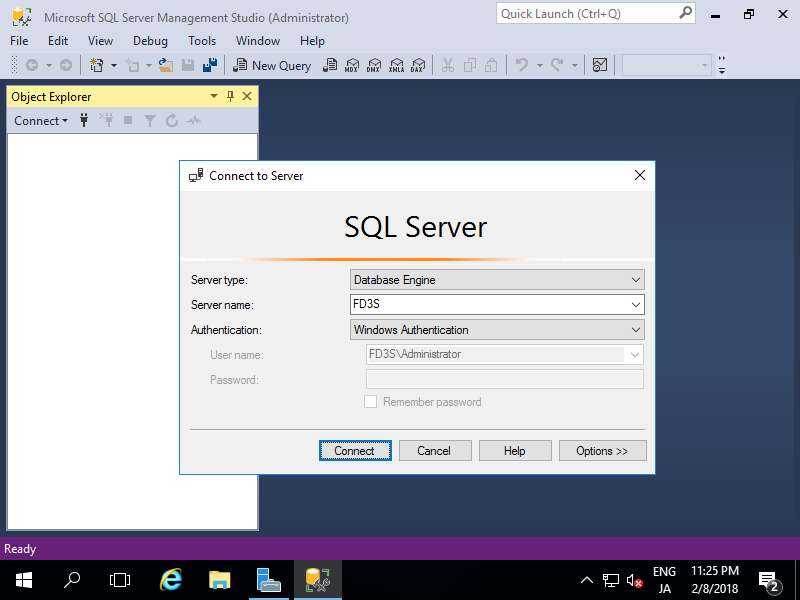
| [2] | Run SQL Server Management Studio. |
| [3] | Specify Server you'd like to connect.
If destination server is localhost and also current User is set as SQL Server admin User, Only click [Connect] button like follows. |
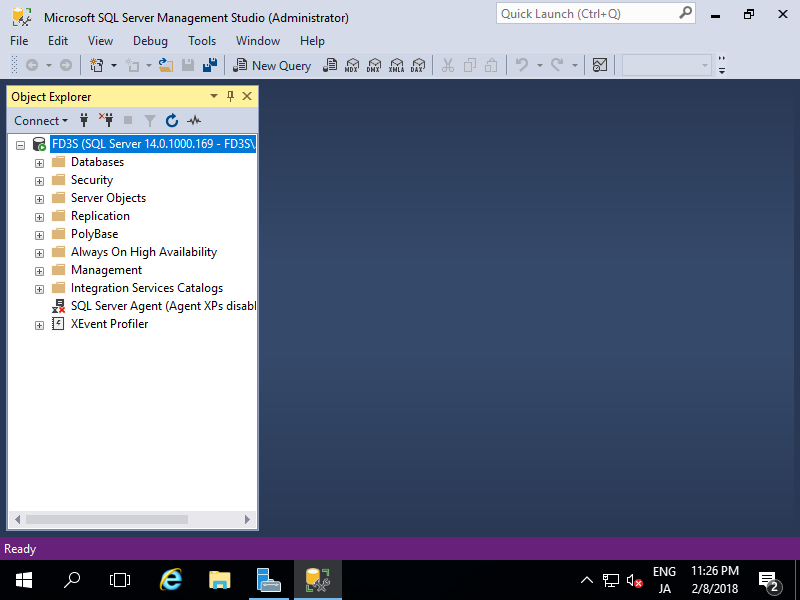
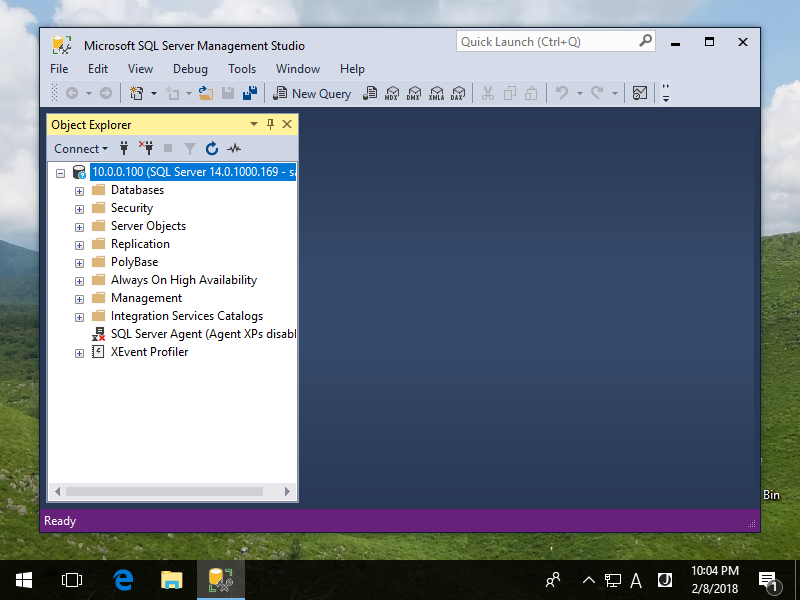
| [4] | Just connected. It's possible to manage and configure SQL Server on here. |
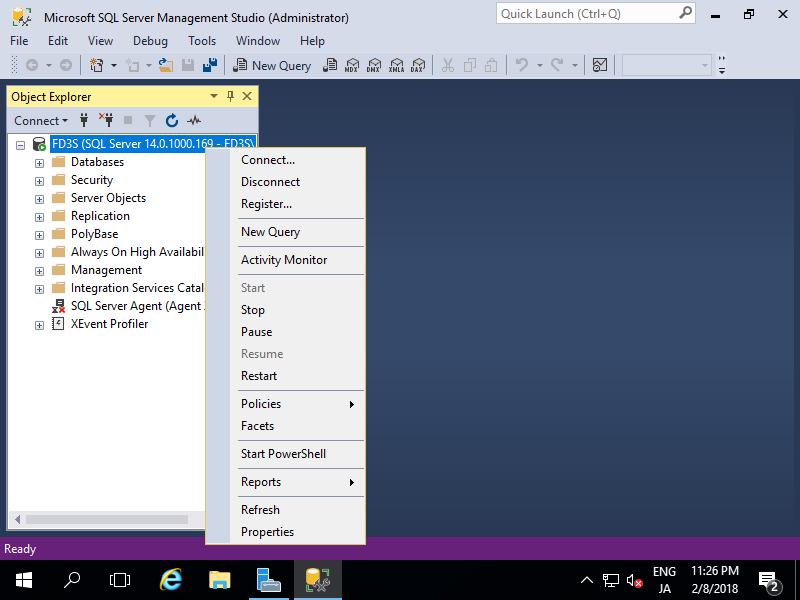
| [5] | By the way, It's possible to change Authentication Mode if you selected Windows Authentication during installation.
For example, If your Client computer is out of Active Directory domain but you'd like to connect SQL Server within Active Directory domain, it needs SQL Server Authentication.
To change settings, right-click Instance name and open [Properties]. |
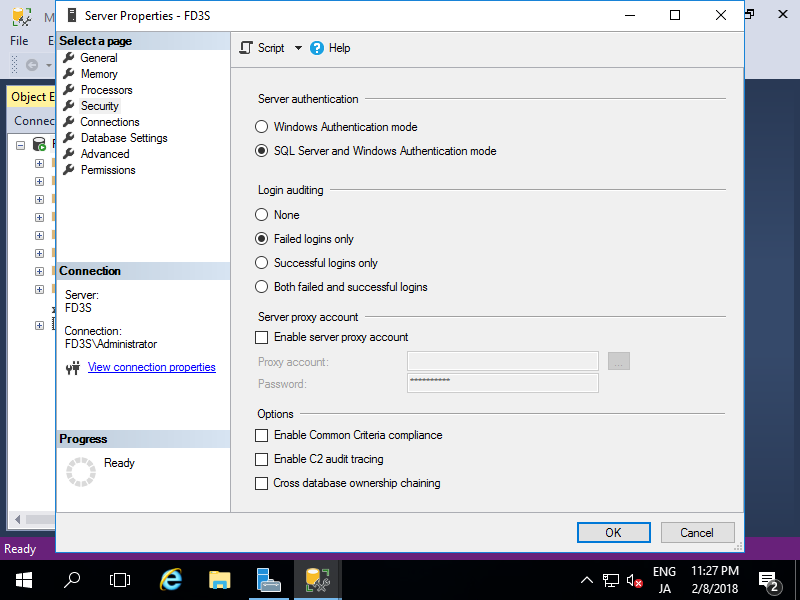
| [6] | Select [Security] on the left pane and check a box [SQL Server and Windows Authentication Mode] and click [OK] button. |
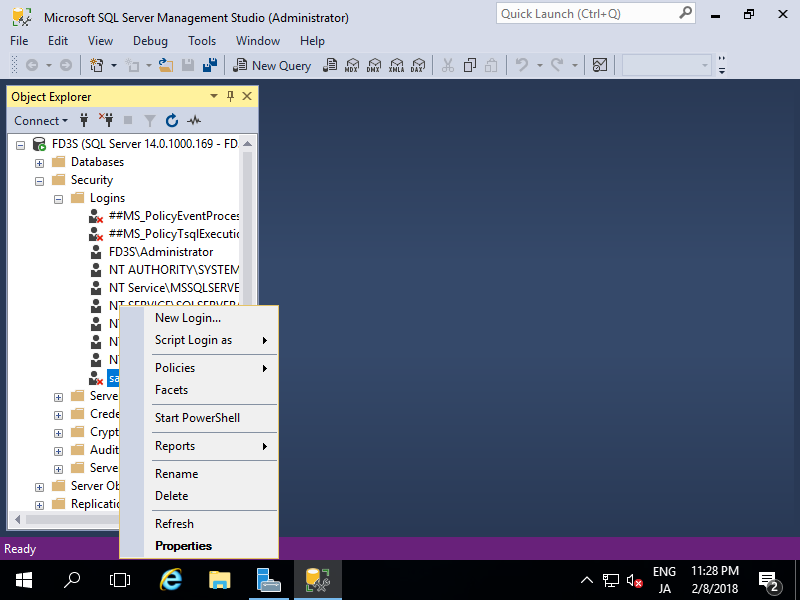
| [7] | Open [Security] - [Login] on the right pane and right-click [sa] to open [Properties].
[sa] is the SQL Server admin user. |
| [8] | [sa]'s password is set automatically, so change it you like. Next, Move to [Status] on the left pane. |
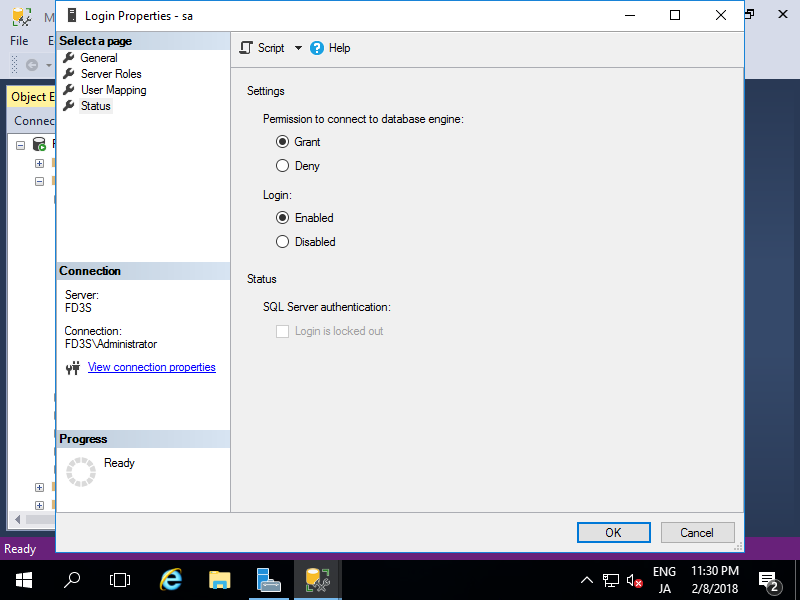
| [9] | Check a box [Enabled] for [Login] section and click [OK] button. |
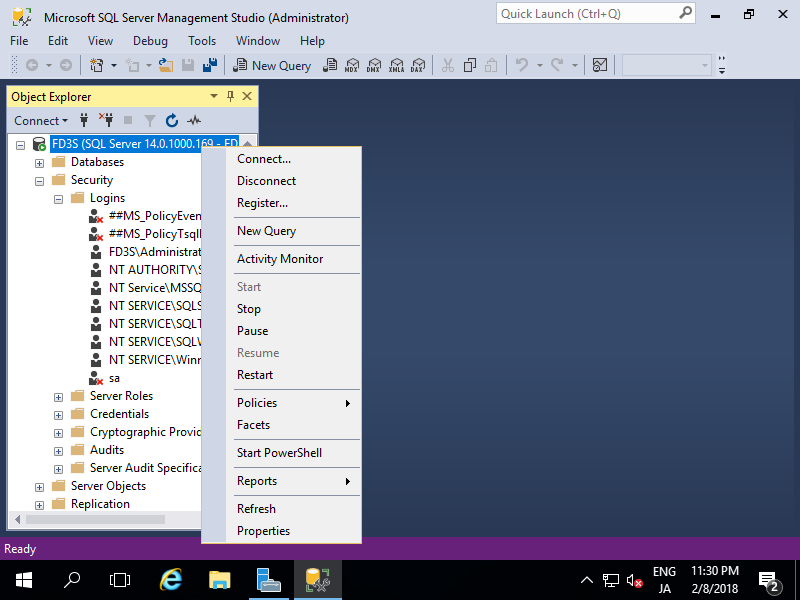
| [10] | Right-click instance name and select [Restart] to apply changes. |
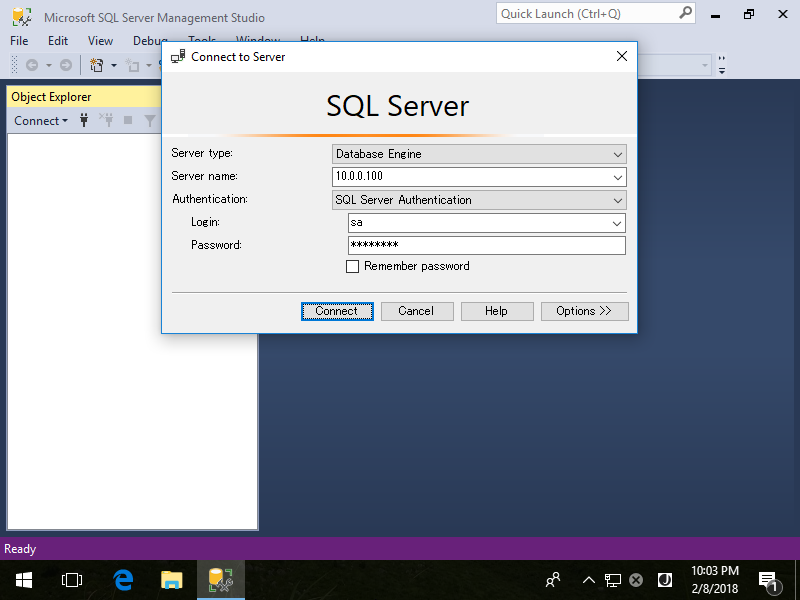
| [11] | For connecting SQL Server with SQL Server Authentication, it needs at least port 1433 is opened, check your Windows Firewall settings if it is running.
For [Server Name], input Hostname or IP address and Instance name. (if instance name is default one, it's optional keyword like follows)
For [Login] and [password], input [sa] and his password on this example. |
| [12] | Just Connected with SQL Server Authentication. |
SQL Server 2017 : Run Transact-SQL(T-SQL)
It's possible to manage SQL Server with Transact-SQL (T-SQL).
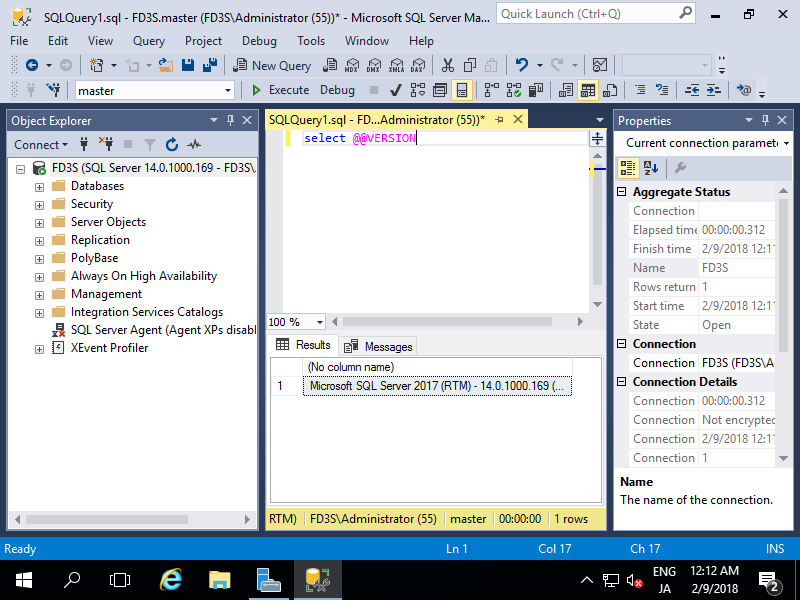
| [1] | Click [New Query] on SQL Server Management Studio. |
| [2] | Database Engine Query Editor runs. Input T-SQL commands on here. For executing SQL, click [Run] button, then results are displayed. |
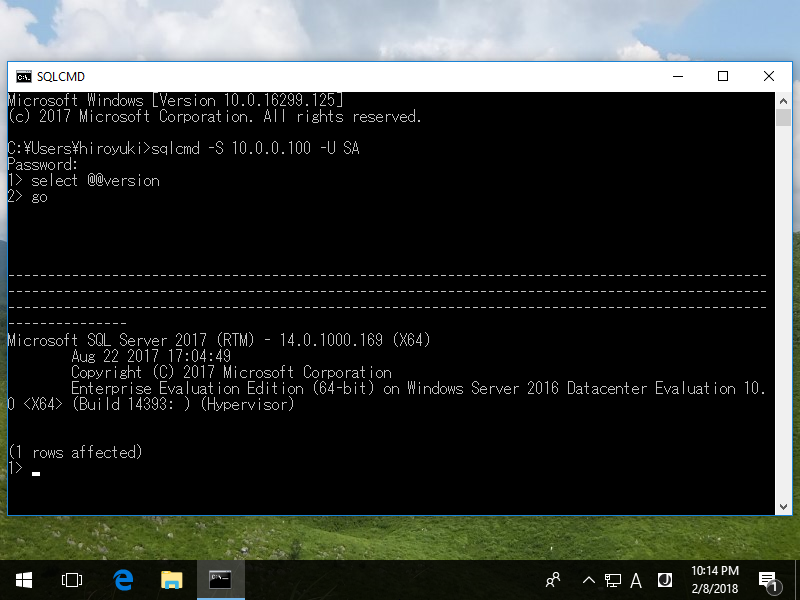
| [3] | It's possible to operate on command prompt. Windows authentication ⇒ sqlcmd -S [Server\Instance] -E
SQL Server authentication ⇒ sqlcmd -S [Server\Instance] -U [User] -P [Password] |