


Harbor簡介:
Docker容器應用的開發和運行離不開可靠的鏡像管理,雖然Docker官方也提供了公共的鏡像倉庫,但是從安全和效率等方面考慮,部署我們私有環境內的Registry也是非常必要的。Harbor是由VMware公司開源的企業級的Docker Registry管理項目,它包括權限管理(RBAC)、LDAP、日誌審覈、管理界面、自我註冊、鏡像複製和中文支持等功能。
Harbor下載:
國外下載地址:https://github.com/goharbor/harbor/releases
國內下載地址:http://harbor.orientsoft.cn/
docker-compose,下載地址,https://github.com/docker/compose/releases
注:Harbo需要安裝docker,及docker-compose,安裝方法這裏不再細說。
1、解壓及修改配置文件
# tar zxvf harbor-offline-installer-v1.5.1.tgz
# cd harbor
# vim harbor.cfg
根據需要配置相應的訪問ip,密碼等
2、準備配置文件
# ./prepare
3、安裝# ./install.sh
安裝成功後,訪問配置ip即可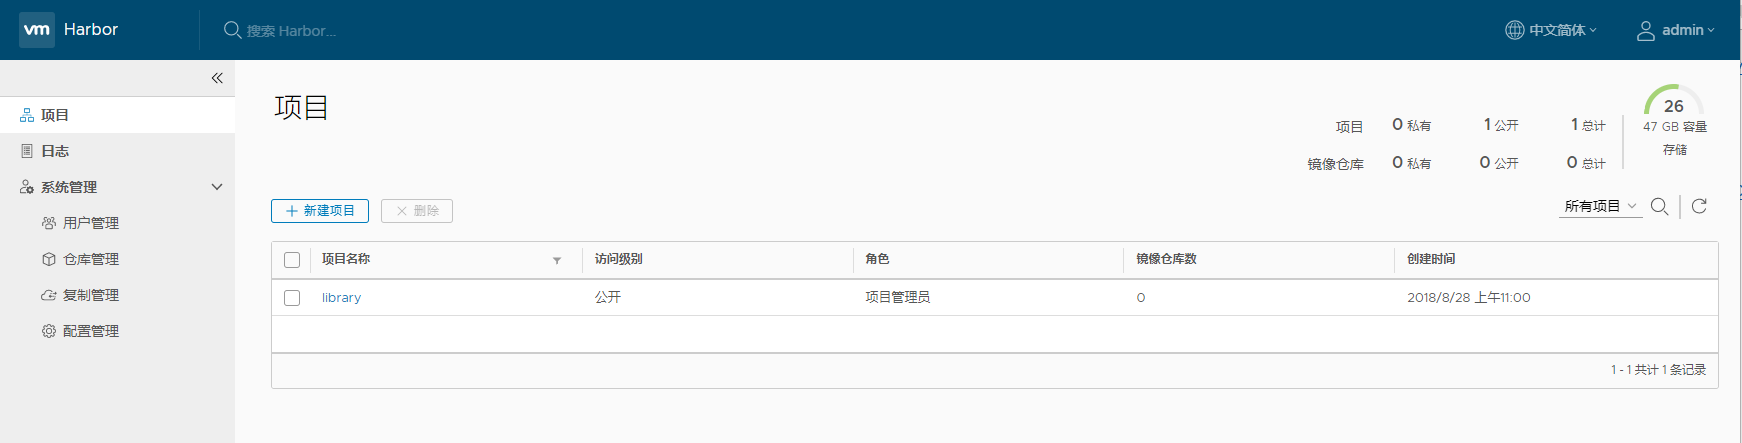
4、端口修改
因爲harbor默認端口爲80,而大多數時候是不希望使用80端口的,修改端口方法如下:
在harbor目錄下
(1)、修改docker-compose.yml文件
# vim docker-compose.yml

proxy:
    image: vmware/nginx-photon:v1.5.1
    container_name: nginx
    restart: always
    volumes:
      - ./common/config/nginx:/etc/nginx:z
    networks:
      - harbor
    ports:
      - 8070:80
      - 443:443
(2)\修改common/templates/registry/config.yml文件
# vim common/templates/registry/config.yml
auth:
  token:
    issuer: harbor-token-issuer
    realm: $public_url:8070/service/token
    rootcertbundle: /etc/registry/root.crt
service: harbor-registry5、鏡像推送:# docker login 192.168.xxx.xx:xx
在此之前在harbor創建用戶及項目,並在項目中添加對應用戶。
鏡像打包時候需要按一定規則tag:(test爲新建項目名稱)
# docker tag mysql 192.168.100.127:8070/test/mysql_test
# docker pull 192.168.100.127:8070/test/mysql_test
遊覽器打開Harbor即可看到推送的鏡像~
備註:
若推送鏡像報以下錯誤:
Error response from daemon: Get https://192.168.100.xxx/v1/users/: http: server gave HTTP response to HTTPS client
原因爲,docker默認使用的是https協議,而搭建的Harbor是http提供服務的,所以要配置可信任。PS:如果Harbor是https的就不會報該錯誤,https配置見最後。
方法1、修改docker配置文件:
# vim /usr/lib/systemd/system/docker.service

ExecStart=/usr/bin/dockerd --insecure-registry=192.168.100.127:8070
修改完畢後按安裝步驟走一遍即可。
方法2、
# vim /etc/docker/daemon.json

{
 "registry-mirrors": ["http://xxx0.m.daocloud.io"]
 "insecure-registries":["192.168.100.127:8070"]
}
配置完以後重啓一下docker
6、刪除鏡像及垃圾回收:
若知識在Harbor客戶端刪除,只是刪除了標記,存儲文件仍然存在,刪除實際的文件存儲庫使用註冊中心的垃圾收集(GC)。GC運行時如果有人推一個鏡像,還存在一種風險,即鏡像的層將被錯誤刪除導致鏡像損壞。在GC運行之前,首選的方法是先停止Harbor
# docker-compose stop

# docker run -it --name gc --rm --volumes-from registry goharbor/registry:2.6.2-photon garbage-collect --dry-run /etc/registry/config.yml

# docker-compose stop
官方用戶手冊:
https://github.com/goharbor/harbor/blob/master/docs/user_guide.md
7、Htpps配置harbor:
因爲測試使用,使用自簽名證書:
(1)、創建CA證書:
# openssl req -newkey rsa:4096 -sha256 -keyout ca.key -x509 -days 365 -out ca.crt其中:(req:申請證書籤署請求;-newkey 新密鑰 ;-x509:可以用來顯示證書的內容,轉換其格式,給CSR簽名等X.509證書的管理工作,這裏用來自簽名。)
(2) 、生成證書籤名請求:
# openssl req -nodes -newkey rsa:4096 -sha256 -keyout yourdomain.com.key -out yourdomain.com.csr(3)、生成證書:
# openssl x509 -req -days 365 -in yourdomain.com.csr -CA ca.crt -CAkey ca.key -CAcreateserial -out yourdomain.com.crt備註:若需要添加多個地址(允許鏈接的ip等)
 # echo subjectAltName = IP:192.168.100.xx > extfile.cnf

 # openssl x509 -req -days 365 -in yourdomain.com.csr -CA ca.crt -CAkey ca.key -CAcreateserial -extfile extfile.cnf -out yourdomain.com.crt
(4)、配置harbor.cfg:
    #set hostname
  hostname = xxxx     #域名或ip
  #set ui_url_protocol
  uiurlprotocol = https    #這裏改爲https****
  ......
  #The path of cert and key files for nginx, they are applied only the protocol is set to https
  ssl_cert = /cert/yourdomain.com.crt     #crt位置
  ssl_cert_key = /cert/yourdomain.com.key  #key的位置
(5)、配置啓動harbor:
    # docker-compose down
    # ./prepare
    #  docker-compose up –d
(6)、測試
1、訪問,https://配置的ip或域名(若nginx的443配置了其他端口需要加上對應端口號)
2、# docker login xxxx
若報錯x509: certificate signed by unknown authority:

需要把之前製作的ca證書添加到信任(因爲是自簽名證書):
# mkdir –p /etc/docker/certs.d/hostname
# cp ca.crt /etc/docker/certs.d/hostname/ca.crt
# systemc   restart docker.service
再次測試docker login xxxx,成功登陸~
