


很多公司在使用Office 365之後,根據企業內部的業務需求,需要將Office 365 訂閱下的部分用戶(Mailbox+OneDrive for Business+ SharePoint Site Collection)遷移到新訂閱中進行管理,那麼在Tenant to Tenant遷移時,管理員在新訂閱中添加或者同步用戶並授權之後,針對OneDrive for Business需要做的是如何批量初始化OneDrive for Business,而不是手動一個個登錄賬戶再通過單擊“OneDrive for Business”來完成初始化過程,具體分兩個過程:
- 使用PowerShell命令批量初始化OneDrive for Business
- 使用PowerShell命令驗證初始化OneDrive for Business 成功
使用PowerShell命令批量初始化OneDrive for Business
本文將爲大家介紹如何使用Powershell的方式完成批量初始化OneDrive for Business的操作步驟,具體操作步驟如下所示:
-
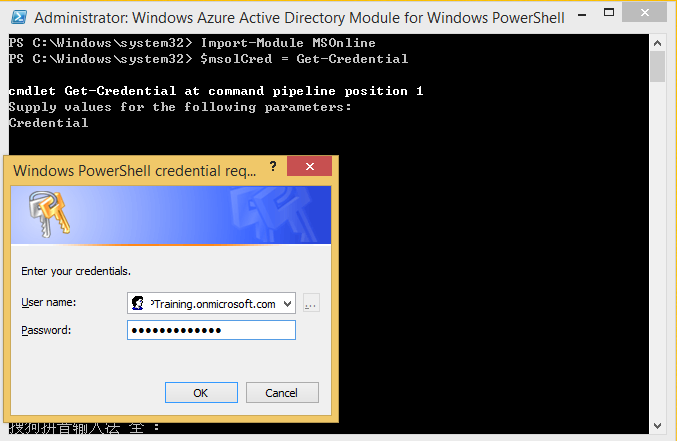
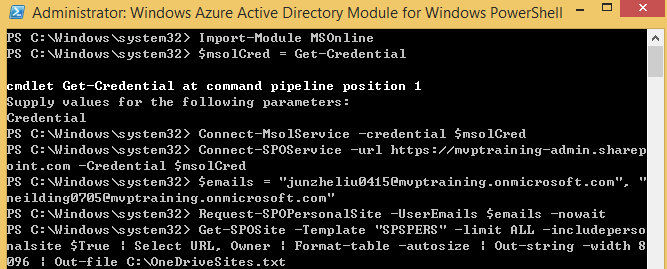
安裝Windows Azure Active Directory Module for Windows PowerShell,獲取Office 365 全局管理員的登錄身份:
Import-Module MSOnline
$msolCred = Get-Credential![Office 365:如何批量初始化OneDrive for Business?]()
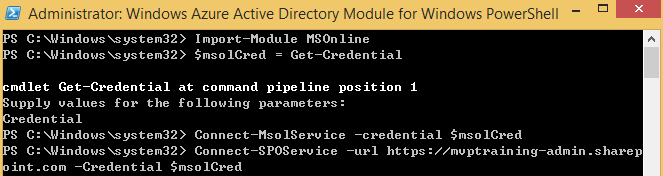
2.使用獲取到的用戶身份鏈接SharePoint Online Service:
Connect-MsolService -credential $msolCred
Connect-SPOService -url https://mvptraining-admin.sharepoint.com -Credential $msolCred
3.輸入要請求OneDrive for business初始化的UPN地址:
$emails = "[email protected]","[email protected]"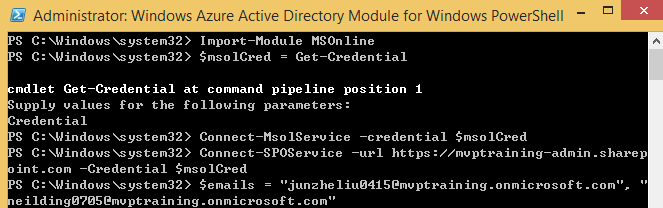
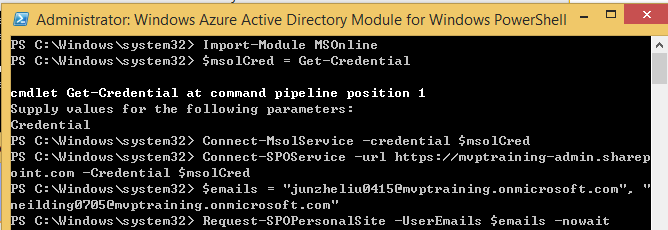
4.請求批量生成Personal Site的命令:
request-SPOPersonalSite -UserEmails $emails -nowait
說明:
1.Request-SPOPersonalSite cmdlet請求將指定的用戶加入隊列,以便爲每個用戶創建一個個人站點,實際的個人站點稍後由Timer job來創建,批量初始化OneDrive將在24小時內生效。。
2.該命令一次最多可以指定200個用戶批量初始化OneDrive for Business
3.執行此cmdlet的用戶必須至少分配SharePoint Online Administrator角色,並已分配SharePoint Online License,以便能夠爲用戶提供OneDrive。
使用PowerShell命令驗證初始化OneDrive for Business 成功
1.Get-SPOSite -Template "SPSPERS" -limit ALL -includepersonalsite $True | Select URL, Owner | Format-table -autosize | Out-string -width 8096 | Out-file C:\OneDriveSites.txt
2.批量初始化的OneDrive已生成,Report如下所示:

謝謝閱讀~