


Google I/O started yesterday, and Google released an early access preview version of Android Studio, a new IDE based on IntelliJ IDEA with drag-and-drop GUI layout editor, Gradle-based build system, Lint tools, the ability to preview how apps look on different screen sizes, and more. This may eventually replace the Eclipse + ADT Plugin combination currently used, so I’ve decided to give it a try in Ubuntu 13.04 64-bit, but it’s also available for Windows and Mac OS X.
First, head over to Android Studio Installation instructions, and download Android Studio for you operating system via your Browser (You’ll have to accept an EULA), then open a terminal to extra it:
tar xzvf ~/Downloads/android-studio-bundle-130.677228-linux.tgz
Now let’s start Android Studio:
cd android-studio/bin/
./studio.sh
OpenJDK Runtime Environment (IcedTea 2.3.9) (7u21-2.3.9-1ubuntu1)
OpenJDK 64-Bit Server VM (build 23.7-b01, mixed mode)
OpenJDK 64-Bit Server VM (build 23.7-b01, mixed mode)
WARNING: You are launching the IDE using OpenJDK Java runtime.
ITS KNOWN TO HAVE PERFORMANCE AND GRAPHICS ISSUES!
SWITCH TO THE ORACLE(SUN) JDK BEFORE REPORTING PROBLEMS!
NOTE:    If you have both Oracle (Sun) JDK and OpenJDK installed
 please validate either STUDIO_JDK, JDK_HOME, or JAVA_HOME environment variable points to valid Oracle (Sun) JDK installation.
 See http://ow.ly/6TuKQ for more info on switching default JDK.
Press Enter to continue.
I did press enter to continue, but Android Studio complained about JAVA_HOME no being defined. Let’s just install Sun Oracle JAVA JDK since this is the recommended method. I’ve used the instructions provided on Mark
Loiseau blog to do so.
Download the latest Sun Oracle Java JDK (now 7.21u) from http://www.oracle.com/technetwork/java/javase/downloads/index.html.
For Ubuntu 64-bit, select jdk-7u21-linux-x64.tar.gz.
Let’s install, and configure the system to use the JAVA JDK
tar xzvf ~/Downloads/jdk-7u21-linux-x64.tar.gz
sudo mv jdk1.7.0_21/ /usr/lib/jvm/
sudo update-alternatives --install /usr/bin/java java /usr/lib/jvm/jdk1.7.0_21/bin/java 1
sudo update-alternatives --install /usr/bin/javac javac /usr/lib/jvm/jdk1.7.0_21/bin/javac 1
sudo update-alternatives --install /usr/bin/javaws javaws /usr/lib/jvm/jdk1.7.0_21/bin/javaws 1
sudo update-alternatives --config java
sudo update-alternatives --config javaws
This should be it, let’s confirm we’re using the right version:
java -version
java version "1.7.0_21"
Java(TM) SE Runtime Environment (build 1.7.0_21-b11)
Java HotSpot(TM) 64-Bit Server VM (build 23.21-b01, mixed mode)
I also had to install some extra dependencies to workaround issues with adb when running the application:
apt-get install lib32ncurses5 ia32-libs
Let’s start Android Studio again with ./studio.sh
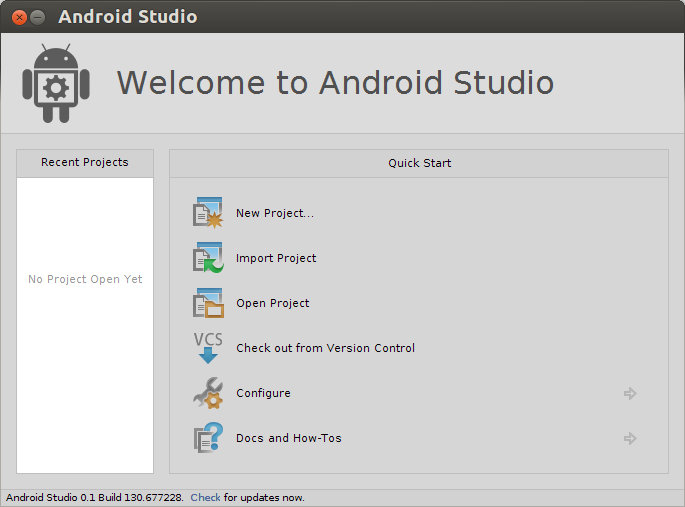
Success! If you already have project based on Eclipse, Google Provides instructions to migrate your Eclipse apps to Android Studio, but today, let’s just start a New Project.
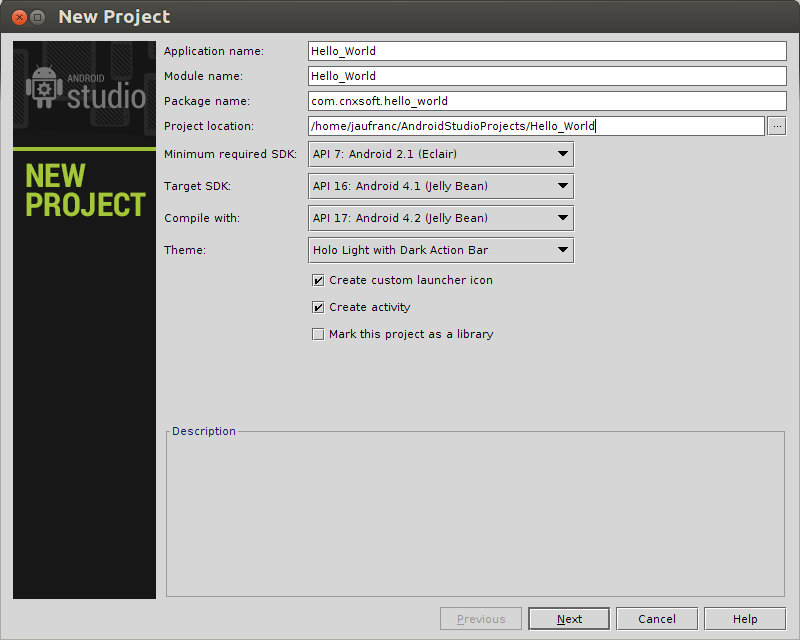
You’ll just need to provide an application name (e.g. Hello_World), and change the Package Name (replace com.example by your own) to remove a warning, and click on Next. There are several options in the wizard, but I’ve just clicked on Next several times to complete the creation of the new project. The first time will take some time since Android Studio will download, install and configure Gradle build system.

Now just open the “MainActivity” as shown below to see the source code.
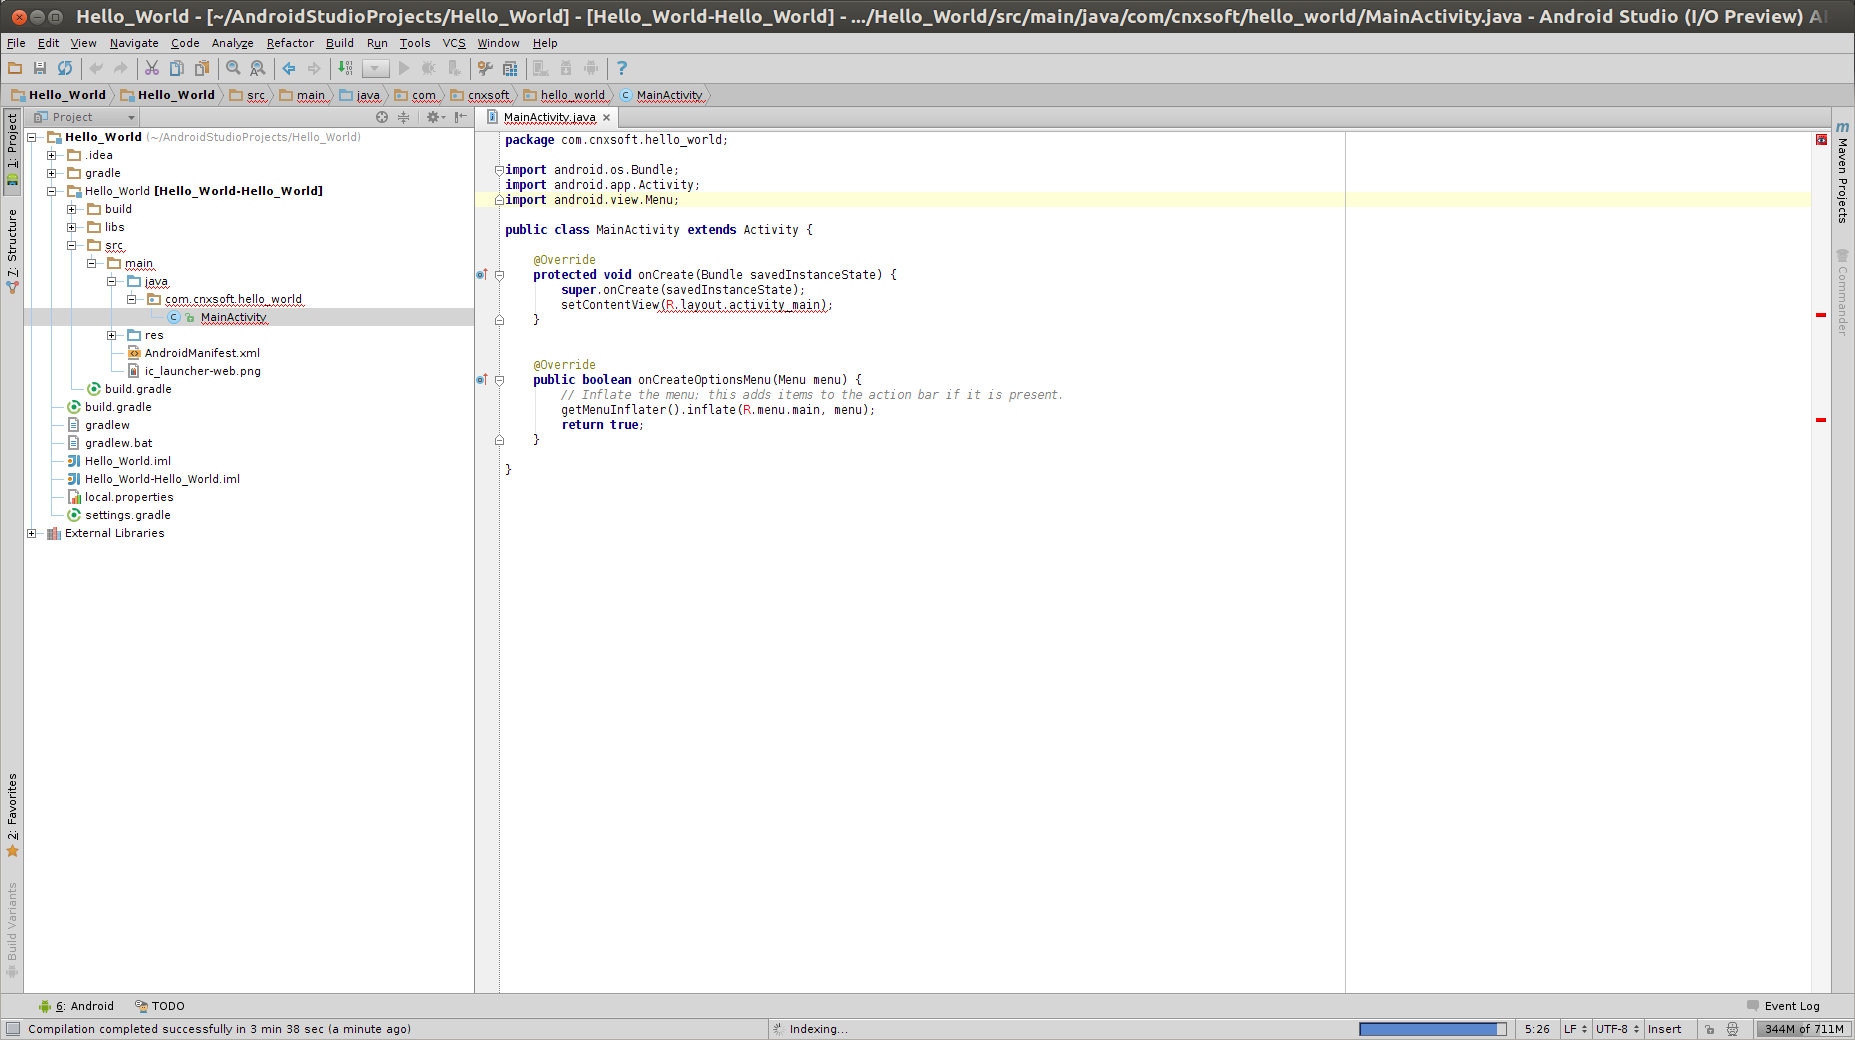
Edit the code as follows (Changes highlighted in green):
package com.cnxsoft.hello_world;

import android.os.Bundle;
import android.app.Activity;
import android.view.Menu;
import android.widget.TextView;

public class MainActivity extends Activity {

    @Override
    protected void onCreate(Bundle savedInstanceState) {
        super.onCreate(savedInstanceState);
        setContentView(R.layout.activity_main);
        TextView tv = new TextView(this);
        tv.setText("Hello, Android");
        setContentView(tv);
    }

    @Override
    public boolean onCreateOptionsMenu(Menu menu) {
        // Inflate the menu; this adds items to the action bar if it is present.
        getMenuInflater().inflate(R.menu.main, menu);
        return true;
    }
}
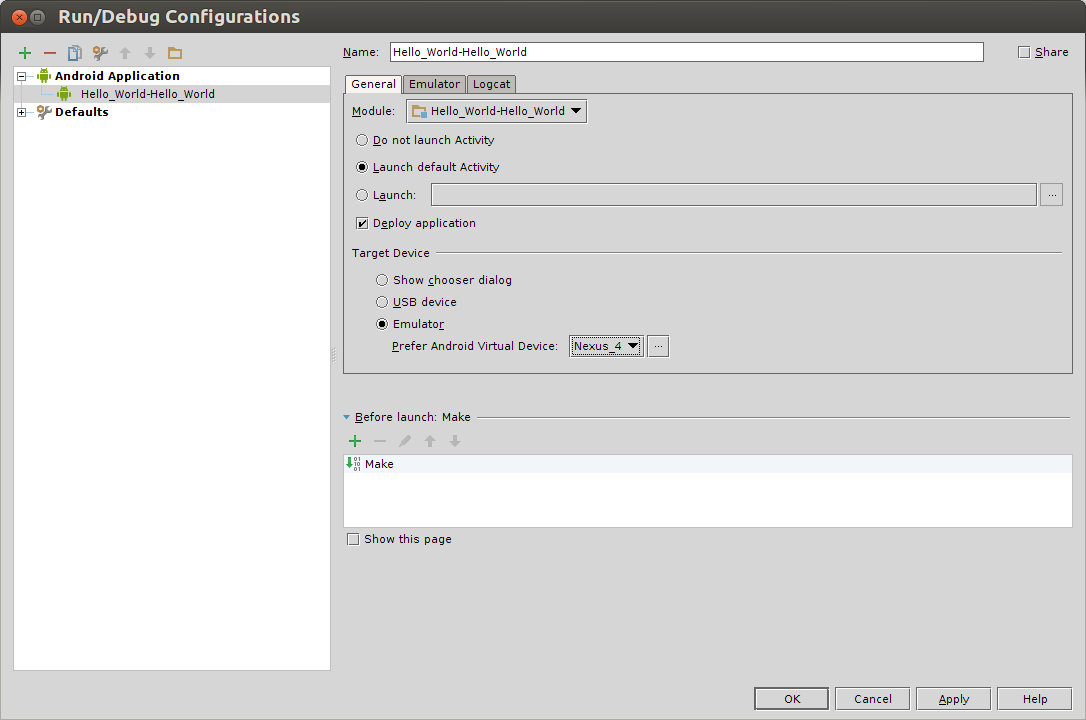
I’ll use the emulator for this hello world example, so we need to configure Android Studio to use it. Click on Run->Edit Configuration, select emulator, and create a Android Virtual Device by clicking on … (e.g. Nexus 4), and click OK.
Time to run the application by pressing the Run icon (green triangle) or pressing Shift+F10. Now be a little patient, and after a while, you should see “Hello, Android” displayed in the Emulator.
Further information is available in Android Studio Tips and Tricks page.
form:http://www.cnx-software.com/2013/05/16/installing-android-studio-ide-in-ubuntu-hello-world-application/
Read more: http://www.cnx-software.com/2013/05/16/installing-android-studio-ide-in-ubuntu-hello-world-application/#ixzz2VbZEEjlC

