


前面的博文中和大家聊瞭如何安裝一個域控制器,現在就和大家來聊聊如何配置域控制器:
在企業的實際生產應用中如果僅僅有一臺Active Directory服務器是十分危險的,因爲Active Directory上面的數據十分重要,域控制器一旦崩潰會影響整個公司的運轉,所以一個企業至少要有兩臺以上的服務器做域控制器來實現於環境的正常運轉。下面我們就給大家演示當前企業裏比較主流的額外域控制器的配置:
額外域控制器主要有以下三點好處:
1、實現AD容錯。
2、加快AD的驗證速度。
3、分擔負載
注:若部署了多臺域控制器,則他們是同時工作的,必須保證預控之間的數據複製正常。
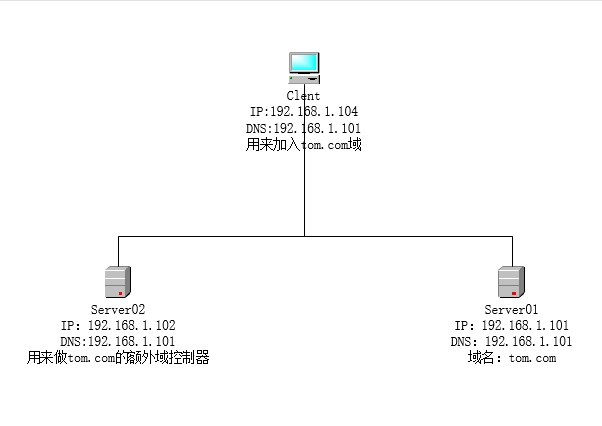
整個實驗我們需要兩臺服務器和一臺客戶機,一臺服務器作爲域控制器,另一臺服務器作爲額外域控制器,客戶機用來加入域以測試實驗是否成功。具體實驗括撲和IP 地址配置如下:
1、提升server01爲域控制器:
(1)添加AD、DS服務:
打開服務器管理器:
點擊右上角管理,添加角色和功能:
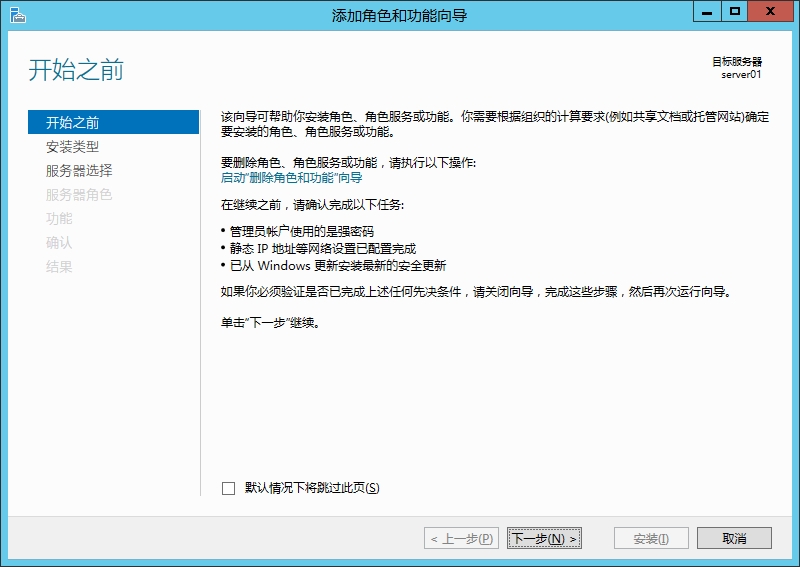
系統自動彈出添加角色和功能嚮導,直接點擊下一步即可:
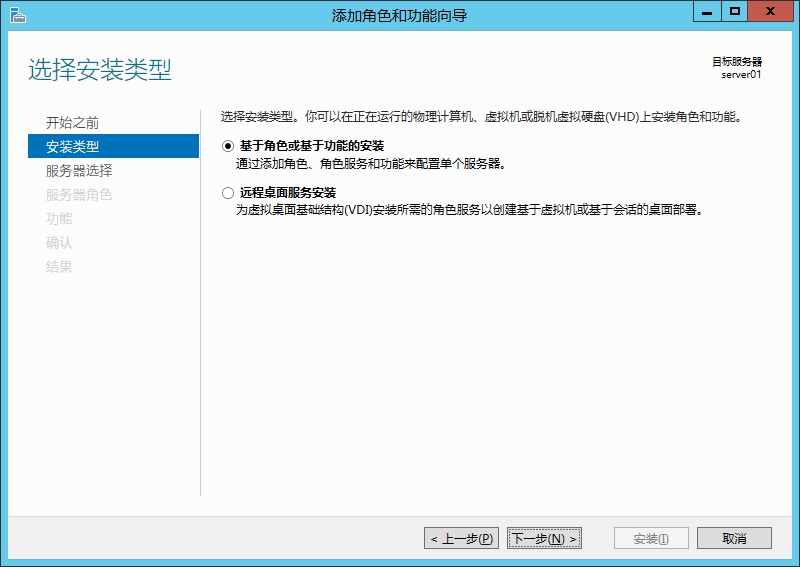
這裏選擇基於角色或者基於功能的安裝,點擊下一步:
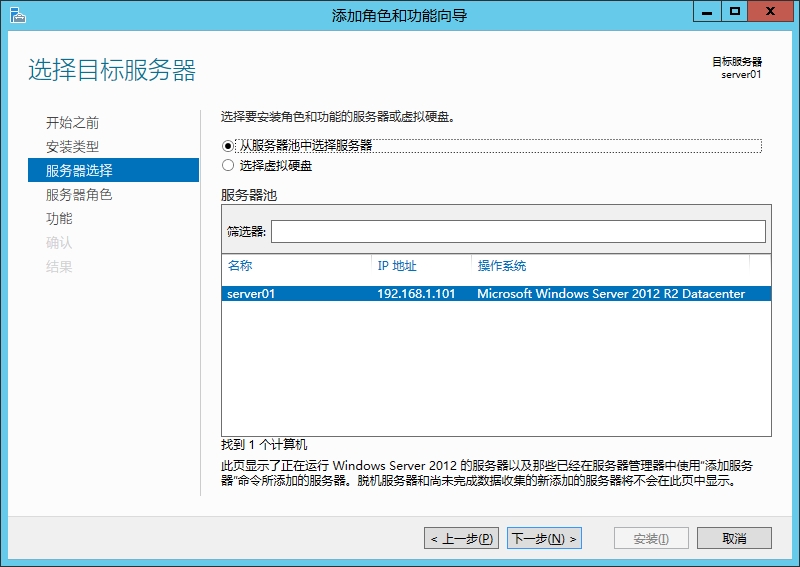
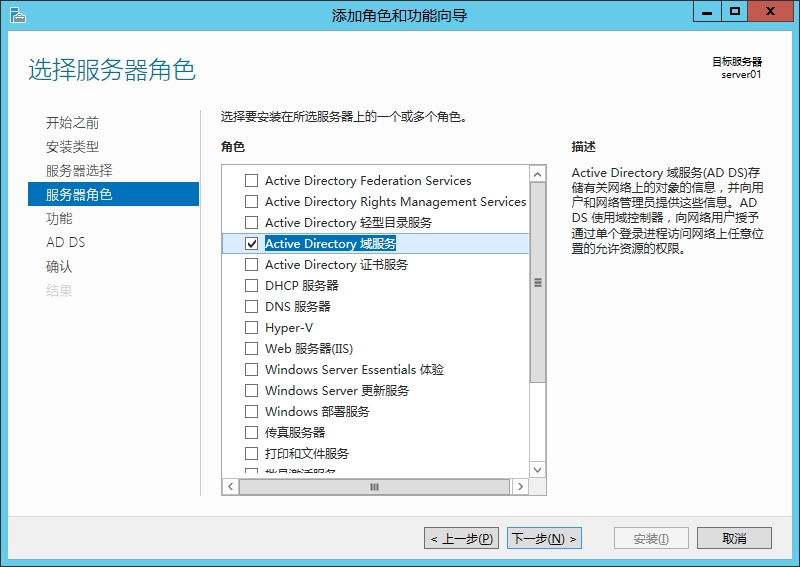
這裏選擇從服務器池中安裝,並檢查IP地址是否正確,然後點擊下一步:
在這裏勾選Active Directory:
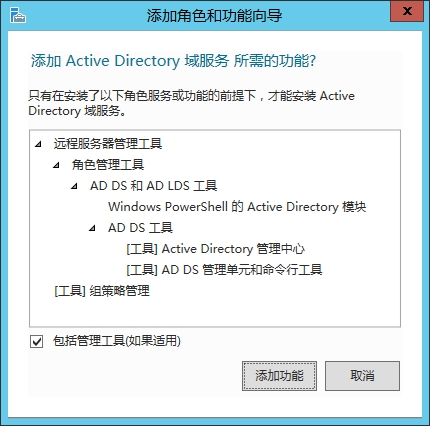
點擊添加功能:
點擊下一步:
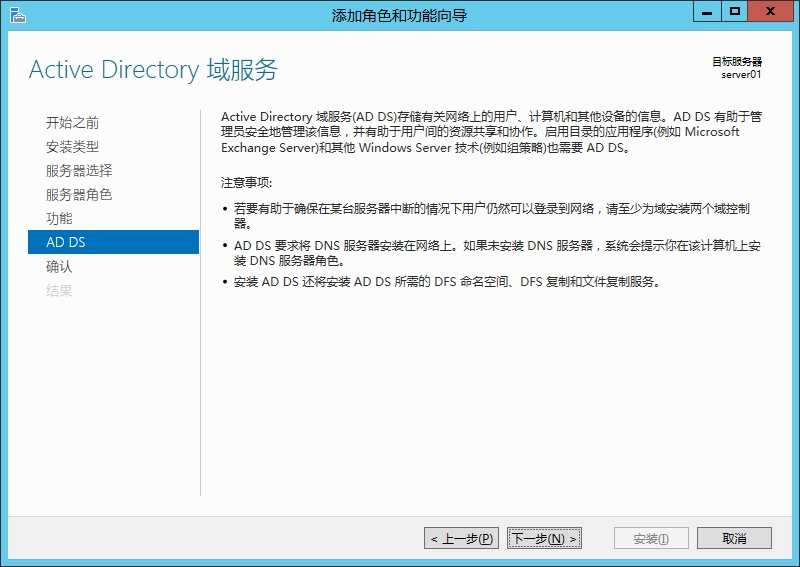
這裏系統提示安裝AD、DS所需要安裝的功能,直接點擊下一步:
點擊下一步:
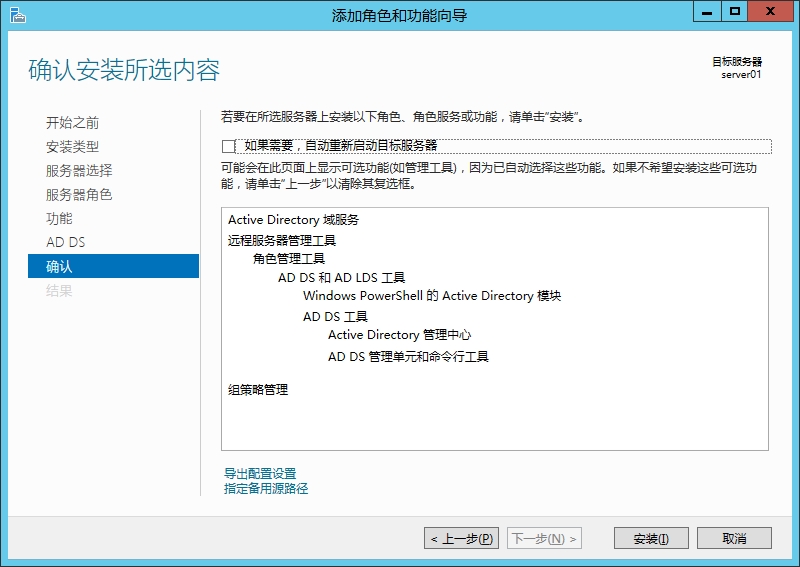
點擊安裝:
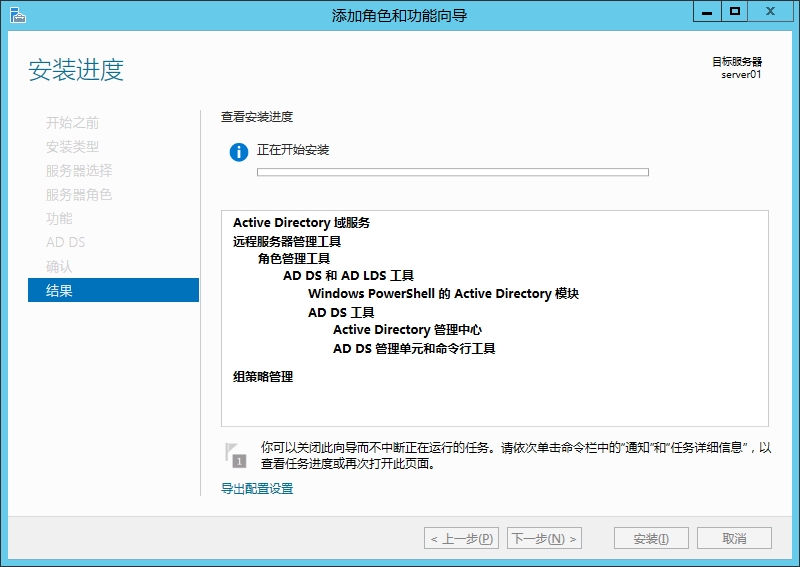
開始安裝AD、DS:
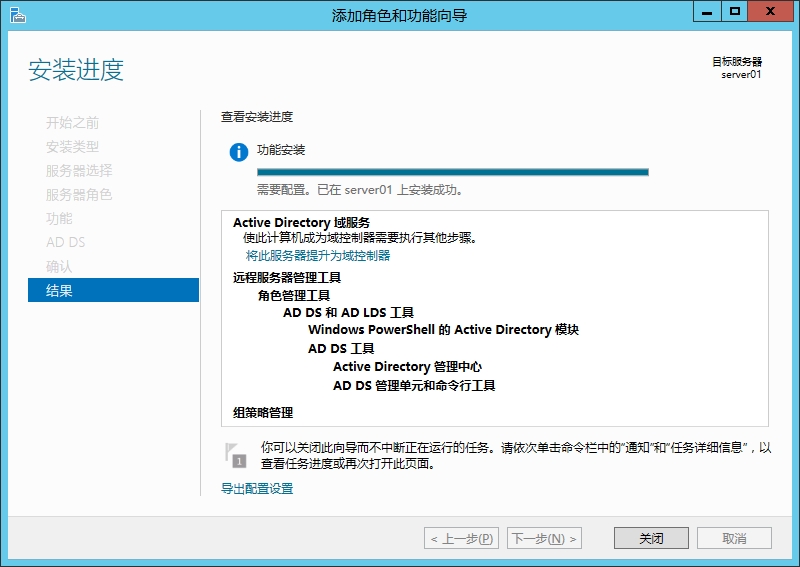
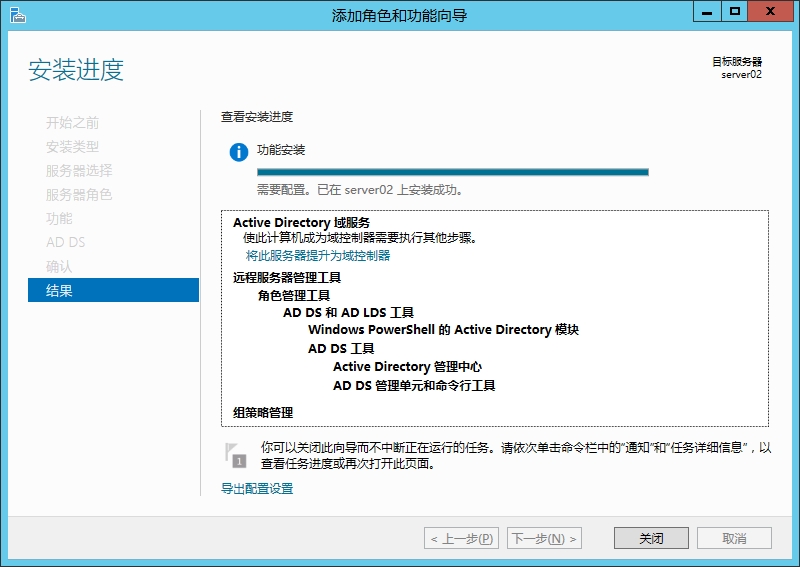
安裝完成,點擊關閉:
(2)提升域控:
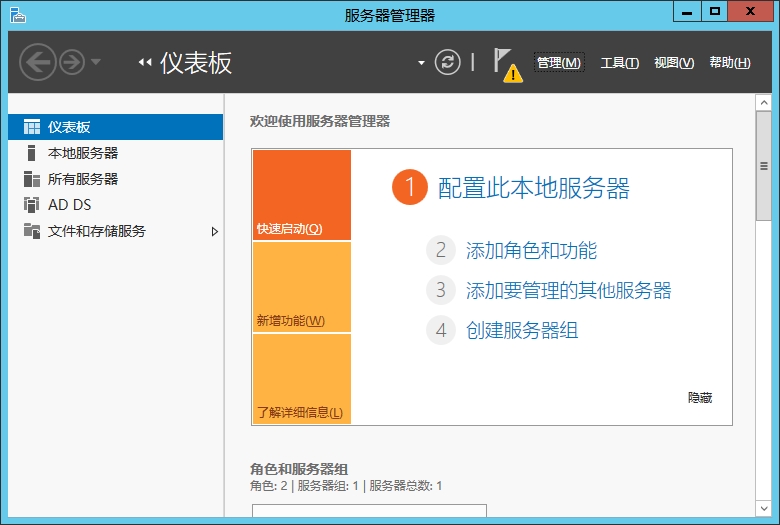
點擊服務器右上角的***歎號,點擊將此服務器提升爲域控制器:
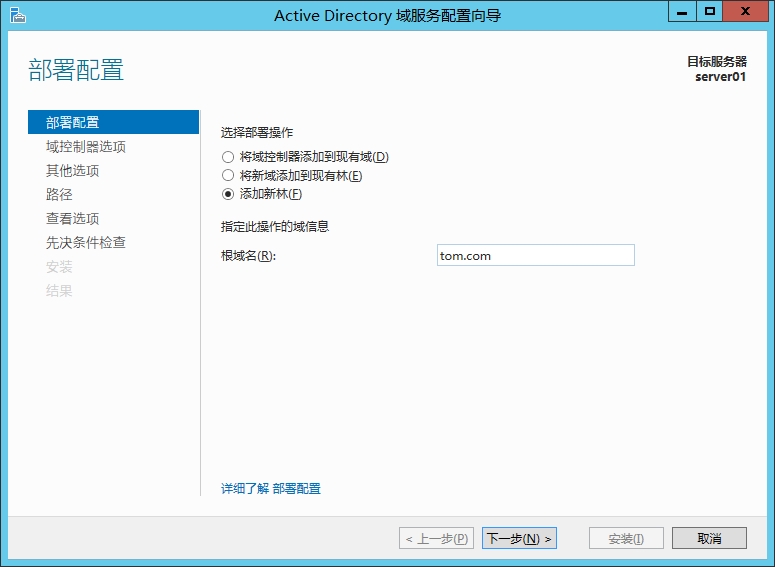
這裏我們選擇添加新林:
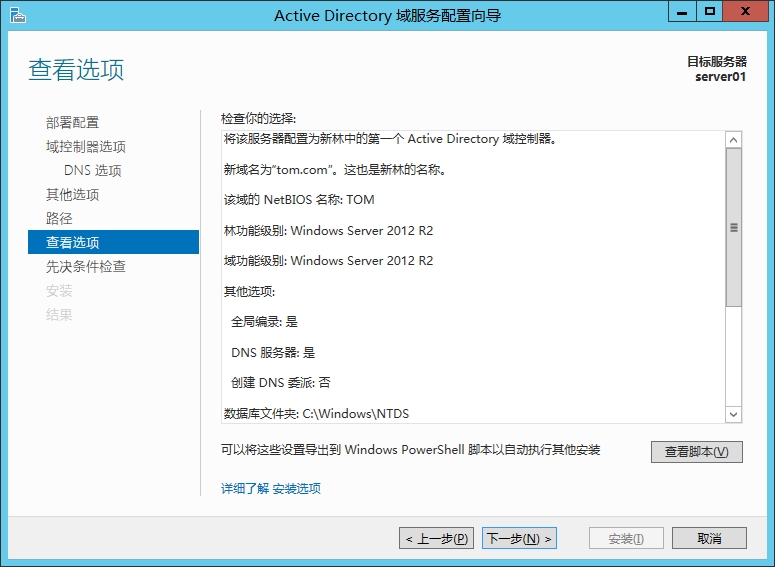
輸入根域名:tom.com點擊下一步:
這裏需要輸入還原模式密碼,點擊下一步:
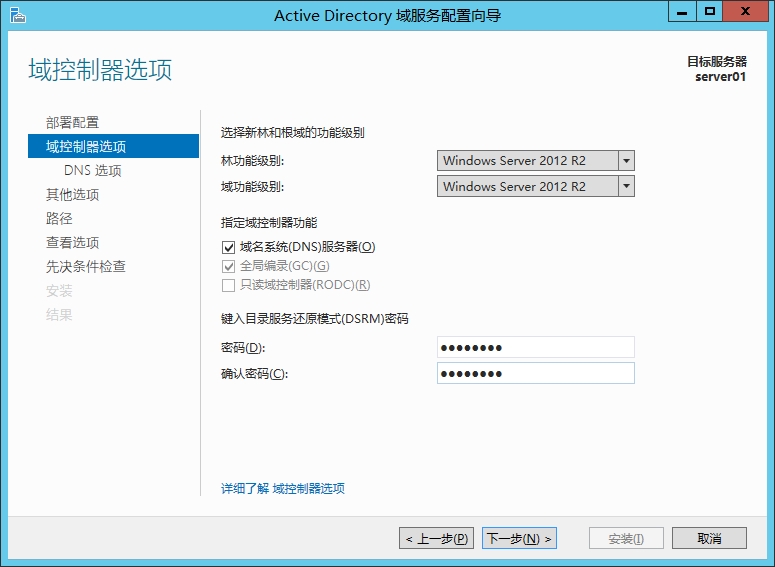
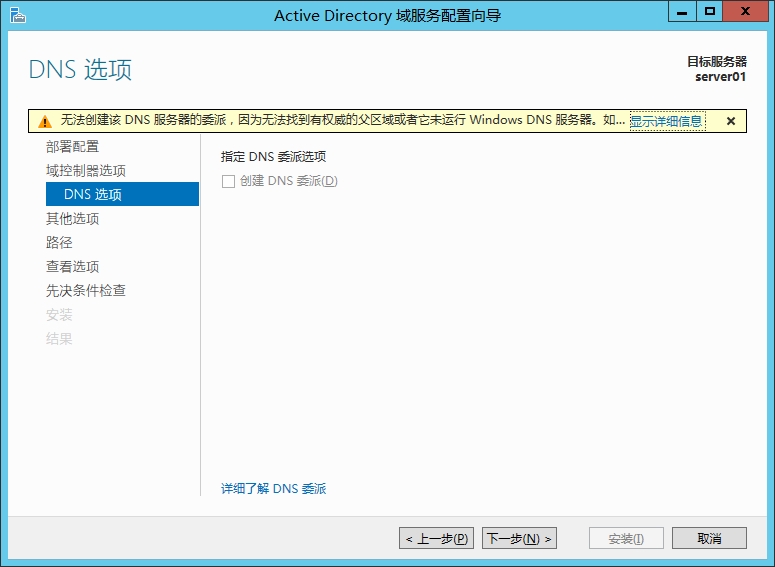
直接點擊下一步:
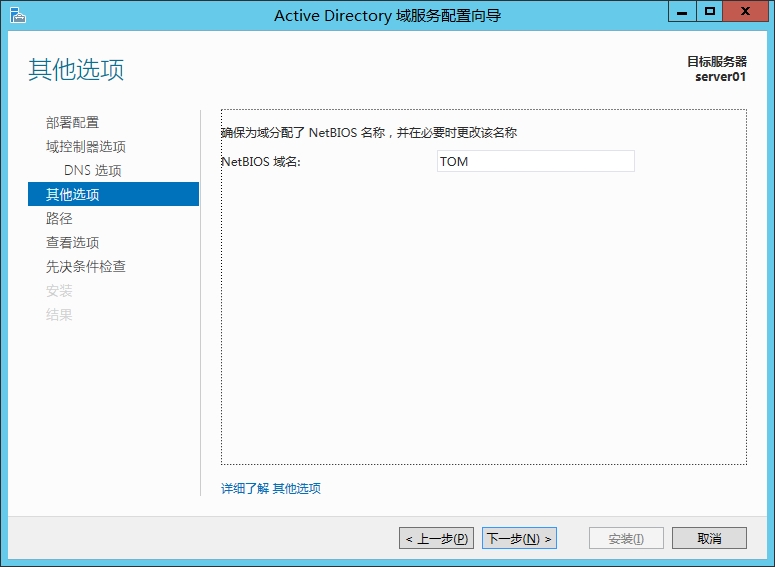
這裏系統自動分配了NetBIOS空間(NetBIOS空間主要給XP,2000等機器使用),點擊下一步:
這裏系統讓我們選擇數據庫文件,日誌文件以及SYSVOL的存放目錄,若服務器有多塊硬盤建議將這些文件分開存放,以便於出錯修復,在這裏我們直接點擊下一步:
點擊下一步:
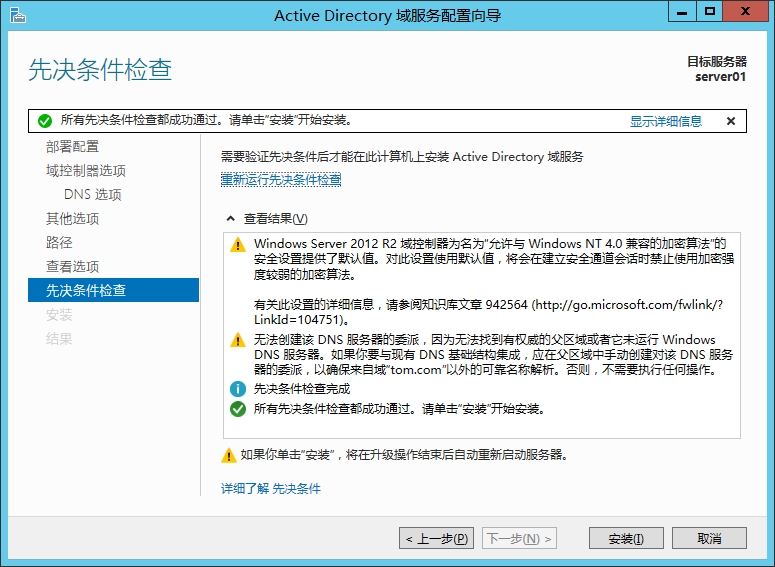
系統開始檢查安裝Active Directory域服務的先決條件,我們直接點擊安裝即可:
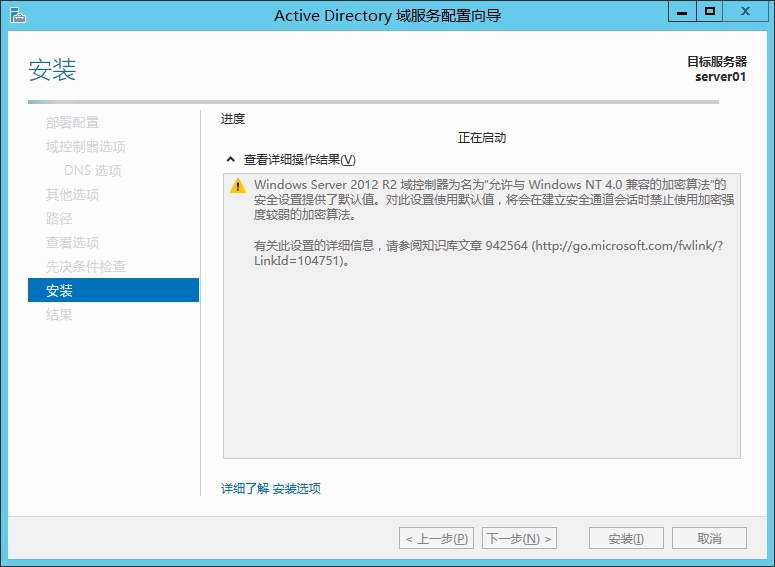
開始安裝Active Directory域服務:
安裝完成後計算機會重新啓動:
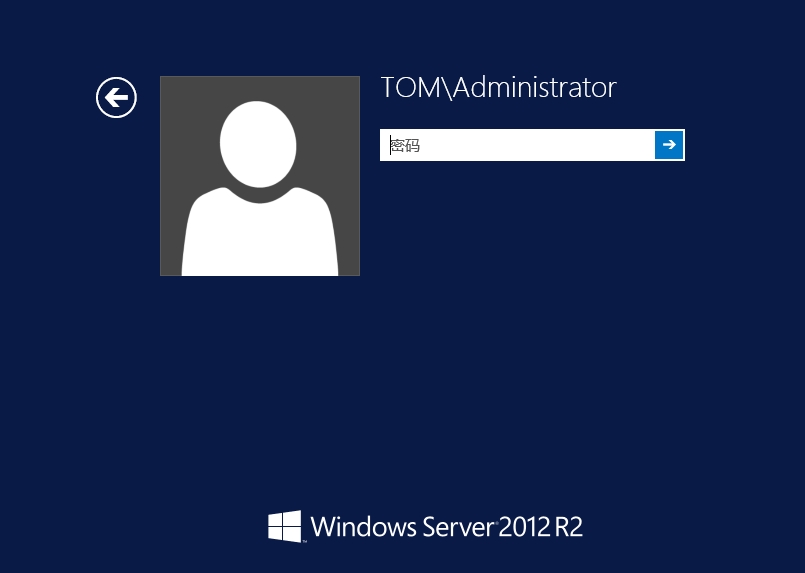
重啓之後我們就以域用戶登錄了
(3)檢查域是否配置正確:
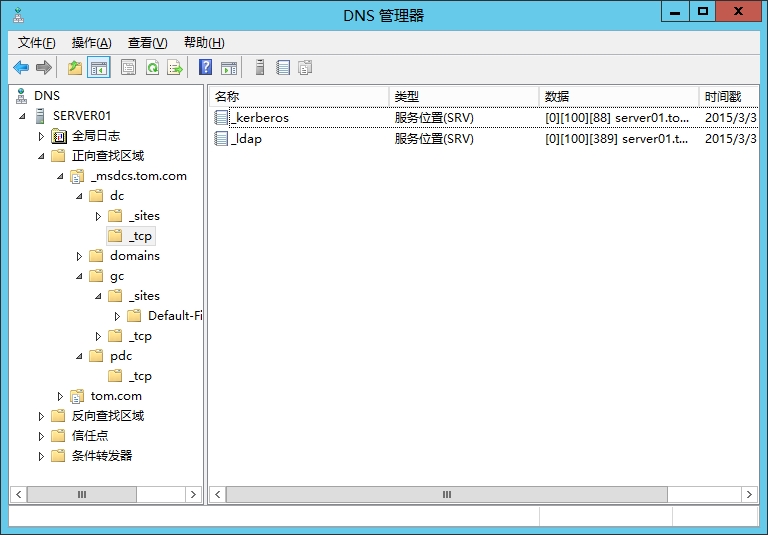
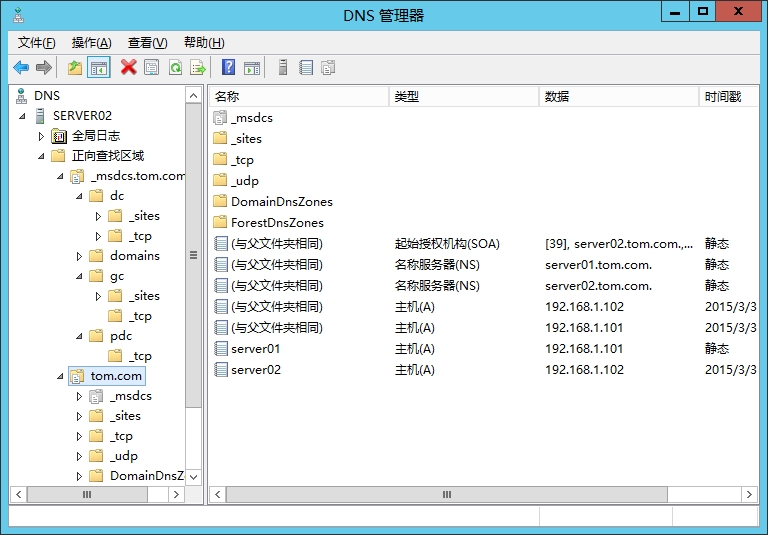
A、DNS中的SRV記錄:
B、檢查服務是否正常:
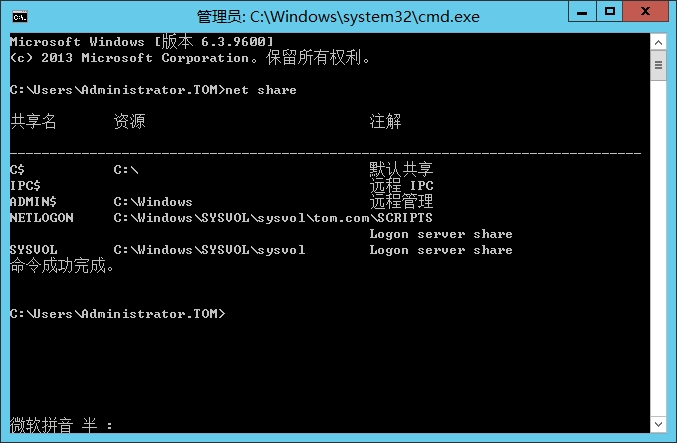
C、檢查共享文件夾:
到這裏我們在server01端的設置就已經完成了。
2、在server02上搭建額外域控制器
(1)添加AD、DS服務:
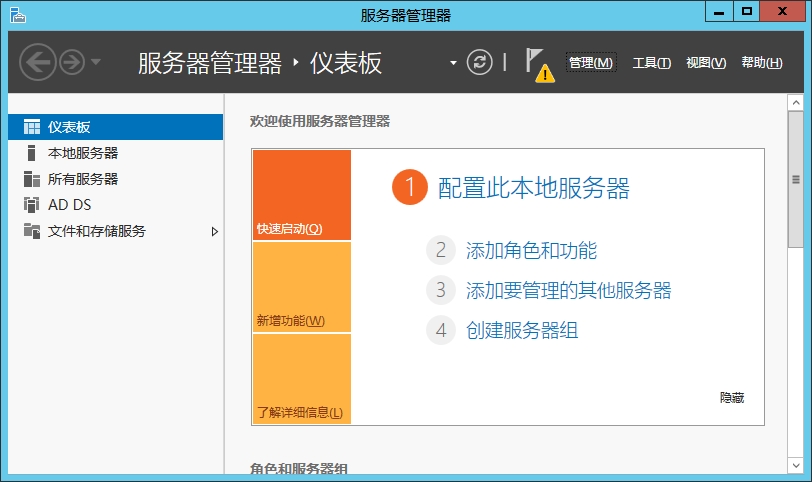
打開server02的服務器管理器:
點擊右上角管理,點擊添加角色和功能:
系統彈出添加角色和功能嚮導,直接點擊下一步:
選擇基於角色或基於功能的安裝,點擊下一步:
選擇從服務器池中選擇服務器,並檢查IP地址是否正確,點擊下一步:
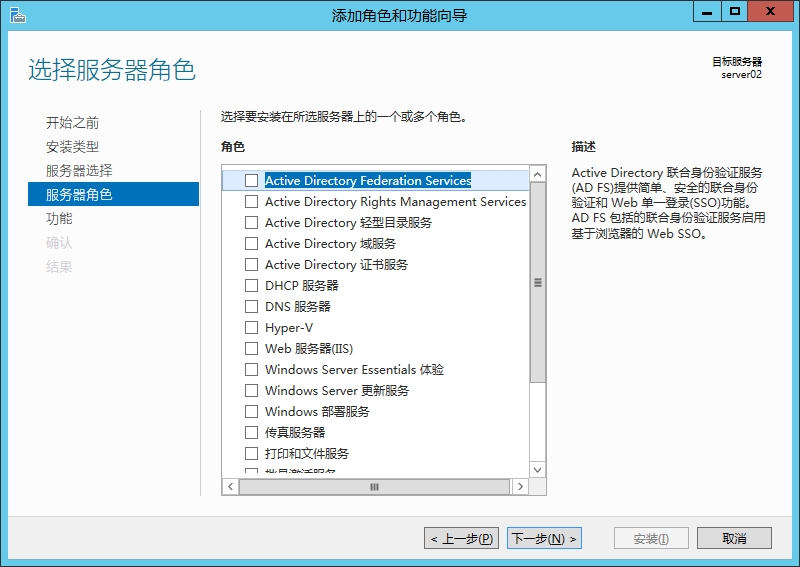
這裏點擊Active Directory域服務:
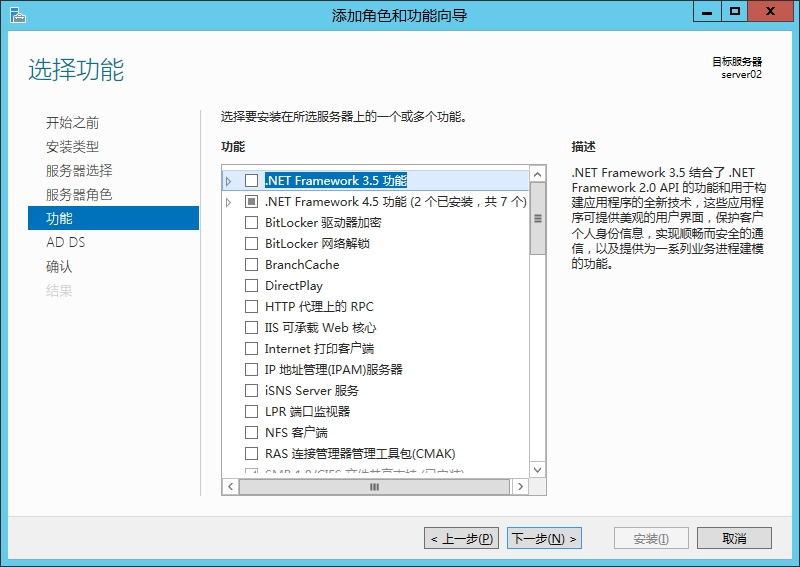
點擊添加功能:
點擊下一步:
點擊下一步:
下一步:
點擊安裝:
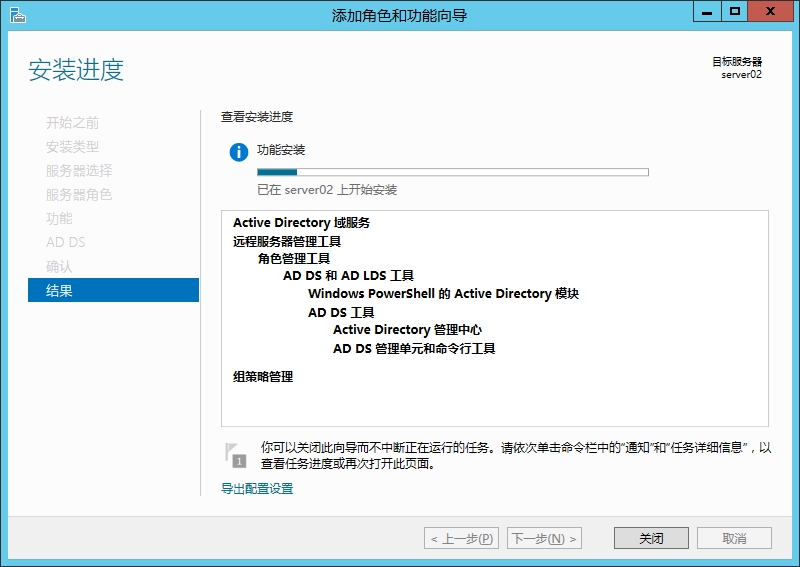
開始安裝AD、DS服務:
安裝成功,點擊關閉:
鼠標點擊右上角***三角號,點擊將此服務器提升爲域控制器:
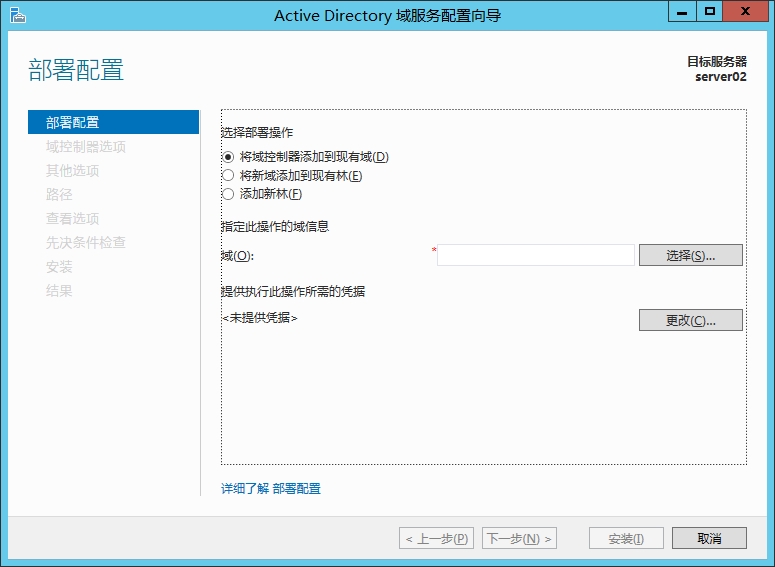
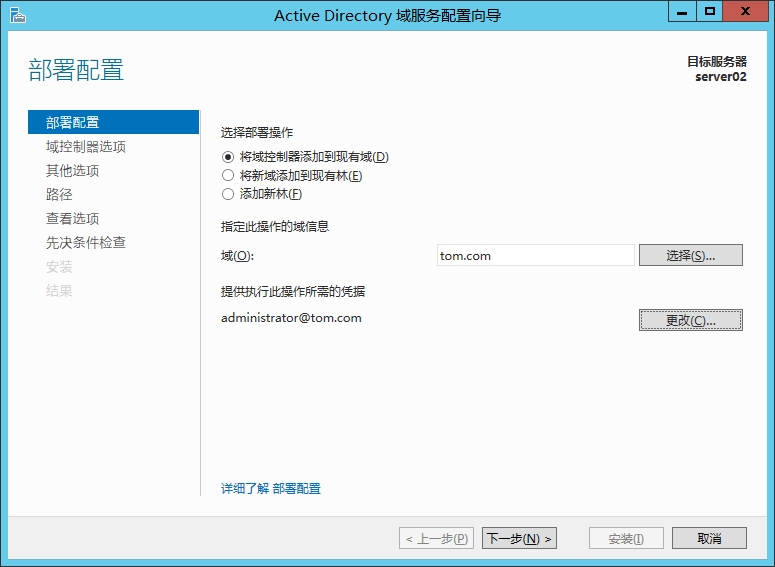
因爲我們要創建額外域控制器,也就意味着是加入到現有的域,所以在這裏我們勾選將域控制器添加到現有域:
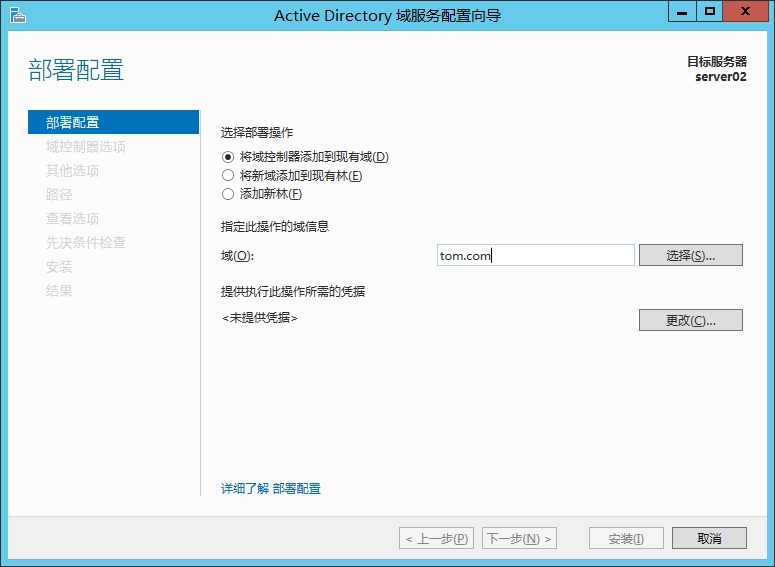
在:域(o)輸入我們要加入的域,所以在這裏我輸入:tom.com
點擊更改:
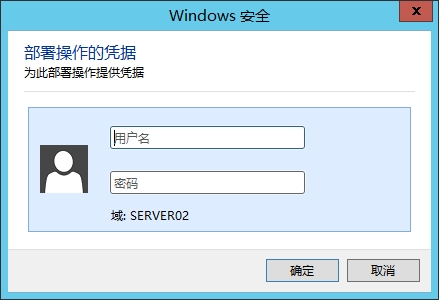
輸入我們要加入的域控制器的名稱和密碼:
點擊確定:
點擊下一步:
輸入還原模式密碼:
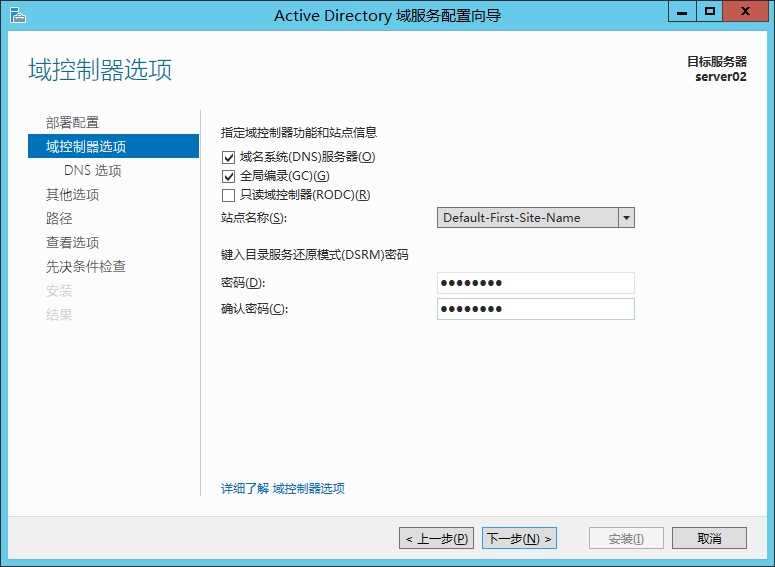
點擊下一步:
點擊下一步:
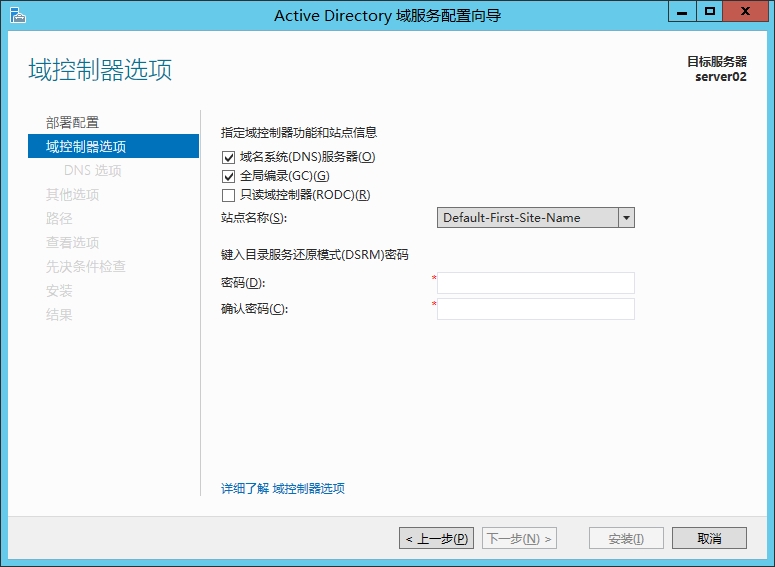
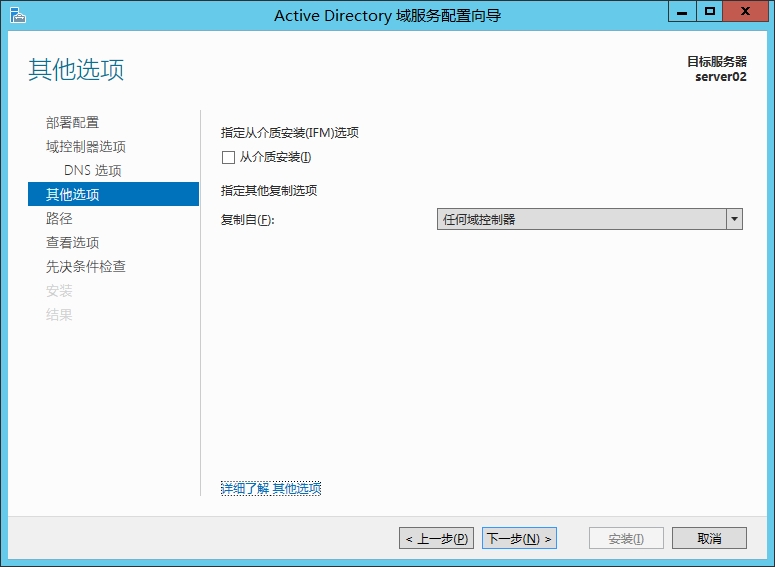
這裏選擇任何域控制器點擊下一步:
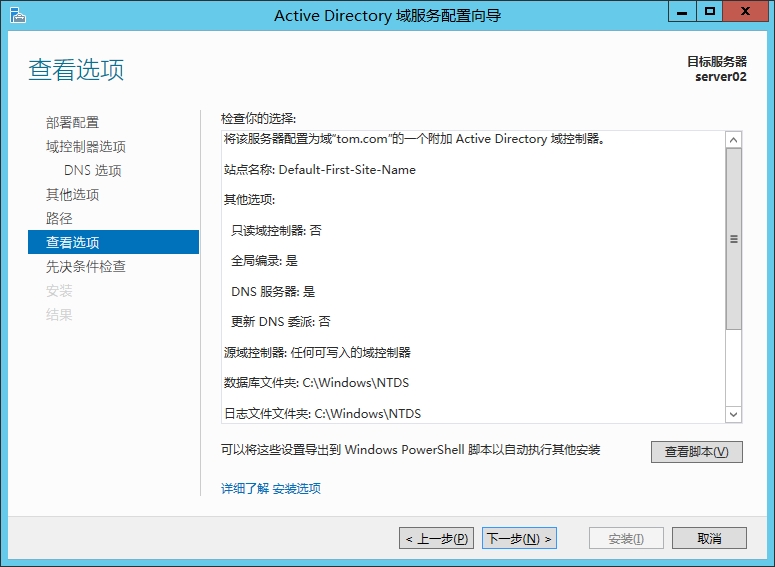
和之前一樣,這裏讓我麼逆選擇數據庫文件存放位置,我們直接點擊下一步:
下一步:
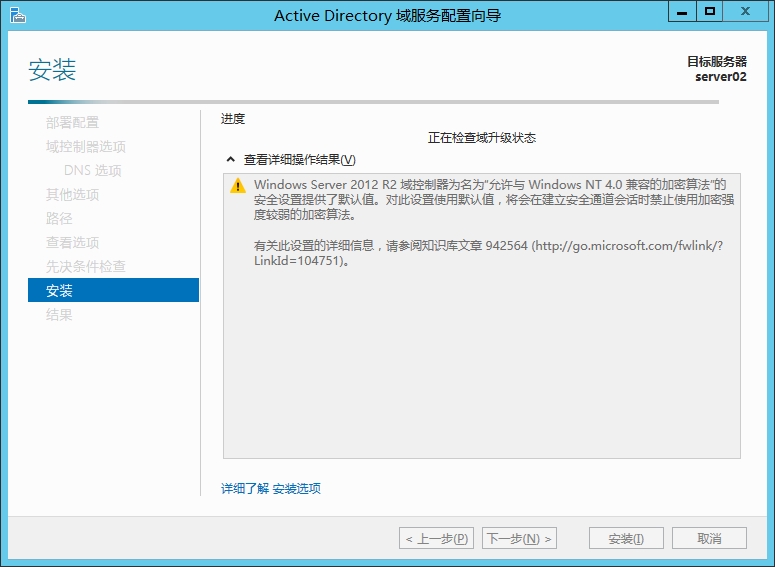
點擊安裝:
開始安裝:
安裝完成系統重新啓動:
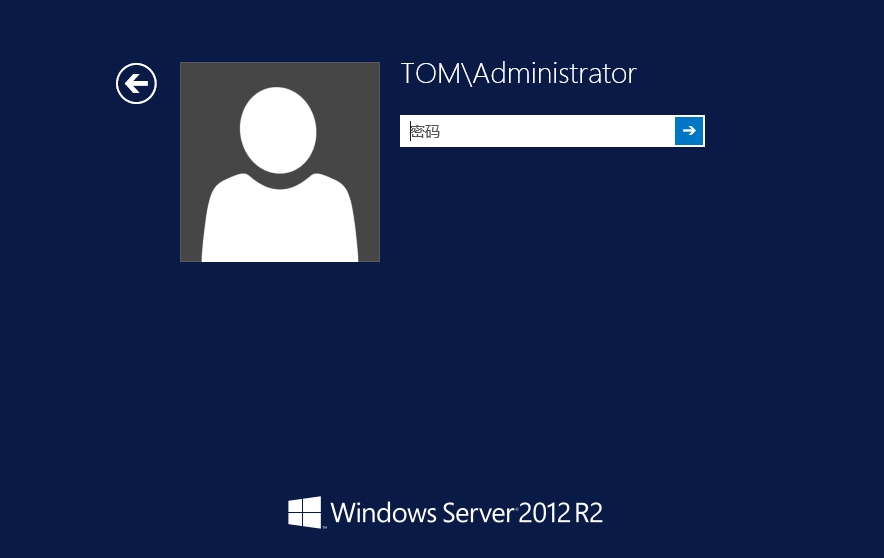
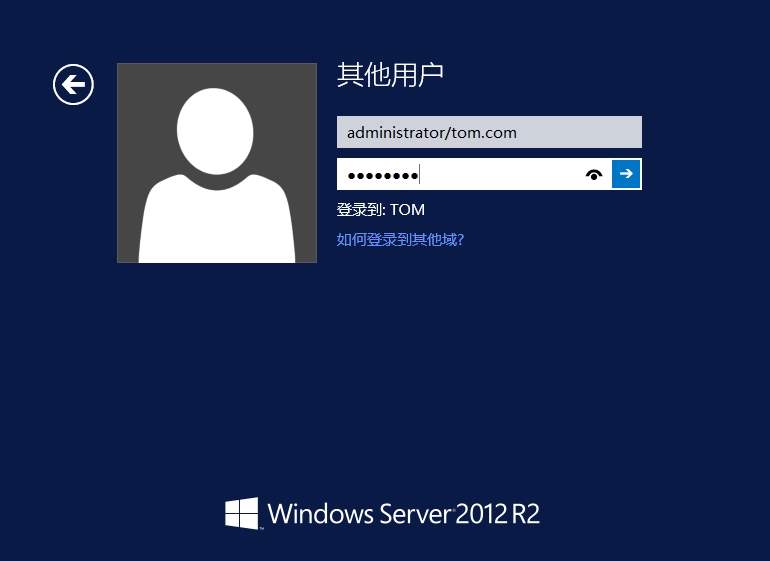
輸入用戶名,密碼登錄即可進入域。
(3)檢查域是否正常:
A、檢查域所帶功能能否正常使用:
所帶功能正常。
B、檢查DNS中的SRV記錄:
SRV記錄正常
C、檢查共享文件夾:
共享文件夾正常。
到這裏我們在server01上的配置就已經完成了。
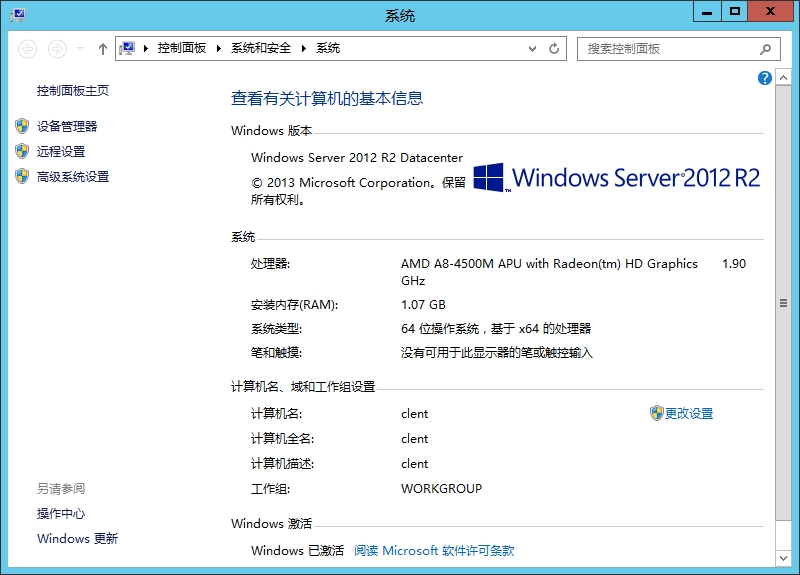
3、clent加入域:
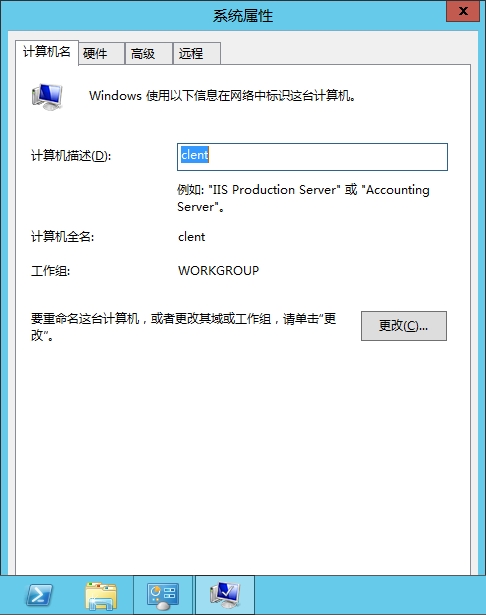
鼠標右鍵這臺電腦,點擊屬性:
點擊更改設置:
點擊更改:
點擊域:
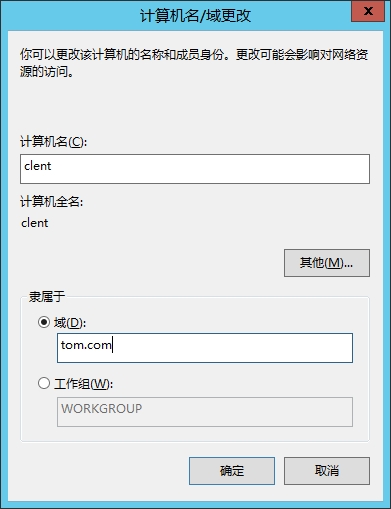
輸入我們要加入的域tom.com,點擊確定:
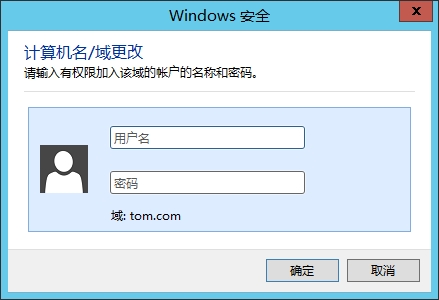
輸入加入域使用的用戶名和密碼,點擊確定:
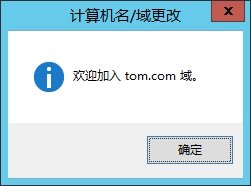
系統提示歡迎信息,直接點擊確定:
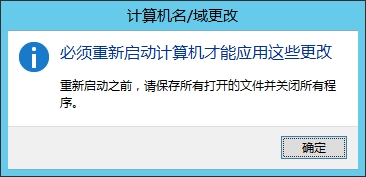
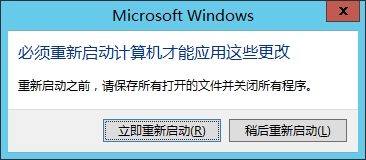
系統提示我們需要重新啓動計算機,點擊確定:
點擊關閉:
點擊立即重新啓動:
重啓之後輸入用戶名和密碼登陸到域即可。
4、測試額外域控制器:
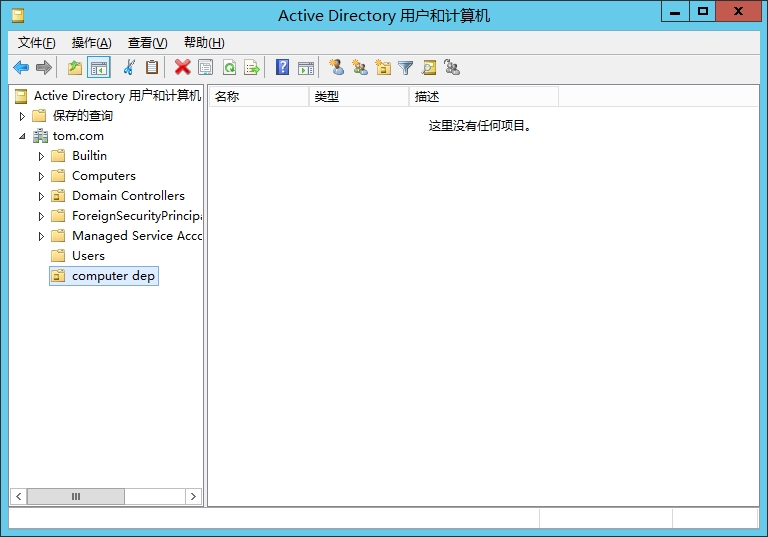
在server01上新建計算機部的jerry,然後看serve02上是否能同步:
(1)、打開server01的服務器管理器:
點擊工具,Active Directory 用戶和計算機:
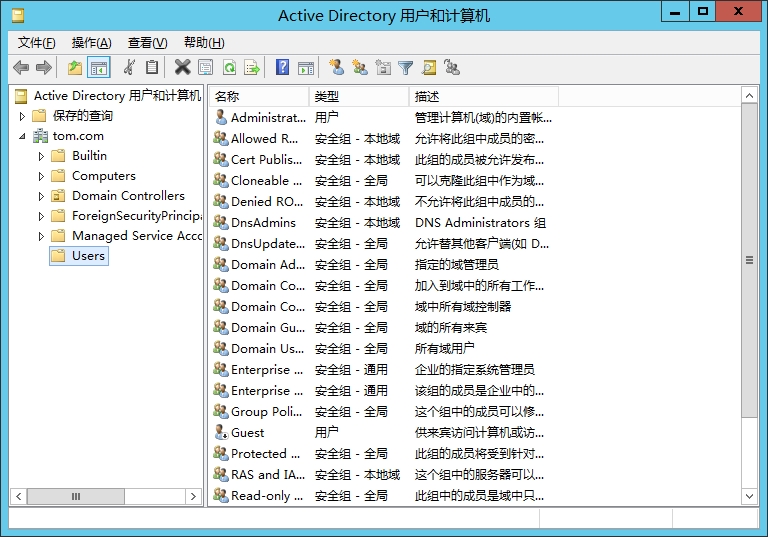
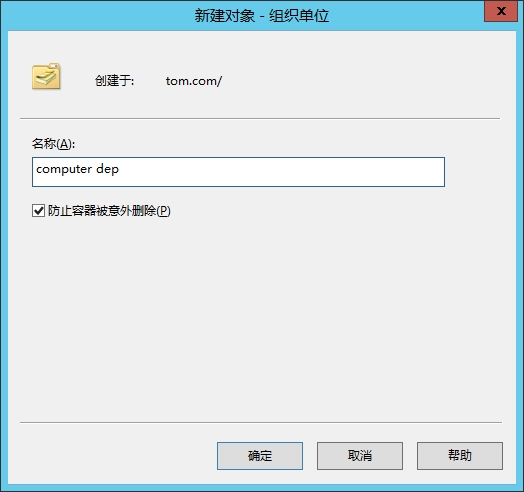
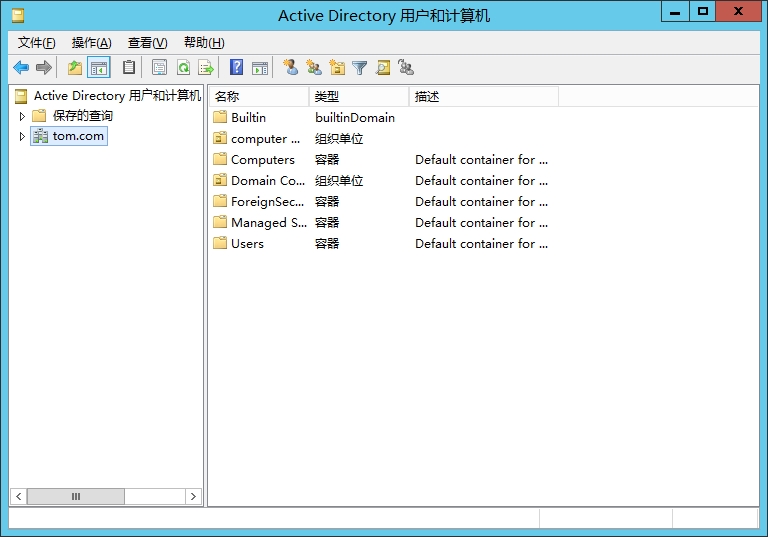
右鍵tom.com--新建--組織單位:
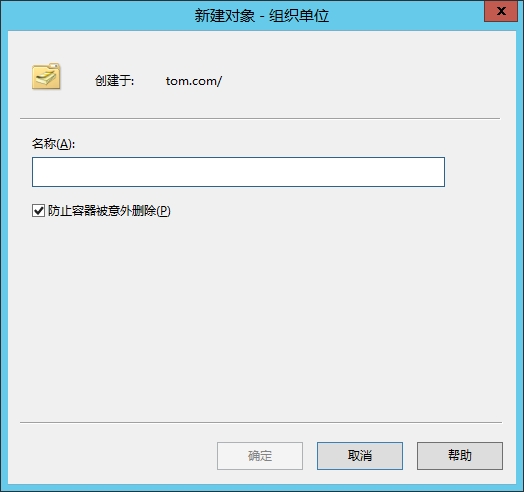
在這我們新建計算機部(computer dep):
點擊確定:
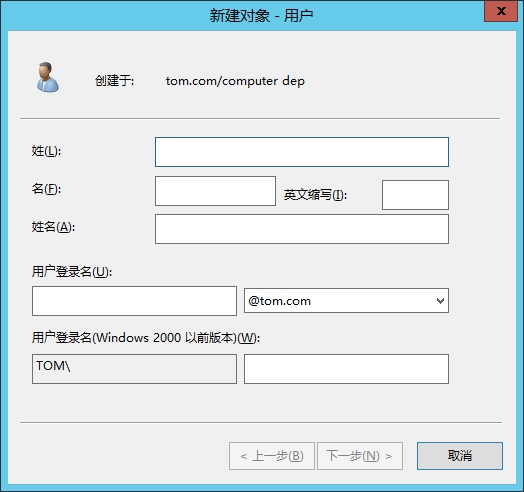
鼠標右鍵computer dep---新建---用戶:
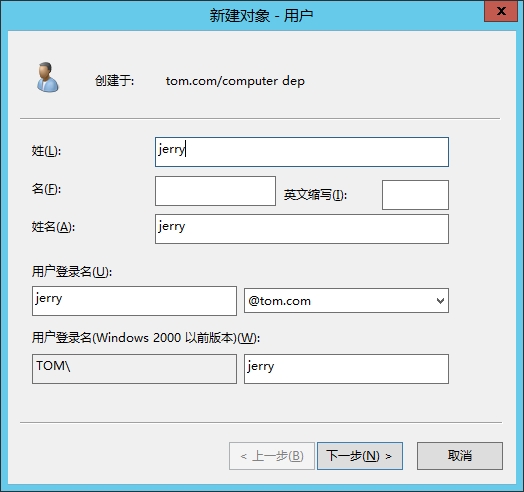
用戶登錄名位置輸入jerry:
點擊下一步:
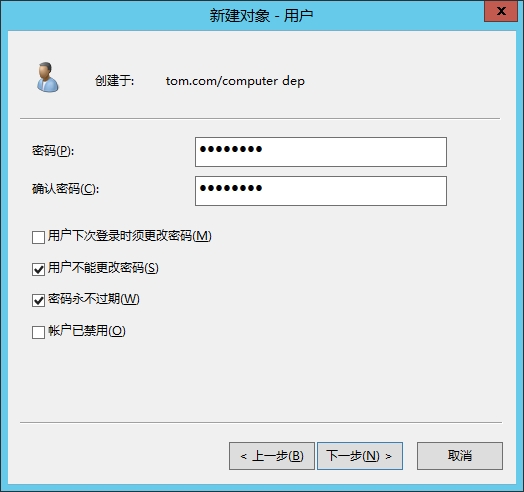
輸入用戶登陸密碼,並根據實際情況設置下面的選項,然後點擊下一步:
點擊完成:
(2)、打開server02的服務器管理器:
點擊右上角工具---Active Directory用戶和計算機:
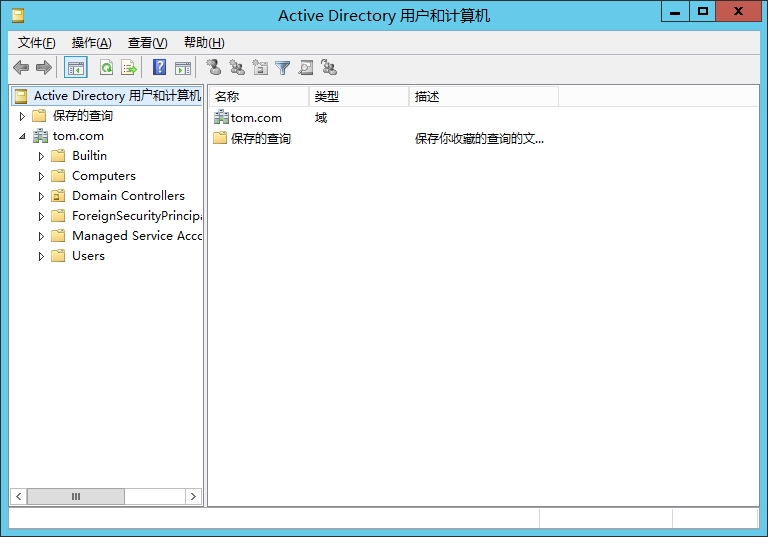
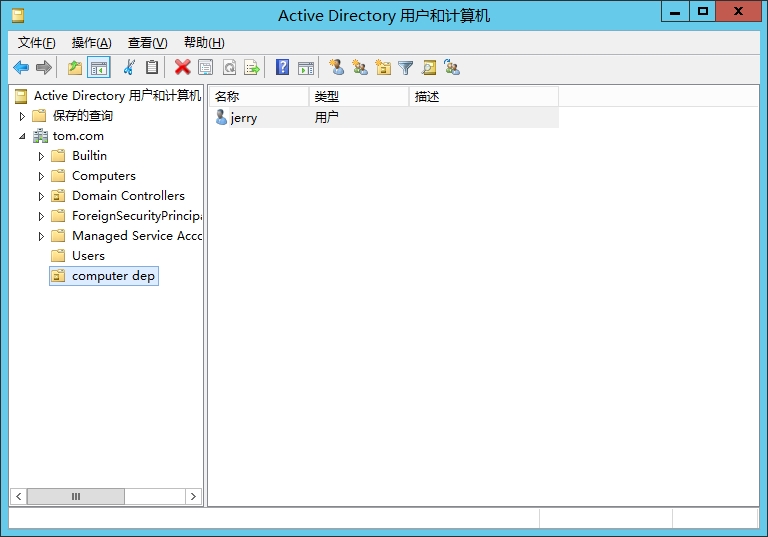
點擊tom.com:
我們可以看到我們在server01上新建的賬戶已經在server02上同步了。
到這裏我們的額外域控制器實驗就已經成功了。
本文出自 “Mr、吳的微軟博客” 博客,請務必保留此出處http://wuyvzhang.blog.51cto.com/9992636/1627547