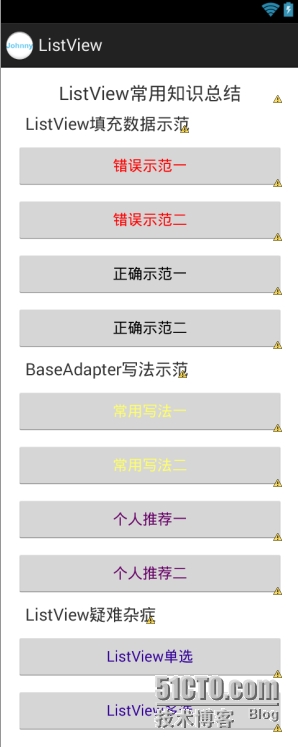
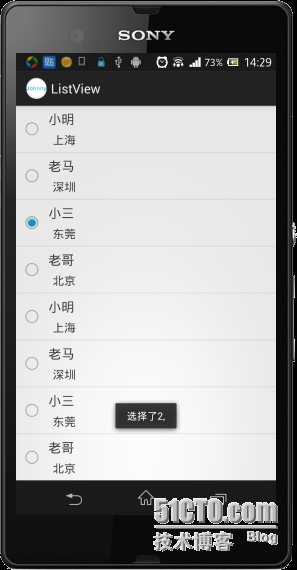
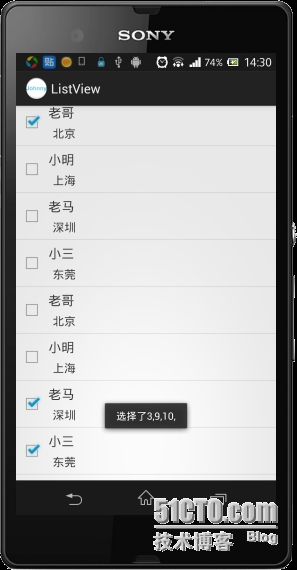
先來看下項目主要內容:
ListView中填充數據:
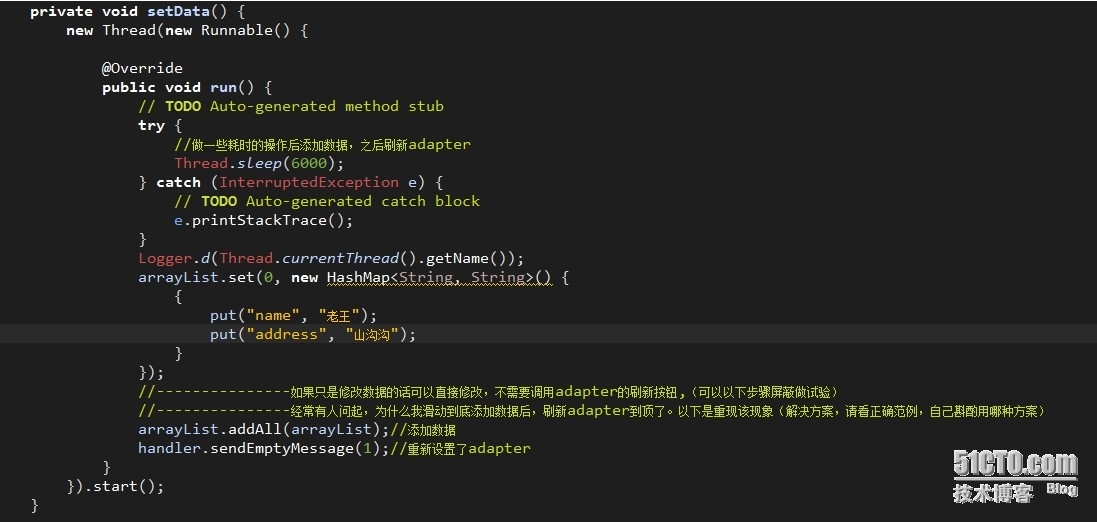
重現添加數據後置頂,具體闡明瞭決解方案,如下:
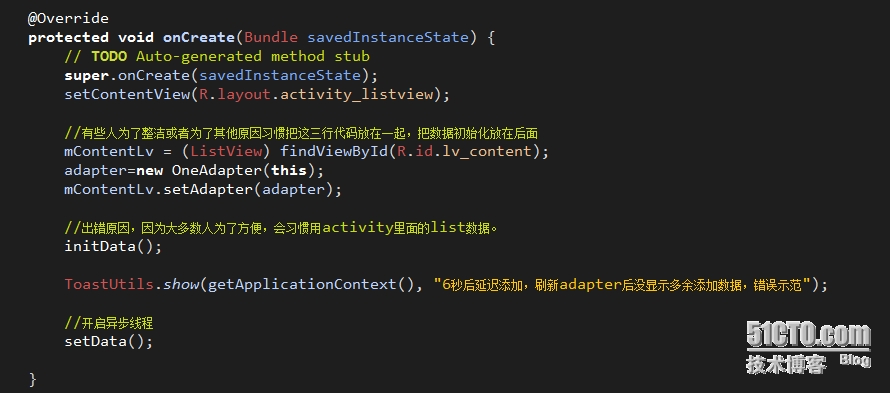
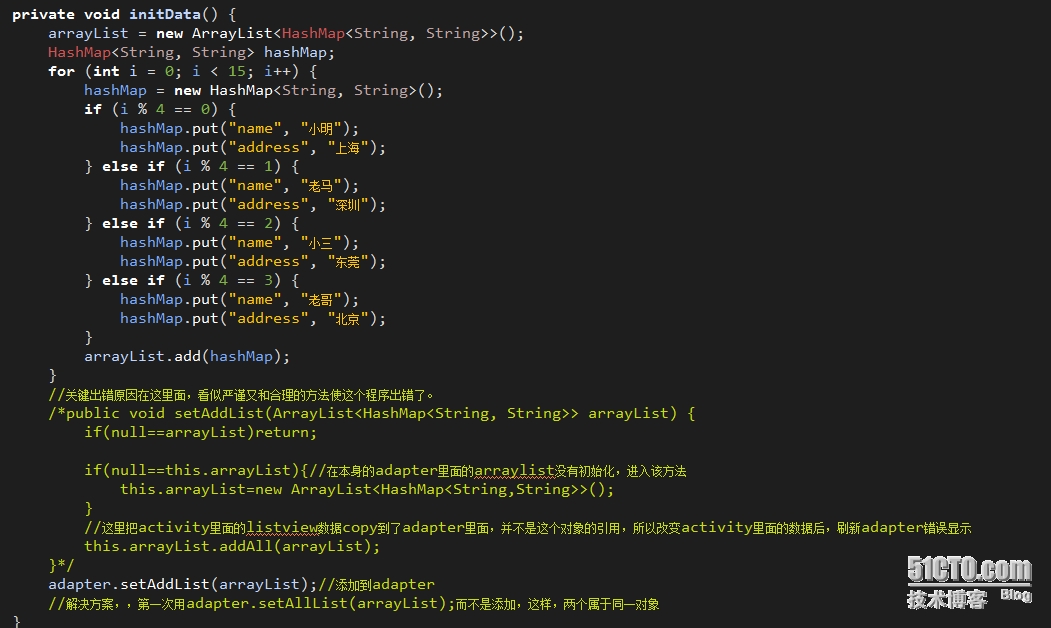
刷新適配器後沒有響應的錯誤現象,具體闡明瞭決解方案,如下:
正確示範一:
123456789101112131415161718192021222324252627282930313233343536373839404142434445464748495051525354555657585960616263646566676869707172737475767778798081828384858687888990/*** 正確示範一(正確運用,修改原始對象<Activity裏面>對應引用<Adapter裏面>也改變)** @author johnny**/publicclassThreeListViewActivityextendsActivity {privateListView mContentLv;privateOneAdapter adapter;privateArrayList<HashMap<String, String>> arrayList=newArrayList<HashMap<String,String>>();@OverrideprotectedvoidonCreate(Bundle savedInstanceState) {// TODO Auto-generated method stubsuper.onCreate(savedInstanceState);setContentView(R.layout.activity_listview);mContentLv = (ListView) findViewById(R.id.lv_content);adapter=newOneAdapter(this,arrayList);mContentLv.setAdapter(adapter);initData();ToastUtils.show(getApplicationContext(),"6秒後延遲添加,刷新adapter");//開啓異步線程setData();}privatevoidsetData() {newThread(newRunnable() {@Overridepublicvoidrun() {// TODO Auto-generated method stubtry{//做一些耗時的操作後添加數據,之後刷新adapterThread.sleep(6000);}catch(InterruptedException e) {// TODO Auto-generated catch blocke.printStackTrace();}//可能這個時候才重網絡上獲取到了新數據,,現在開始添加數據HashMap<String, String> hashMap;for(inti =0; i <5; i++) {hashMap =newHashMap<String, String>();if(i %4==0) {hashMap.put("name","大海");hashMap.put("address","上海");}elseif(i %4==1) {hashMap.put("name","老馬");hashMap.put("address","深圳");}elseif(i %4==2) {hashMap.put("name","小三");hashMap.put("address","東莞");}elseif(i %4==3) {hashMap.put("name","老哥");hashMap.put("address","北京");}arrayList.add(hashMap);}handler.sendEmptyMessage(1);}}).start();}Handler handler =newHandler(){publicvoidhandleMessage(android.os.Message msg) {adapter.notifyDataSetChanged();//沒有重現設置adapter,只做了刷新數據,listview不會到頂。ToastUtils.show(getApplicationContext(),"adapter共有"+adapter.getAllList().size()+"個數據,activity共有"+arrayList.size()+"個數據,刷新結束!");};};privatevoidinitData() {HashMap<String, String> hashMap;for(inti =0; i <15; i++) {hashMap =newHashMap<String, String>();if(i %4==0) {hashMap.put("name","小明");hashMap.put("address","上海");}elseif(i %4==1) {hashMap.put("name","老馬");hashMap.put("address","深圳");}elseif(i %4==2) {hashMap.put("name","小三");hashMap.put("address","東莞");}elseif(i %4==3) {hashMap.put("name","老哥");hashMap.put("address","北京");}arrayList.add(hashMap);}}}正確示範二:
1234567891011121314151617181920212223242526272829303132333435363738394041424344454647484950515253545556575859606162636465666768697071727374757677787980818283848586878889909192939495969798/*** 正確示範二(正確運用,Activity裏面對象不用作Adapter原始對象,只做數據的備份。* 這也是本人比較喜歡的寫法,原因:很多時候我們會不經意間改變Activity裏面的數據源後導致ListView的改變,* 導致出錯後排除錯誤難解<正確示範一,當然也有好處,比如:改變Activity數據後,不需要再做多餘的Adapter數據的更改,方便>)** @注意 這裏只是數據添加方案本人贊成寫法,具體完整結合adapter請移步個人推薦一或二<有錯誤示範,才能慢慢完善改變,錯誤何嘗不是一種成長>* @author johnny**/publicclassFourListViewActivityextendsActivity {privateListView mContentLv;privateOneAdapter adapter;@OverrideprotectedvoidonCreate(Bundle savedInstanceState) {// TODO Auto-generated method stubsuper.onCreate(savedInstanceState);setContentView(R.layout.activity_listview);mContentLv = (ListView) findViewById(R.id.lv_content);adapter=newOneAdapter(this);mContentLv.setAdapter(adapter);initData();ToastUtils.show(getApplicationContext(),"6秒後延遲添加,刷新adapter");//開啓異步線程setData();}privatevoidsetData() {newThread(newRunnable() {@Overridepublicvoidrun() {// TODO Auto-generated method stubtry{//做一些耗時的操作後添加數據,之後刷新adapterThread.sleep(6000);}catch(InterruptedException e) {// TODO Auto-generated catch blocke.printStackTrace();}ArrayList<HashMap<String, String>> arrayList=newArrayList<HashMap<String,String>>();//可能這個時候才重網絡上獲取到了新數據,,現在開始添加數據HashMap<String, String> hashMap;for(inti =0; i <5; i++) {hashMap =newHashMap<String, String>();if(i %4==0) {hashMap.put("name","大海");hashMap.put("address","上海");}elseif(i %4==1) {hashMap.put("name","老馬");hashMap.put("address","深圳");}elseif(i %4==2) {hashMap.put("name","小三");hashMap.put("address","東莞");}elseif(i %4==3) {hashMap.put("name","老哥");hashMap.put("address","北京");}//這裏添加的只是在臨時數據存儲的對象,adapter裏面不屬於同一個對象arrayList.add(hashMap);}//和正確範例一區別在於此,每次都需要把數據copy到adapter裏面adapter.setAddList(arrayList);handler.sendEmptyMessage(1);}}).start();}Handler handler =newHandler(){publicvoidhandleMessage(android.os.Message msg) {adapter.notifyDataSetChanged();//沒有重現設置adapter,只做了刷新數據,ListView不會到頂。ToastUtils.show(getApplicationContext(),"adapter共有"+adapter.getAllList().size()+"個數據。");};};privatevoidinitData() {ArrayList<HashMap<String, String>> arrayList=newArrayList<HashMap<String,String>>();HashMap<String, String> hashMap;for(inti =0; i <15; i++) {hashMap =newHashMap<String, String>();if(i %4==0) {hashMap.put("name","小明");hashMap.put("address","上海");}elseif(i %4==1) {hashMap.put("name","老馬");hashMap.put("address","深圳");}elseif(i %4==2) {hashMap.put("name","小三");hashMap.put("address","東莞");}elseif(i %4==3) {hashMap.put("name","老哥");hashMap.put("address","北京");}arrayList.add(hashMap);}adapter.setAddList(arrayList);}}ListView 適配器推薦寫法:
- 123456789101112131415161718192021222324252627282930313233
@OverridepublicView getView(intposition, View convertView, ViewGroup parent) {// TODO Auto-generated method stubView v = convertView;//判斷是否爲null,這是每個要做複用的都要寫的if(v ==null) {v = inflater.inflate(R.layout.lv_item,null);}//相比之下//寫法太集中,沒有細化/*if (null == convertView) {holder = new ViewHolder();convertView = inflater.inflate(R.layout.lv_item, null);holder.mNameTv = (TextView) convertView.findViewById(R.id.tv_name);holder.mAddressTv = (TextView) convertView.findViewById(R.id.tv_address);convertView.setTag(holder);} else {holder = (ViewHolder) convertView.getTag();}*///簡潔,把初始化控件放到了ViewHolder裏面,是的getView方法更清晰簡潔,只需要做數據的賦值和複雜的邏輯,沒有混爲一灘ViewHolder holder = (ViewHolder) v.getTag();if(holder ==null) {holder =newViewHolder(v);v.setTag(holder);}HashMap<String, String> hashMap = getItem(position);holder.mNameTv.setText(hashMap.get("name"));holder.mAddressTv.setText(hashMap.get("address"));returnv;}
方法二:
- 12345678910111213141516171819
@OverridepublicView getView(intposition, View convertView, ViewGroup parent) {// TODO Auto-generated method stubView v = convertView;//判斷是否爲null,這是每個要做複用的都要寫的if(v ==null) {v = inflater.inflate(R.layout.lv_item,null);}//簡潔,方便,快速TextView mNameTv=ViewHolder.get(v, R.id.tv_name);TextView mAddressTv=ViewHolder.get(v, R.id.tv_address);HashMap<String, String> hashMap = getItem(position);mNameTv.setText(hashMap.get("name"));mAddressTv.setText(hashMap.get("address"));returnv;}
ListView中疑難雜症:
只做截圖具體下載代碼查看:不需要豆子
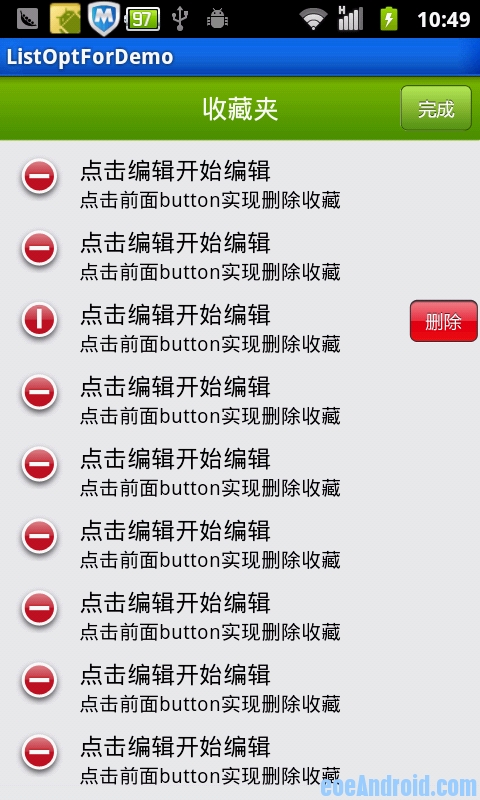
另鏈接單選刪除帖子效果如下:
地址:點擊進入
源碼下載:

