前言
kibana默認沒有訪問的權限控制,如果需要設置訪問的賬號密碼,可以使用nginx配置代理來發布kibana。
本次實驗基於《海量日誌下的日誌架構優化:filebeat+logstash+kafka+ELK》,kibana是部署在test102服務器上,因此在test102服務器上安裝一個nginx來發布kibana,並設置用戶名密碼驗證。
實驗演示
1、在test102上安裝nginx
創建安裝nginx的yum文件:
[root@test102 ~]# cat /etc/yum.repos.d/nginx.repo
[nginx]
name=nginx repo
baseurl=http://nginx.org/packages/centos/7/$basearch/
gpgcheck=0
enabled=1
[root@test102 ~]#
安裝nginx:
[root@test102 ~]# yum -y install nginx2、修改nginx配置,使用nginx發佈kibana
修改配置文件/etc/nginx/conf.d/default.conf
將/etc/nginx/conf.d/default.conf原有的
    location / {
         root   /usr/share/nginx/html;
         index  index.html index.htm;
     }
改成:
    location / {
        proxy_pass http://10.0.0.102:5601$request_uri;
    }
然後啓動nginx,訪問http://10.0.0.102 就是kibana的界面了(用nginx發佈,就不需要帶5601端口訪問了):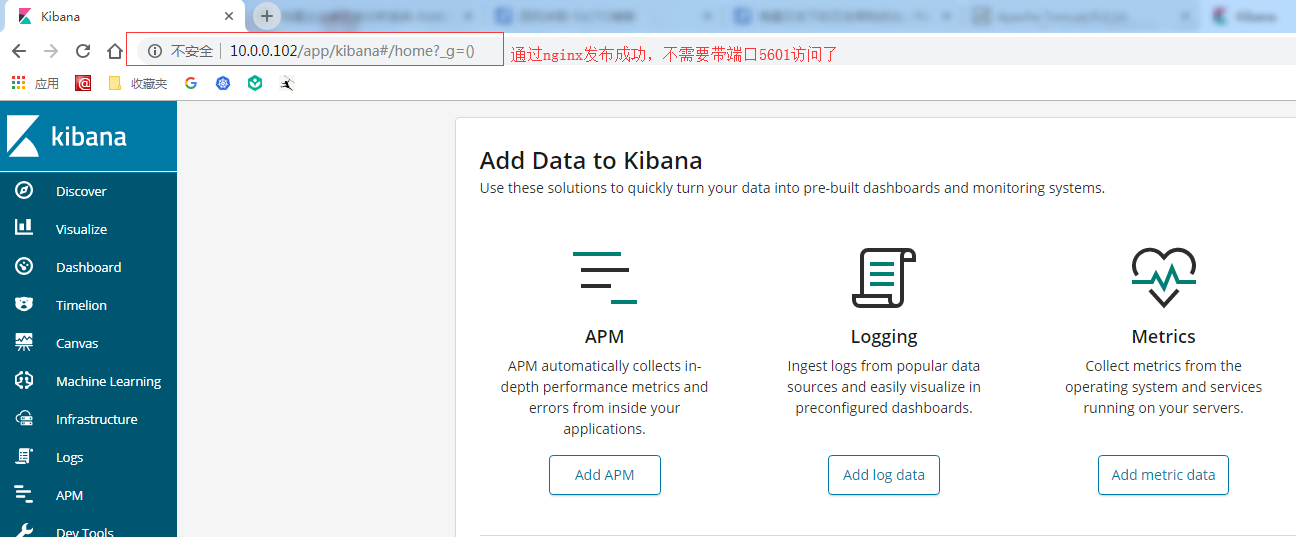
3、修改nginx配置,增加登錄驗證
修改配置文件/etc/nginx/conf.d/default.conf,增加兩行登錄驗證配置:
    location / {
        proxy_pass http://10.0.0.102:5601$request_uri;

        #加上下面兩行內容:
        auth_basic "登陸驗證";
        auth_basic_user_file /etc/nginx/htpasswd;   #/etc/nginx/htpasswd是密碼文件,路徑自定義
}然後使用htpasswd命令生成密碼文件:
[root@test102 conf.d]# htpasswd -cm /etc/nginx/htpasswd crystal     #/etc/nginx/htpasswd就是配置文件裏面配置的密碼文件,crystal就是用戶名
New password:     #輸入密碼
Re-type new password:     #再次輸入密碼,回車
Adding password for user crystal
生成後,查看密碼文件/etc/nginx/htpasswd,已經OK:
[root@test102 conf.d]# cat /etc/nginx/htpasswd
crystal:$apr1$Xxm/x/fn$PVzP6RL2aQr1H89gf9wK.1
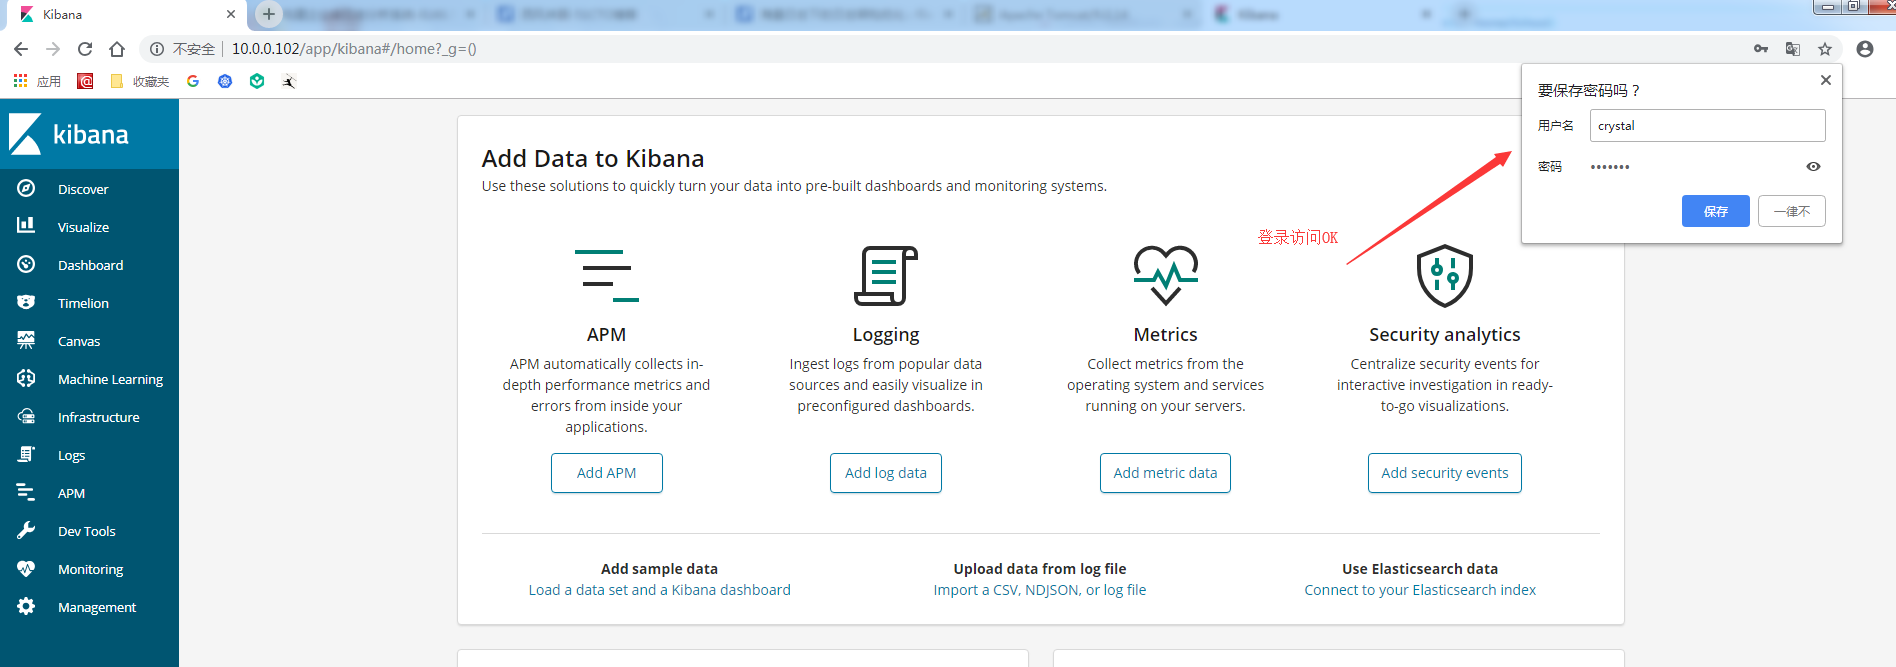
[root@test102 conf.d]# 重啓nginx,再訪問http://10.0.0.102 ,就提示輸入用戶名和密碼登錄了;
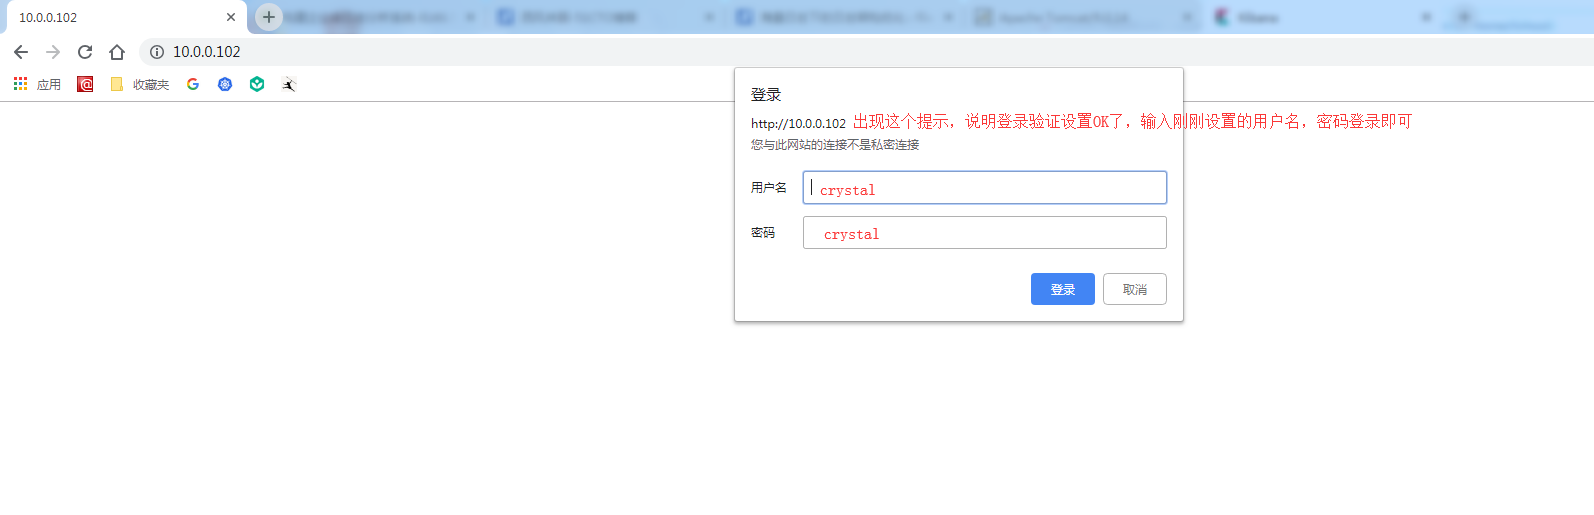
輸入剛剛設置的用戶名crystal和密碼crystal,登錄OK: