resin是CAUCHO公司的產品,是一個非常流行的支持servlets和jsp的引擎,速度非常快。resin本身包含了一個支持HTTP/1.1的WEB服務器。雖然它可以顯示動態內容,但是它顯示靜態內容的能力也非常強,速度直逼nginx server。許多站點都是使用該web服務器構建的。
resin支持負載均衡,可以增加web站點的可靠性。方法是增加服務器的數量。比如一臺server的錯誤率是1%的話,那麼支持負載均衡的兩個resin服務器就可以是錯誤率降到0.01%
resin官方網站:http://www.caucho.com
首先安裝jdk,這裏選擇的是jdk7
curl -LO -H "Cookie: oraclelicense=accept-securebackup-cookie" \
"http://download.oracle.com/otn-pub/java/jdk/7u75-b13/jdk-7u75-linux-x64.rpm" -k
rpm -ivh jdk-7u75-linux-x64.rpm
然後配置環境變量
vim /etc/profile.d/java.sh
export JAVA_HOME=/usr/java/jdk1.7.0_75
export PATH=$JAVA_HOME/bin:$PATH
export CLASSPATH=.:$JAVA_HOME/jre/lib:$JAVA_HOME/lib:$JAVA_HOME/lib/tools.jar
. /etc/profile.d/java.sh
jdk環境有了,於是安裝resin,這裏選擇的版本爲resin-4.0.44.tar.gz
wget http://caucho.com/download/resin-4.0.44.tar.gz
tar xf resin-4.0.44.tar.gz
cd resin-4.0.44
./configure --prefix=/usr/local/resin4.0.44 --with-java-home=/usr/java/jdk1.7.0_75/ --enable-64bit
make && make install
[root@RS2 local]# ln -sv resin4.0.44/ /usr/local/resin
"/usr/local/resin" -> "resin4.0.44/"
配置resin環境變量
vim /etc/profile.d/resin.sh
export RESIN_HOME=/usr/local/resin
export PATH=${RESIN_HOME}/bin:$PATH
source /etc/profile.d/resin.sh
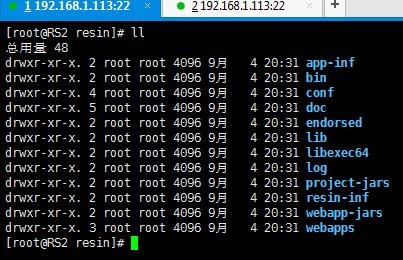
resin安裝成功後各目錄
備份好配置文件
[root@RS2 conf]# cp resin.xml resin.xml.bak
[root@RS2 conf]# cp resin.properties resin.properties.bak
啓動resin服務:
[root@RS2 conf]# ../bin/resinctl start
Resin/4.0.44 launching watchdog at 127.0.0.1:6600
Resin/4.0.44 started -server 'app-0' with watchdog at 127.0.0.1:6600
查看java主要進程
[root@RS2 conf]# jps
28963 Resin
28997 Jps
28917 WatchdogManager
[root@RS2 conf]# netstat -tunlp
Active Internet connections (only servers)
Proto Recv-Q Send-Q Local Address Foreign Address State PID/Program name
tcp 0 0 127.0.0.1:6800 0.0.0.0:* LISTEN 28963/java
tcp 0 0 127.0.0.1:6600 0.0.0.0:* LISTEN 28917/java
tcp 0 0 :::8080 :::* LISTEN 28963/java
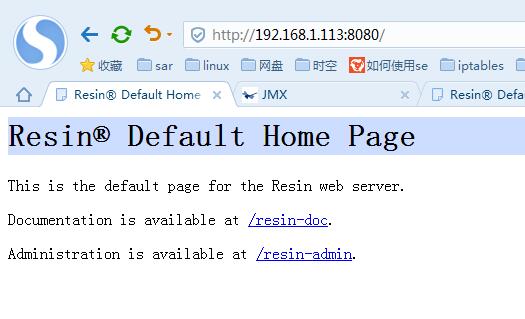
瀏覽器嘗試訪問如下圖
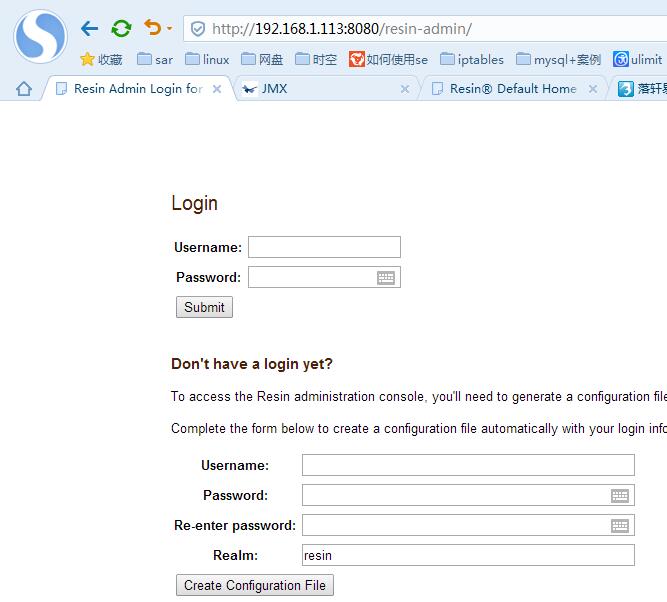
配置resin-admin這個uri:
編輯配置文件vim resin.properties
# Access to /resin-admin and remote CLI is password restricted.
# Use "resinctl generate-password" and copy/paste here to set the admin
# admin_user : admin
# admin_password : {SSHA}xxxxxxxx
註釋信息很詳細,於是使用如下命令配置
[root@RS2 conf]# resinctl generate-password my-admin mypassword
admin_user : my-admin
admin_password : {SSHA}eZYiiZTQCO9XQbcrUfQq1Br57Q2zrCJQ
用戶名:my-admin
密碼:mypassword將生成的兩行信息複製到配置文件中
修改完配置文件,然後重啓
[root@RS2 conf]# /etc/init.d/resin restart
Stopping resin: .
Starting resin: .
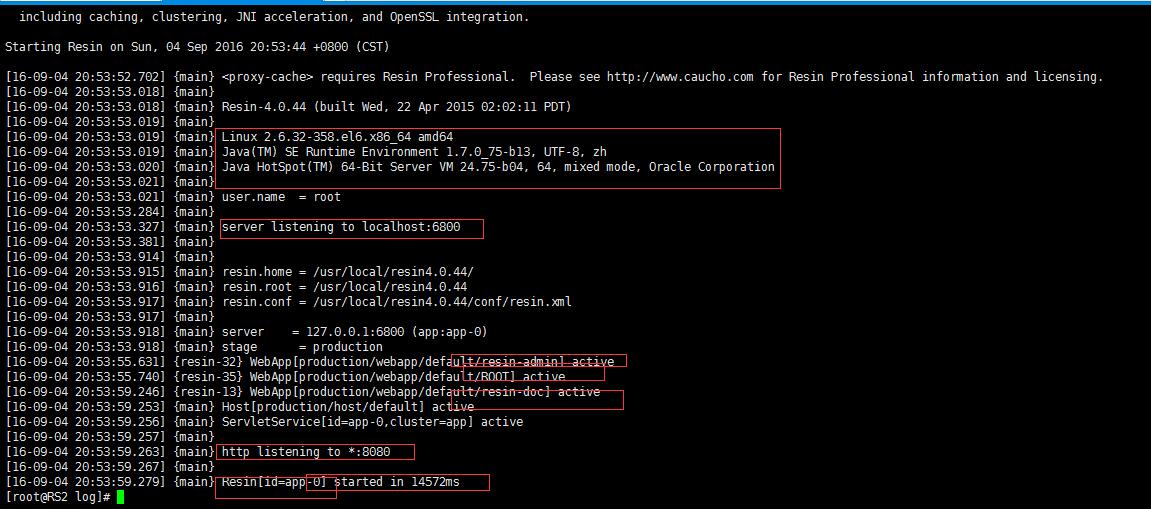
觀察日誌信息,看是否報錯
[root@RS2 log]# ll
總用量 28
-rw-r--r--. 1 root root 8867 9月 4 20:47 access.log
-rw-r--r--. 1 root root 154 9月 4 20:53 console.log
-rw-r--r--. 1 root root 6284 9月 4 20:53 jvm-app-0.log
-rw-r--r--. 1 root root 3470 9月 4 20:53 watchdog-manager.log
[root@RS2 log]# pwd
/usr/local/resin/log
從日誌中可以看出很多信息,方便進行查錯
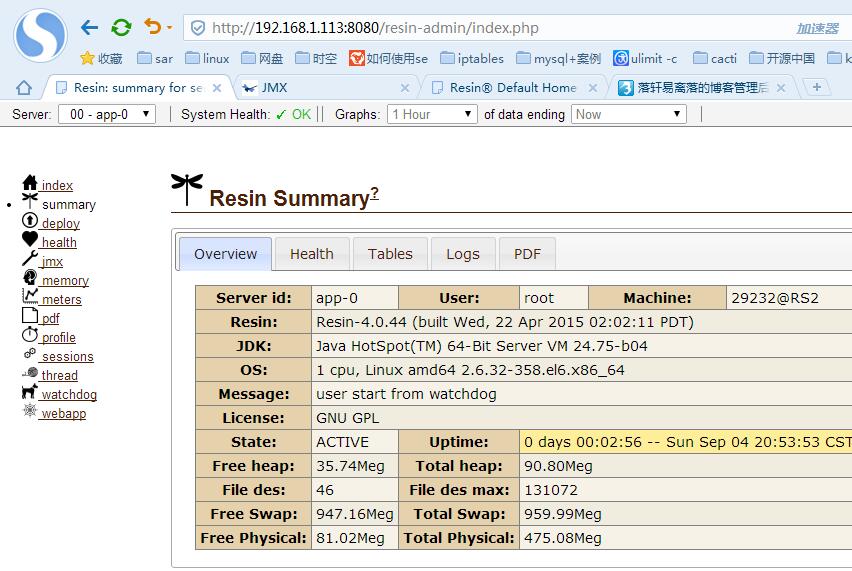
再次訪問resin-admin,並輸入賬號密碼
從管理界面可以看出很多內容,這裏不詳細介紹,自行查看
根據resin官方闡述,resin也能做web服務器,於是配置虛擬主機,看看效果
編輯配置文件vim resin.xml
<cluster id="app">
<server-multi id-prefix="app-" address-list="${app_servers}" port="6800"/>
<host-default>
<web-app-deploy path="webapps"
expand-preserve-fileset="WEB-INF/work/**"
multiversion-routing="${webapp_multiversion_routing}"
path-suffix="${elastic_webapp?resin.id:''}"/>
</host-default>
<host-deploy path="hosts">
<host-default>
<resin:import path="host.xml" optional="true"/>
</host-default>
</host-deploy>
<host id="" root-directory=".">
<web-app id="/" root-directory="webapps/ROOT"/>
</host>
<resin:if test="${resin_doc}">
<host id="${resin_doc_host}" root-directory="${resin_doc_host}">
<web-app id="/resin-doc" root-directory="${resin.root}/doc/resin-doc"/>
</host>
</resin:if>
</cluster>
這裏是摘出來的一段默認的cluster配置,這裏大致介紹下配置參數的含義,更多詳細內容參考官方文檔
<cluster id="app"> cluster是標籤,id是The cluster identifier.,cluster的標識符,下面的server標籤中的id也是類似
<server-multi id-prefix="app-" address-list="${app_servers}" port="6800"/>
server-multi:相當於多個server組合,id-prefix:以某某爲前綴的組合,這裏是以app-
address-list="${app_servers}":指一個address列表,這裏參考配置文件resin.properties中
app_servers : 127.0.0.1:6800這個參數,當然也可以不使用宏定義,而以下面的方式
<server-multi id-prefix="app-" address-list="192.168.1.2 192.168.1.3" port="6800"/>
port="6800":指監聽的tcp端口
<host id="" root-directory=".">
<web-app id="/" root-directory="webapps/ROOT"/>
</host>
host id="" root-directory=".":這裏的id指的是主機名域名,相當於是www.baidu.com,官方解釋是primary host name
root-directory=".":Root directory for host files parent directory
這裏的.指的是resin的家目錄
當然host標籤還有其他參數:
regexp Regular expression based host matching none
host-name Canonical host name none
host-alias Aliases matching the same host none
secure-host-name Host to use for a redirect to SSL none
<web-app id="/" root-directory="webapps/ROOT"/>:這裏的id指的是The url prefix selecting this application.,也就是uri這裏就是www.baidu.com/最後的/
root-directory="webapps/ROOT":The root directory for the application, corresponding to a url of /id/. A relative path is relative to the <root-directory> of the containing <host>. Can use regexp replacement variables.我理解爲網站的根目錄
因爲ROOT下面就是index,jsp也就是www.baidu.com/index.jsp
好了,接下來新增一個host主機名
<host id="www.hcstart.com" root-directory="/www">
<!--
- webapps can be overridden/extended in the resin.xml
-->
<web-app id="/" root-directory="html"/>
</host>
創建好網站目錄,mkdir -p /www/html
編輯jsp文件,vim /www/html/index.jsp
<%@ page language="java" %>
<%@ page import="java.util.*" %>
<html>
<head>
<title>JSP Test Page</title>
</head>
<body>
<%
out.println("Hello world!");
%>
</body>
</html>
然後重啓resin服務,查看日誌信息,觀察瀏覽器信息
於是添加host信息成功
接下來爲resin創建多實例,也就是綁定多個http port,這裏介紹兩種方式
1、註釋掉配置文件resin.properties中的某些行,具體操作如下
app_servers : 127.0.0.1:6800
app.http : 8080
註釋掉這兩行
然後修改配置文件resin.xml
<cluster id="app">
<server id="app-0" address="192.168.1.113" port="6800">
<http port="80"/>
</server>
<host id="www.hcstart.com" root-directory="/www">
<web-app id="/" root-directory="html"/>
</host>
</cluster>
精簡了配置文件,於是再爲cluster中添加一個server,一個host,於是
<cluster id="app">
<server id="app-0" address="192.168.1.113" port="6800">
<http port="80"/>
</server>
<host id="www.hcstart.com" root-directory="/www">
<web-app id="/" root-directory="html"/>
</host>
<server id="app-1" address="192.168.1.113" port="6801">
<http port="8080"/>
</server>
<host id="www.hcstart.com" root-directory="/www">
<web-app id="/" root-directory="blog"/>
</host>
</cluster>
然後重啓resin服務,發現端口並沒有如實出現,於是查看日誌信息
從報錯信息可以看出,一個cluster中不能支持多個server實例,要想支持必須使用商業版
於是做如下修改,增加cluster,並配置server以及host
<cluster id="app">
<server id="app-0" address="192.168.1.113" port="6800">
<http port="80"/>
</server>
<host id="www.hcstart.com" root-directory="/www">
<web-app id="/" root-directory="html"/>
</host>
</cluster>
<cluster id="mycluster">
<server id="app-1" address="192.168.1.113" port="6801">
<http port="8080"/>
</server>
<host id="www.hcstart.com" root-directory="/www">
<web-app id="/" root-directory="blog"/>
</host>
</cluster>
然後再次重啓,查看端口
[root@RS2 conf]# netstat -tunlp|grep java
tcp 0 0 192.168.1.113:6800 0.0.0.0:* LISTEN 31066/java
tcp 0 0 192.168.1.113:6801 0.0.0.0:* LISTEN 31074/java
tcp 0 0 127.0.0.1:6600 0.0.0.0:* LISTEN 31015/java
tcp 0 0 :::8080 :::* LISTEN 31074/java
tcp 0 0 :::80 :::* LISTEN 31066/java
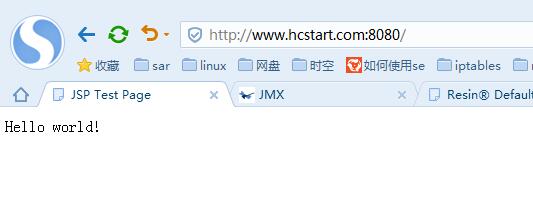
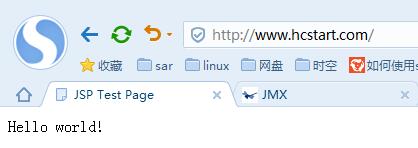
訪問瀏覽器,比較端口80和8080的變化
至此一個主機多實例搞定,採用第二種方法
2、修改配置文件resin.properties
app_servers : 127.0.0.1:6800
app1_servers : 127.0.0.1:6801
app2_servers : 127.0.0.1:6802
app.http : 8080
app1.http : 8081
app2.http : 8082
然後修改配置文件resin.xml,如下
<cluster id="app1"> 這裏的cluster要和resin.properties配置文件那裏定義好的ip和端口要一致
<server-multi id-prefix="${app1.http}" address-list="${app1_servers}" port="6801"/>
<host id="www.hcstart.com" root-directory="/www">
<web-app id="/" root-directory="html"/>
</host>
</cluster>
<cluster id="app2"> 這裏的cluster要和resin.properties配置文件那裏定義好的ip和端口要一致
<server-multi id-prefix="${app2.http}" address-list="${app2_servers}" port="6802"/>
<host id="www.hcstart.com" root-directory="/www">
<web-app id="/" root-directory="blog"/>
</host>
</cluster>
查看端口狀態
[root@RS2 conf]# netstat -tunlp|grep java
tcp 0 0 127.0.0.1:6801 0.0.0.0:* LISTEN 33991/java
tcp 0 0 127.0.0.1:6802 0.0.0.0:* LISTEN 33999/java
tcp 0 0 127.0.0.1:6600 0.0.0.0:* LISTEN 33943/java
tcp 0 0 :::8081 :::* LISTEN 33991/java
tcp 0 0 :::8082 :::* LISTEN 33999/java
查看瀏覽器效果
結合nginx做負載均衡,還是在一個服務器上做實驗
安裝nginx:yum -y install nginx
配置nginx:vim /etc/nginx/conf.d/default.conf
server {
listen 80;
server_name www.hcstart.com;
配置修改:vim /etc/nginx/nginx.conf
upstream www.hcstart.com {
server 192.168.1.113:8081 weight=1;
server 192.168.1.113:8082 weight=1;
}
[root@RS2 conf]# nginx -t
nginx: the configuration file /etc/nginx/nginx.conf syntax is ok
nginx: configuration file /etc/nginx/nginx.conf test is successful
[root@RS2 conf]# service nginx start
正在啓動 nginx: [確定]
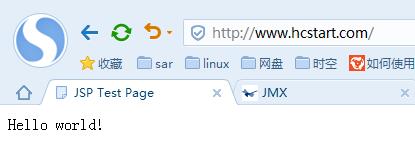
觀察瀏覽器效果:
當然也可以結合nginx做動態分離,但resin服務也支持靜態頁面,所以這個改如何設計架構還是得看業務模式,這裏只是簡單的介紹了resin的使用,更多信息查看官網
http://caucho.com/resin-4.0/admin/config-resin-xml.xtp
新建菜鳥學習交流羣:584498750

