


一.背景
工作中接觸到需要採集並管理大量圖片的需求,本來是用的FastDFS,但是發現實際情況是在項目實施時難以找到linux服務器去安裝FastDFS,所以經過調研,選擇了可以在windows服務器上安裝部署的Go-FastDFS文件服務器
二.Go-FastDFS簡介
go-fastdfs是一個基於http協議的分佈式文件系統,它基於大道至簡的設計理念,一切從簡設計,使得它的運維及擴展變得更加簡單,它具有高性能、高可靠、無中心、免維護等優點。
三.安裝Go-FastDFS文件服務器
1)下載地址:https://github.com/sjqzhang/go-fastdfs/releases
2)下載完成直接啓動fileserver.exe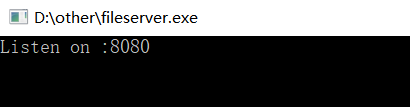
3)驗證是否安裝成功,訪問localhost:8080
4)驗證上傳功能,點擊選擇文件選擇好文件後,點擊上傳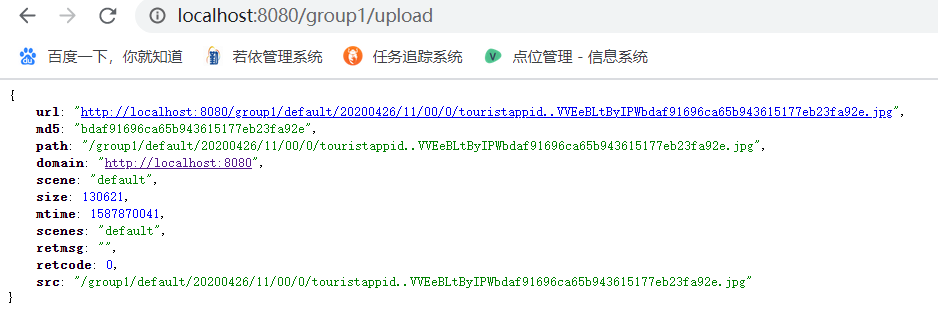
5)在返回的url後加?download=0,查看圖片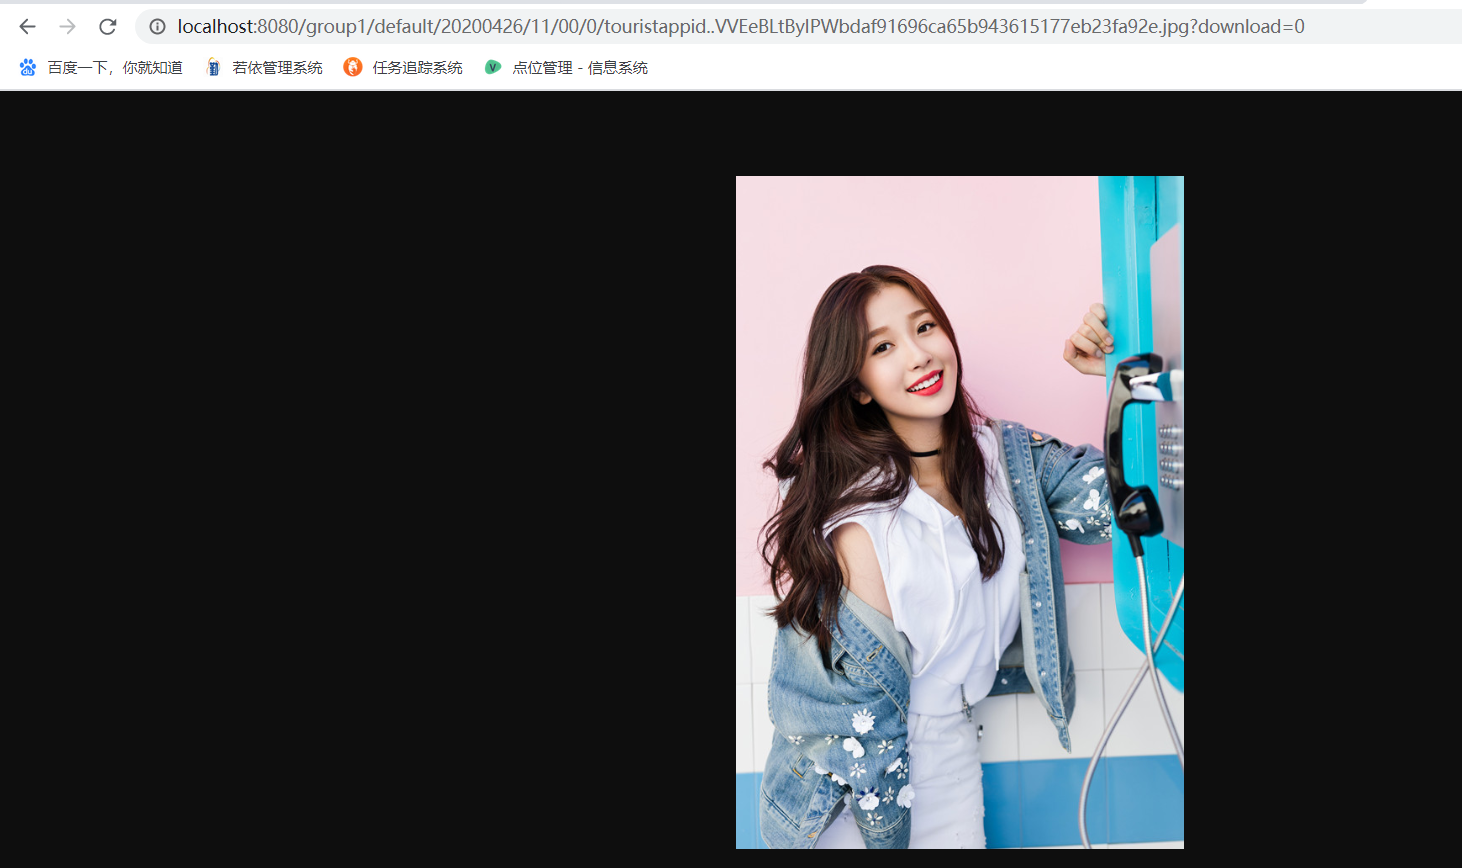
四.實例實現功能
1)圖片上傳
2)圖片刪除
3)圖片訪問
4)圖片水印添加
五.創建Spring boot項目,寫代碼實現功能
1)pom.xml添加依賴
  <!--工具包-->
        <dependency>
            <groupId>cn.hutool</groupId>
            <artifactId>hutool-all</artifactId>
            <version>${hutool.version}</version>
        </dependency>
2)核心代碼,使用go-fastdhs上傳圖片並添加水印及刪除圖片工具類
@Component
public class GoFastdfsClientUtil {

    @Value("${camera.upload.path}")
    private String uploadPath;

    @Value("${camera.delete.path}")
    private String deletePath;

    private final Logger logger = LoggerFactory.getLogger(GoFastdfsClientUtil.class);

    /**
     * 圖片上傳
     *
     * @param file
     * @param sixCode
     * @return
     * @throws IOException
     */
    public UploadResult upload(MultipartFile file, String sixCode) throws IOException {
        UploadResult uploadResult = new UploadResult();
        ByteArrayOutputStream bos = addWatermark(file, sixCode);
        byte[] b = bos.toByteArray();
        ByteArrayInputStream byteArrayInputStream = new ByteArrayInputStream(b);
        InputStreamResource isr = new InputStreamResource(byteArrayInputStream, file.getOriginalFilename());
        Map<String, Object> params = new HashMap<>();
        params.put("file", isr);
        params.put("path", "image");
        params.put("output", "json");
        // 場景
        params.put("scene", "image");
        String resp = HttpUtil.post(uploadPath, params);
        Console.log("resp: {}", resp);
        JSONObject exJson = JSONObject.parseObject(resp);
        uploadResult = JSON.toJavaObject(exJson, UploadResult.class);
        return uploadResult;
    }

    /**
     * 圖片刪除
     *
     * @param fileUrl
     */
    public void deleteImage(String md5) {
        if (StringUtils.isEmpty(md5)) {
            return;
        }
        try {
            Map<String, Object> params = new HashMap<>();
            params.put("md5", md5);
            HttpUtil.post(deletePath, params);
        } catch (Exception e) {
            logger.warn(e.getMessage());
        }
    }

    /**
     * 加水印
     *
     * @param myfile
     * @param sixCode
     * @return
     * @throws IOException
     */
    private ByteArrayOutputStream addWatermark(MultipartFile myfile, String sixCode) throws IOException {
        InputStream in = myfile.getInputStream();
        BufferedInputStream bis = new BufferedInputStream(in);
        BufferedImage image = ImageIO.read(bis);
        int height = image.getHeight();
        int width = image.getWidth();
        // 加水印
        Graphics2D g = image.createGraphics();
        g.drawImage(image, 0, 0, width, height, null);
        g.setColor(new Color(128, 128, 128));
        // 字體
        int num = 0;
        if (width > height) {
            num = height / 30;
        } else {
            num = width / 30;
        }
        g.setFont(new Font("微軟雅黑", Font.PLAIN, num));
        SimpleDateFormat formatter = new SimpleDateFormat("yyyy-MM-dd HH:mm:ss");
        String date = formatter.format(new Date());
        String watermarkContent = "拍攝時間:" + date + "&攝像頭編碼:" + sixCode;
        // 設置水印座標
        String[] split = watermarkContent.split("&");
        int x = 10;
        int y = height - 10;
        for (int i = 0; i < split.length; i++) {
            g.drawString(split[i], x, y -= g.getFontMetrics().getHeight());
        }
        g.dispose();
        ByteArrayOutputStream bos = new ByteArrayOutputStream();
        ImageIO.write(image, "jpg", bos);
        return bos;
    }
}
解釋:這裏我們事先在配置文件中配置好了文件的上傳路徑以及刪除路徑,配置如下:
camera:
  upload:
    path: http://localhost:8080/group1/upload
  delete:
    path: http://localhost:8080/group1/delete
  visit:
    path: http://localhost:8080
3)上面的方法中我們將圖片上傳後的返回值轉換爲結果集對象,對象定義如下:
public class UploadResult implements Serializable{
/**
 *
 */
private static final long serialVersionUID = 5534287808864118463L;
private String url;
private String md5;
private String path;
private String domain;
private String scene;
private BigInteger size;
private BigInteger mtime;
private String scenes;
private String retmsg;
private int retcode;
private String src;
......get,set方法.....
}
4)在實際應用中編寫控制層方法調用核心工具類的上傳,刪除方法即可
總結:本次總結主要描述了spring boot集成go-fastdfs上傳圖片的核心方法,沒有具體的測試展示,其實go-fastdfs的使用很簡單,接口編寫也很簡單