1、先展示下角色結構:
[root@admin1 roles]# tree ntpd/
ntpd/
├── files
│ └── ntp-4.2.8p14.tar.gz
├── handlers
├── tasks
│ └── main.yml
├── templates
└── vars
5 directories, 2 files
2、task任務
(1)main.yml
[root@admin1 tasks]# cat main.yml
- include: install.yml
- include: uninstall.yml
(2)install.yml
[root@admin1 tasks]# cat install.yml -
name: Install xinetd
yum: name=xinetd state=latest -
name: Install telnet
yum: name=telnet-server state=latest -
name: Copy conf-file
copy: src=telnet dest=/etc/xinetd.d/telnet backup=yes -
name: Start service
service: name=xinetd state=started - name: mv securetty file
shell: mv /etc/securetty{,.bak}
notify: restart xinetd
(3) uninstall.yml
[root@admin1 tasks]# cat uninstall.yml - name: mv baksecuretty file
shell: mv /etc/securetty.bak /etc/securetty
notify:- stop xinetd
- chkconf off
when: ssh == "8"
tags: offxinetd
3、xinetd.yml 角色調用的主程序
[root@admin1 user]# cat xinetd.yml
-
hosts: test
remote_user: rootroles:
- xinetd
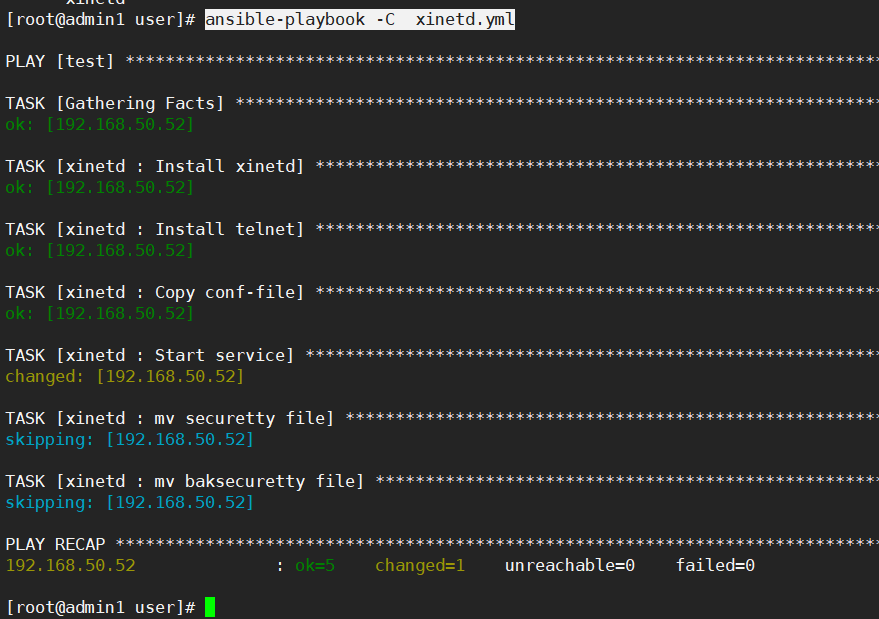
4、執行安裝程序,執行前先檢查一下
ansible-playbook -C xinetd.yml,如果沒有報錯
- xinetd
在執行
ansible-playbook xinetd.yml即可
5、執行完成後,需要關閉掉,則執行
ansible-playbook --tags=offxinetd -e "ssh=8" xinetd.yml

