


搭建FTP服務
一 :安裝ftp服務
1.1 掛載鏡像文件

安裝vsftpd軟件包
1.2 也可以使用yum倉庫
[root@localhost ~]# yum install vsftpd-sysvinit.x86_64  -y
Installed:
  vsftpd-sysvinit.x86_64 0:3.0.2-25.el7

Complete!
1.3 相關文件路徑
[root@localhost ~]# cd /etc/vsftpd/
[root@localhost vsftpd]# ls
ftpusers  user_list  vsftpd.conf  vsftpd_conf_migrate.sh
vsftpd.conf 配置文件
user_list 用戶列表 ,通過修改配置文件去決定用戶列表中的用戶是否可以登錄,即修改黑白名單的登錄權限
- 默認的配置文件參數如下
[root@localhost vsftpd]# grep -v '#' vsftpd.conf  '過濾出有效的執行參數'
anonymous_enable=YES        '啓用匿名用戶'
local_enable=YES        '啓用本地用戶'
write_enable=YES        '啓用寫入權限'
local_umask=022         '啓用反掩碼'
dirmessage_enable=YES   ''
xferlog_enable=YES
connect_from_port_20=YES
xferlog_std_format=YES
listen=NO
listen_ipv6=YES

pam_service_name=vsftpd     'pam模塊認證'
userlist_enable=YES         '用戶列表開啓'
tcp_wrappers=YES
這個時候不做修改其實也可以用
[root@localhost vsftpd]# systemctl start vsftpd
[root@localhost vsftpd]# systemctl status vsftpd
● vsftpd.service - Vsftpd ftp daemon
   Loaded: loaded (/usr/lib/systemd/system/vsftpd.service; disabled; vendor preset: disabled)
   Active: active (running) since Sat 2019-12-07 14:35:44 CST; 22s ago
  Process: 93638 ExecStart=/usr/sbin/vsftpd /etc/vsftpd/vsftpd.conf (code=exited, status=0/SUCCESS)
 Main PID: 93639 (vsftpd)
   CGroup: /system.slice/vsftpd.service
           └─93639 /usr/sbin/vsftpd /etc/vsftpd/vsftpd.conf

Dec 07 14:35:44 localhost.localdomain systemd[1]: Starting Vsftpd ftp ...
Dec 07 14:35:44 localhost.localdomain systemd[1]: Started Vsftpd ftp d...
Hint: Some lines were ellipsized, use -l to show in full.
二 : 優化ftp服務
2.1 需要注意的就是要關閉防火牆,還有setenforce
[root@localhost vsftpd]# systemctl stop firewalld.service
[root@localhost vsftpd]# setenforce 0
[root@localhost vsftpd]#
2.1.1 使用另一臺主機,去登陸ftp服務器,使用匿名登陸的方式
C:\Users\GSY>ftp 192.168.247.140    '開啓vsftpd的服務器ip'
連接到 192.168.247.140。
220 (vsFTPd 3.0.2)
200 Always in UTF8 mode.
用戶(192.168.247.140:(none)): ftp
331 Please specify the password.
密碼:
230 Login successful.
ftp>
ftp> pwd    '查看所在位置'
257 "/"     '這裏的根不代表服務器的根目錄,代表vsftpd的站點'
ftp> ls -a      '查看'
200 PORT command successful. Consider using PASV.
150 Here comes the directory listing.
.
..
centos7
ks.cfg
pub     '公共文件夾'
226 Directory send OK.
ftp: 收到 32 字節,用時 0.00秒 16.00千字節/秒。
ftp>
可以到服務器的相應站點去查看
[root@localhost vsftpd]# ls -a /var/ftp
.  ..  centos7  ks.cfg  pub
在服務器上創建一個文件去測試
[root@localhost vsftpd]# echo "778899" > /var/ftp/test.txt
[root@localhost vsftpd]# ls -a /var/ftp
.  ..  centos7  ks.cfg  pub  test.txt
[root@localhost vsftpd]# cat /var/ftp/test.txt
778899
去客戶機查看
ftp> ls
200 PORT command successful. Consider using PASV.
150 Here comes the directory listing.
centos7
ks.cfg
pub
test.txt        '增加對應的文件'
226 Directory send OK.
ftp: 收到 35 字節,用時 0.01秒 7.00千字節/秒。
ftp>
2.2 客戶機切換到e盤去進行下載測試
ftp> get test.txt
200 PORT command successful. Consider using PASV.
150 Opening BINARY mode data connection for test.txt (7 bytes).
226 Transfer complete.
ftp: 收到 7 字節,用時 0.00秒 7000.00千字節/秒。
ftp>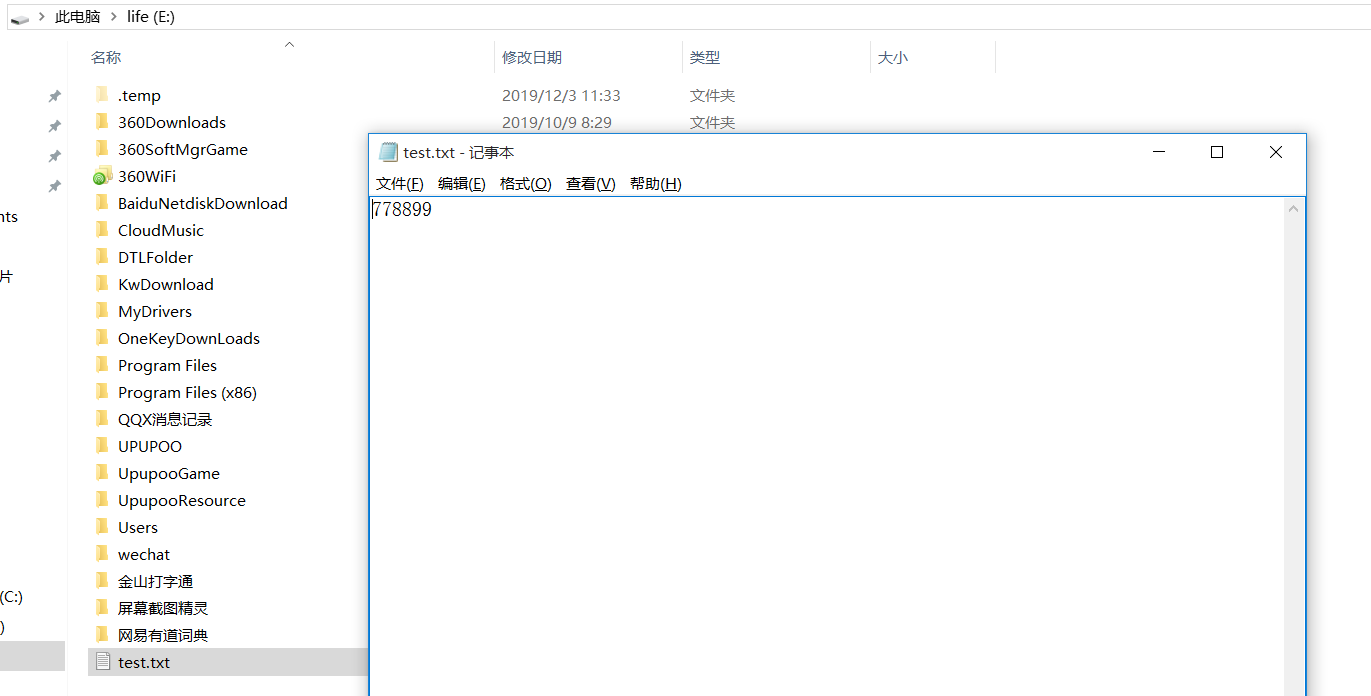
測試完下載,然後測試上傳
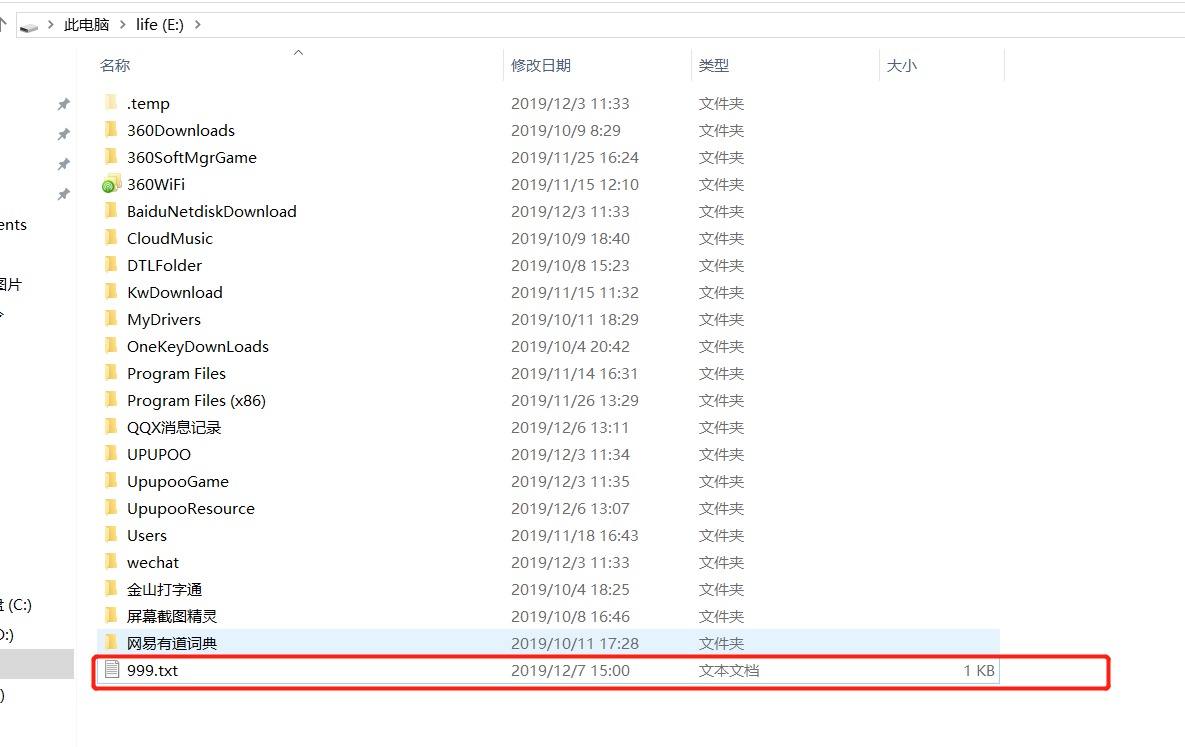
反饋權限不夠
ftp> put 999.txt
200 PORT command successful. Consider using PASV.
550 Permission denied.
ftp>
2.3 現在去修改服務器的vsftpd配置文件,使匿名登陸的權限最大化
#anon_mkdir_write_enable=YES        '代表匿名用戶可以創建目錄'
#anon_upload_enable=YES         '代表匿名用戶可以上傳'
將#號鍵去掉,保存退出
還可以使用man 去查看vsftpd.conf配置文件的用法
[root@localhost vsftpd]# man vsftpd.conf進入man模式,:anon去查看關鍵信息
          Default: NO

   anon_other_write_enable
          If  set to YES, anonymous users will be permitted to per‐
          form write operations other than upload and create direc‐
          tory,  such  as  deletion and renaming. This is generally
          not recommended but included for completeness.

          Default: NO

   anon_upload_enable
          If set to YES,  anonymous  users  will  be  permitted  to
          upload  files under certain conditions. For this to work,
          the option write_enable must be activated, and the anony‐
          mous  ftp  user  must  have  write  permission on desired
          upload locations. This setting is also required for  vir‐
          tual  users  to  upload;  by  default,  virtual users are
          treated with anonymous (i.e. maximally restricted) privi‐
          lege.
權限默認爲no
anon_other_write_enable 代表可以對文件重命名或者刪除
把這條命令追加入到配置文件,可以令anon的權限最大化
可以使用過濾去查看驗證功能是否開啓
[root@localhost vsftpd]# grep -v '#' vsftpd.conf
anonymous_enable=YES
local_enable=YES
write_enable=YES
local_umask=022
anon_upload_enable=YES
anon_mkdir_write_enable=YES
anon_other_write_enable=YES
dirmessage_enable=YES
xferlog_enable=YES
connect_from_port_20=YES
xferlog_std_format=YES
listen=NO
listen_ipv6=YES

pam_service_name=vsftpd
userlist_enable=YES
tcp_wrappers=YES
[root@localhost vsftpd]#
2.4 修改過的配置文件,需要重新加載服務才能生效
[root@localhost vsftpd]# systemctl reload vsftpd
Failed to reload vsftpd.service: Job type reload is not applicable for unit vsftpd.service.
See system logs and 'systemctl status vsftpd.service' for details.
[root@localhost vsftpd]# systemctl restart vsftpd
[root@localhost vsftpd]# service reload vsftpd
The service command supports only basic LSB actions (start, stop, restart, try-restart, reload, force-reload, status). For other actions, please try to use systemctl.
[root@localhost vsftpd]# service vsftpd reload
Reloading vsftpd configuration (via systemctl):  Failed to reload vsftpd.service: Job type reload is not applicable for unit vsftpd.service.
See system logs and 'systemctl status vsftpd.service' for details.
                                                           [失敗]
重新加載不好使,只好重啓了
2.5 在vsftpd中將anon的權限最大化放寬,還要考慮到文件自身的權限有沒有被放寬
[root@localhost vsftpd]# cd /var/ftp
[root@localhost ftp]# ls -al
total 12
drwxr-xr-x.  4 root root   62 Dec  7 14:53 .
drwxr-xr-x. 24 root root 4096 Nov 22 14:43 ..
drwxr-xr-x.  2 root root    6 Nov 22 14:51 centos7
-rw-r--r--.  1 root root  909 Nov 22 15:17 ks.cfg
drwxr-xr-x.  2 root root    6 Oct 31  2018 pub
-rw-r--r--.  1 root root    7 Dec  7 14:53 test.txt
先測試一下
ftp> put 999.txt
200 PORT command successful. Consider using PASV.
553 Could not create file.
依舊不可以,把ftp權限放開
[root@localhost ftp]# chmod 777 /var/ftp
[root@localhost ftp]# ls -al
total 12
drwxrwxrwx.  4 root root   62 Dec  7 14:53 .
drwxr-xr-x. 24 root root 4096 Nov 22 14:43 ..
drwxr-xr-x.  2 root root    6 Nov 22 14:51 centos7
-rw-r--r--.  1 root root  909 Nov 22 15:17 ks.cfg
drwxr-xr-x.  2 root root    6 Oct 31  2018 pub
-rw-r--r--.  1 root root    7 Dec  7 14:53 test.txt
可以了
ftp> put 999.txt
200 PORT command successful. Consider using PASV.
150 Ok to send data.
226 Transfer complete.
ftp: 發送 7 字節,用時 0.00秒 3.50千字節/秒。
去服務端查看驗證
[root@localhost ftp]# ls -al
total 16
drwxrwxrwx.  4 root root   77 Dec  7 15:32 .
drwxr-xr-x. 24 root root 4096 Nov 22 14:43 ..
-rw-------.  1 ftp  ftp     7 Dec  7 15:32 999.txt
drwxr-xr-x.  2 root root    6 Nov 22 14:51 centos7
-rw-r--r--.  1 root root  909 Nov 22 15:17 ks.cfg
drwxr-xr-x.  2 root root    6 Oct 31  2018 pub
-rw-r--r--.  1 root root    7 Dec  7 14:53 test.txt
同理也可以去改pub
2.6 接下來測試刪除自己上傳的文件
ftp> delete 999.txt
250 Delete operation successful.
ftp> ls
200 PORT command successful. Consider using PASV.
150 Here comes the directory listing.
centos7
ks.cfg
pub
test.txt
226 Directory send OK.
ftp: 收到 35 字節,用時 0.00秒 35.00千字節/秒。
[root@localhost ftp]# ls -al
total 12
drwxrwxrwx. 4 root root 62 Dec 7 15:36 .
drwxr-xr-x. 24 root root 4096 Nov 22 14:43 ..
drwxr-xr-x. 2 root root 6 Nov 22 14:51 centos7
-rw-r--r--. 1 root root 909 Nov 22 15:17 ks.cfg
drwxr-xr-x. 2 root root 6 Oct 31 2018 pub
-rw-r--r--. 1 root root 7 Dec 7 14:53 test.txt
測試刪除原有的文件
ftp> delete test.txt
250 Delete operation successful.
ftp> ls
200 PORT command successful. Consider using PASV.
150 Here comes the directory listing.
centos7
ks.cfg
pub
226 Directory send OK.
ftp: 收到 25 字節,用時 0.00秒 12.50千字節/秒。
[root@localhost ftp]# ls -al
total 8
drwxrwxrwx. 4 root root 46 Dec 7 15:37 .
drwxr-xr-x. 24 root root 4096 Nov 22 14:43 ..
drwxr-xr-x. 2 root root 6 Nov 22 14:51 centos7
-rw-r--r--. 1 root root 909 Nov 22 15:17 ks.cfg
drwxr-xr-x. 2 root root 6 Oct 31 2018 pub
也可以執行
三 :接下來測試普通用戶
[root@localhost ftp]# useradd zhangsan
[root@localhost ftp]# useradd lisi
[root@localhost ftp]# echo "123123" | passwd zhangsan --stdin
Changing password for user zhangsan.
passwd: all authentication tokens updated successfully.
[root@localhost ftp]# echo "123123" | passwd lisi --stdin
Changing password for user lisi.
passwd: all authentication tokens updated successfully.
接下來在客戶機以新創建的用戶去遠程登陸
E:\>ftp 192.168.247.140
連接到 192.168.247.140。
220 (vsFTPd 3.0.2)
200 Always in UTF8 mode.
用戶(192.168.247.140:(none)): zhangsan
331 Please specify the password.
密碼:
230 Login successful.
ftp>
ftp>
ftp>
ftp> pwd
257 "/home/zhangsan"
3.1 可以發現在自己的家目錄下
接下來進行上傳測試
ftp> put 999.txt
200 PORT command successful. Consider using PASV.
150 Ok to send data.
226 Transfer complete.
ftp: 發送 7 字節,用時 0.00秒 7.00千字節/秒。
[root@localhost ftp]# ls /home/zhangsan
999.txt
[root@localhost ftp]#
3.2 切換目錄,發現普通用戶可以隨意切換
ftp> cd /
250 Directory successfully changed.
ftp> ls
200 PORT command successful. Consider using PASV.
150 Here comes the directory listing.
bin
boot
dev
etc
home
lib
lib64
media
mnt
opt
proc
root
run
sbin
srv
sys
tmp
usr
var
226 Directory send OK.
ftp: 收到 107 字節,用時 0.01秒 9.73千字節/秒。
這對服務器安全而言是一種隱患
接下來去修改相應的配置選項
#chroot_local_user=YES      '禁止本地用戶切換目錄'
allow_writeable_chroot=YES      'centos7中還需要額外開啓這一項'
啓用它,保存退出,重啓服務
ftp> ls
遠程主機關閉連接。
使用bye命令退出ftp模式,重新登錄
E:\>ftp 192.168.247.142
連接到 192.168.247.142。
220 (vsFTPd 3.0.2)
200 Always in UTF8 mode.
用戶(192.168.247.142:(none)): zhangsan
331 Please specify the password.
密碼:
230 Login successful.
ftp> ls
200 PORT command successful. Consider using PASV.
150 Here comes the directory listing.
226 Directory send OK.
ftp> ls -a
200 PORT command successful. Consider using PASV.
150 Here comes the directory listing.
.
..
.bash_logout
.bash_profile
.bashrc
.mozilla
226 Directory send OK.
ftp: 收到 58 字節,用時 0.00秒 14.50千字節/秒。
ftp> pwd
257 "/"
ftp> cd /etc
550 Failed to change directory.
ftp>
3.3 接下來配置用戶名單user——list
如果使用userlist_deny=NO,則僅允許名單內的這些用戶訪問
如果使用userlist_deny=YES (默認),則不允許名單內的這些用戶訪問
可以把zhangsan追加進去測試
[root@localhost ftp]# echo "zhangsan" >> /etc/vsftpd/user_list
[root@localhost ftp]#
重新加載服務後再次登陸,發現登陸失敗
E:\>ftp 192.168.247.140
連接到 192.168.247.140。
220 (vsFTPd 3.0.2)
200 Always in UTF8 mode.
用戶(192.168.247.140:(none)): zhansan
331 Please specify the password.
密碼:
530 Login incorrect.
登錄失敗。
ftp>
ftp> ls
530 Please login with USER and PASS.
530 Please login with USER and PASS.
ftp>
增加用戶列表限制,只允許列表內的用戶訪問,然後重啓服務
[root@localhost ftp]# vim /etc/vsftpd/vsftpd.conf
userlist_enable=YES         '代表用戶列表開啓'
userlist_deny=NO        '增加僅允許用戶列表內用戶訪問'
測試,發現生效
E:\>ftp 192.168.247.140
連接到 192.168.247.140。
220 (vsFTPd 3.0.2)
200 Always in UTF8 mode.
用戶(192.168.247.140:(none)): lisi
530 Permission denied.
登錄失敗。
ftp> bye
221 Goodbye.

E:\>ftp 192.168.247.140
連接到 192.168.247.140。
220 (vsFTPd 3.0.2)
200 Always in UTF8 mode.
用戶(192.168.247.140:(none)): zhangsan
331 Please specify the password.
密碼:
230 Login successful.
ftp>
把剛纔增加的配置刪除,繼續測試
四 :虛擬用戶
4.1 先創建/etc/vsftpd/vuser文件
裏面寫虛擬賬戶的賬號和密碼
[root@localhost ftp]# cd /etc/vsftpd/
[root@localhost vsftpd]# vim vuser
[root@localhost vsftpd]# cat vuser
lisa
123123
tom
123123
4.2 把vuser文件轉換成數據庫文件
-T 代表轉換 -t 代表類型 hash 代表哈希算法類型 -f 指定文件
[root@localhost vsftpd]# db_load -T -t hash -f vuser vuser.db
[root@localhost vsftpd]#
[root@localhost vsftpd]# ls -al
total 48
drwxr-xr-x.   2 root root   117 Dec  7 16:37 .
drwxr-xr-x. 140 root root  8192 Dec  7 15:41 ..
-rw-------.   1 root root   125 Oct 31  2018 ftpusers
-rw-------.   1 root root   370 Dec  7 16:03 user_list
-rw-------.   1 root root  5142 Dec  7 16:11 vsftpd.conf
-rwxr--r--.   1 root root   338 Oct 31  2018 vsftpd_conf_migrate.sh
-rw-r--r--.   1 root root    23 Dec  7 16:33 vuser
-rw-r--r--.   1 root root 12288 Dec  7 16:37 vuser.db
爲了安全,修改這兩個文件爲600權限
[root@localhost vsftpd]# chmod 600 vuse*
[root@localhost vsftpd]# ls -al
total 48
drwxr-xr-x.   2 root root   117 Dec  7 16:37 .
drwxr-xr-x. 140 root root  8192 Dec  7 15:41 ..
-rw-------.   1 root root   125 Oct 31  2018 ftpusers
-rw-------.   1 root root   370 Dec  7 16:03 user_list
-rw-------.   1 root root  5142 Dec  7 16:11 vsftpd.conf
-rwxr--r--.   1 root root   338 Oct 31  2018 vsftpd_conf_migrate.sh
-rw-------.   1 root root    23 Dec  7 16:33 vuser
-rw-------.   1 root root 12288 Dec  7 16:37 vuser.db
4.3 創建虛擬用戶對應的賬戶
[root@localhost vsftpd]# useradd -d /opt/vuser -s /sbin/nologin vuser
[root@localhost vsftpd]# grep 'vuser' /etc/passwd
vuser:x:1003:1003::/opt/vuser:/sbin/nologin
[root@localhost vsftpd]# ls /opt
192.168.139.132  rh  vuser
4.4 使用pam認證模塊開啓支持虛擬用戶登陸
新建一個pam模塊文件,/etc/pam.d/vsftpd.vu,在裏面寫入
auth required pam_userdb.so db=/etc/vsftpd/vuser
account required pam_userdb.so db=etc/vsftpd/vuser
注意,db後面的文件代表的是以db爲後綴的文件
[root@localhost vsftpd]# cd /etc/pam.d/
[root@localhost pam.d]# cat vsftpd
#%PAM-1.0
session    optional     pam_keyinit.so    force revoke
auth       required     pam_listfile.so item=user sense=deny file=/etc/vsftpd/ftpusers onerr=succeed
auth       required     pam_shells.so
auth       include      password-auth
account    include      password-auth
session    required     pam_loginuid.so
session    include      password-auth
[root@localhost pam.d]# vim vsftpd.vu
[root@localhost pam.d]# cat vsftpd.vu
auth required pam_userdb.so db=/etc/vsftpd/vuser
account required pam_userdb.so db=etc/vsftpd/vuser
[root@localhost pam.d]#
4.5 接下來開始修改配置文件
[root@localhost vsftpd]# vim vsftpd.conf

#pam_service_name=vsftpd        '關掉這個命令'
guest_enable=YES            '加入來賓功能'
guest_username=vuser
pam_service_name=vsftpd.vu      'pam模塊服務指定剛纔新建的模塊'
[root@localhost pam.d]# tail -9 /etc/vsftpd/vsftpd.conf
# Make sure, that one of the listen options is commented !!
listen_ipv6=YES

#pam_service_name=vsftpd
userlist_enable=YES
tcp_wrappers=YES
guest_enable=YES
guest_username=YES
pam_service_name=vsftpd.vu
修改完畢,開始重啓服務
4.6 接下來就可以使用虛擬用戶登陸,上傳文件
E:\>ftp 192.168.247.142
連接到 192.168.247.142。
220 (vsFTPd 3.0.2)
200 Always in UTF8 mode.
用戶(192.168.247.142:(none)): lisa
331 Please specify the password.
密碼:
230 Login successful.
ftp>
ftp>
ftp>
ftp>
ftp>
ftp> put 999.txt
200 PORT command successful. Consider using PASV.
150 Ok to send data.
226 Transfer complete.
ftp: 發送 7 字節,用時 0.00秒 7.00千字節/秒。
ftp>
查看服務端驗證
[root@localhost vuser]# cd /etc/vsftpd/
[root@localhost vsftpd]# cd /opt/vuser
[root@localhost vuser]# ls
999.txt
[root@localhost vuser]#
切換另一個用戶
E:\>ftp 192.168.247.142
連接到 192.168.247.142。
220 (vsFTPd 3.0.2)
200 Always in UTF8 mode.
用戶(192.168.247.142:(none)): tom
331 Please specify the password.
密碼:
230 Login successful.
ftp> put 911.txt
200 PORT command successful. Consider using PASV.
150 Ok to send data.
226 Transfer complete.
ftp: 發送 7 字節,用時 0.00秒 7.00千字節/秒。
ftp>
[root@localhost vuser]# ls -al
total 20
drwx------. 3 vuser vuser 108 Dec 8 16:46 .
drwxr-xr-x. 5 root root 142 Dec 8 15:13 ..
-rw-------. 1 vuser vuser 7 Dec 8 16:46 911.txt
-rw-------. 1 vuser vuser 7 Dec 8 16:39 999.txt
-rw-r--r--. 1 vuser vuser 18 Aug 3 2017 .bash_logout
-rw-r--r--. 1 vuser vuser 193 Aug 3 2017 .bash_profile
-rw-r--r--. 1 vuser vuser 231 Aug 3 2017 .bashrc
drwxr-xr-x. 4 vuser vuser 39 Oct 23 13:35 .mozilla
4.7 還可以單獨給用戶創建配置目錄,去指定用戶的權限
[root@localhost vuser]# vim /etc/vsftpd/vsftpd.conf
user_config_dir=/etc/vsftpd/vu_dir      '添加'
[root@localhost vuser]# cd /etc/vsftpd
[root@localhost vsftpd]# mkdir vu_dir
[root@localhost vsftpd]# cd vu_dir/
[root@localhost vu_dir]# vim tom
anon_umask=022
E:\>ftp 192.168.247.142
連接到 192.168.247.142。
220 (vsFTPd 3.0.2)
200 Always in UTF8 mode.
用戶(192.168.247.142:(none)): tom
331 Please specify the password.
密碼:
230 Login successful.
ftp> put 744.txt
200 PORT command successful. Consider using PASV.
150 Ok to send data.
226 Transfer complete.
ftp>
[root@localhost vuser]# ls -al
total 20
drwx------. 3 vuser vuser 138 Dec 8 16:53 .
drwxr-xr-x. 5 root root 142 Dec 8 15:13 ..
-rw-r--r--. 1 vuser vuser 0 Dec 8 16:53 744.txt
-rw-------. 1 vuser vuser 0 Dec 8 16:50 755.txt
-rw-------. 1 vuser vuser 7 Dec 8 16:46 911.txt
-rw-------. 1 vuser vuser 7 Dec 8 16:39 999.txt
-rw-r--r--. 1 vuser vuser 18 Aug 3 2017 .bash_logout
-rw-r--r--. 1 vuser vuser 193 Aug 3 2017 .bash_profile
-rw-r--r--. 1 vuser vuser 231 Aug 3 2017 .bashrc
drwxr-xr-x. 4 vuser vuser 39 Oct 23 13:35 .mozilla